Introduction
This guide describes how to remove and replace the keyboard of the HP Mini 210-2070NR. This is necessary if there are hardware issues with the keyboard.
To check whether the issue is software or hardware, restarting the computer will oftentimes fix software issues; if problems persist, assume hardware issues and use this guide to replace the keyboard.
What you need
-
-
-
Close the laptop and turn it over so that the underside is up and the silver battery bay is facing towards you.
 Ask FixBot
-
-
-
The battery locking latch is on the bottom right corner; slide it inward to unlock the battery.
-
Slide the battery release latch inwards.
-
Pull the battery towards you to remove it.
-
-
-
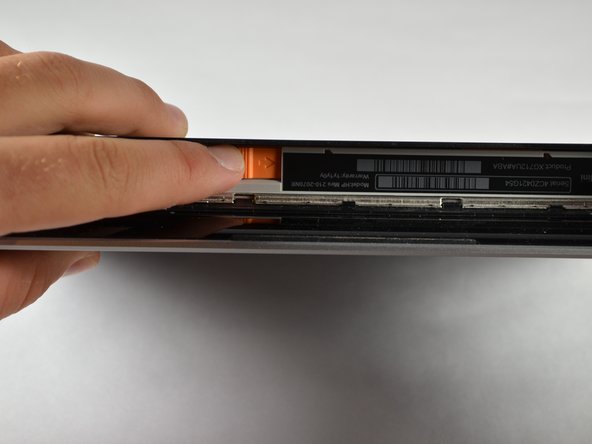
Slide the service access cover release lever to the right.
-
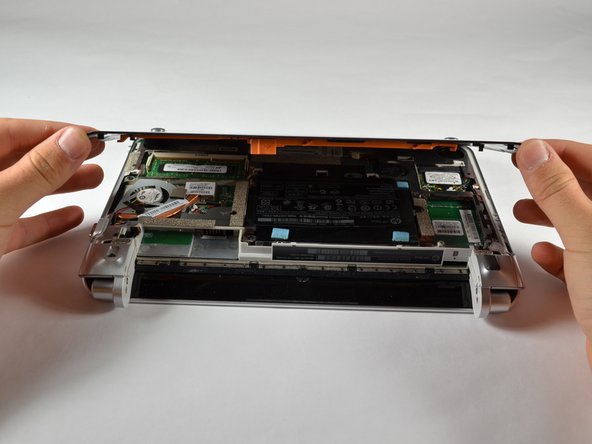
While holding the lever to the right, lift up the laptop's bottom cover gently and remove the cover.
-
-
-
-
-
-
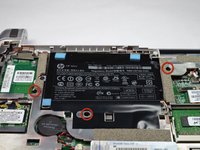
Using a 00 Phillips screwdriver, unscrew and remove the three 2.0 X 5.0 screws that connect the keyboard to the computer.
-
Flip the computer over so that the front is facing you.
-
-
-
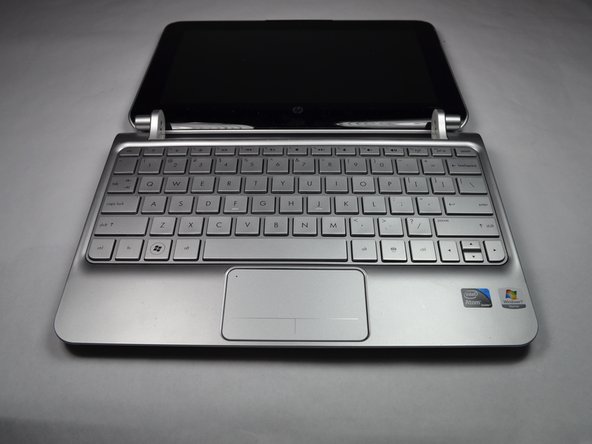
Open the computer screen as far as possible. It should be able to lay flat on whatever surface you are working on.
-
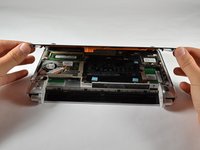
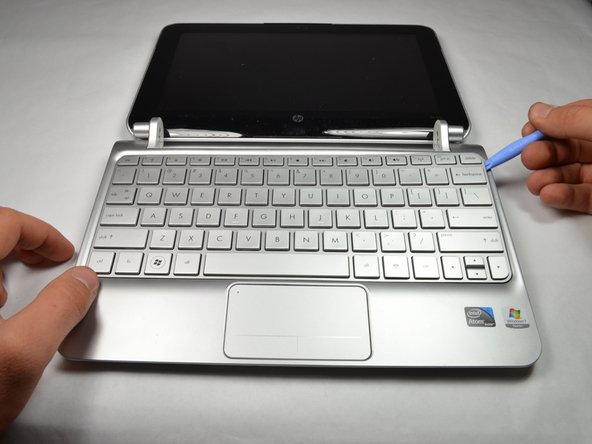
Pry along the rear edge of the keyboard away from the PC with the plastic opening tool.
-
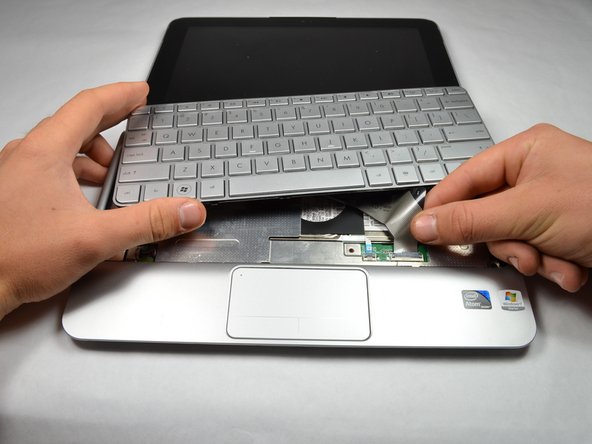
Once enough of an opening has been established, gently grasp the edge and pull the keyboard towards you.
-
-
-
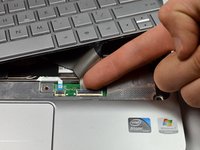
Use your fingernail to flip up the black retaining flap attached to the keyboard ZIF connector.
-
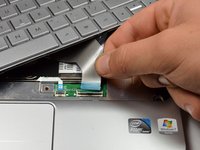
Pull the keyboard cable out of its socket to disconnect it.
-
-









To reassemble your device, follow these instructions in reverse order.

Team

Cal Poly, Team 3-23, Amido Fall 2012 Member of Cal Poly, Team 3-23, Amido Fall 2012
CPSU-AMIDO-F12S3G23
4 Members
72 Guides authored
