
HP Mini 210 Fan Replacement

Irakoze Vincent and 3 other contributors
Last updated on Jul 28, 2015
Views: 5.8K
View statistics:
- Past 24 Hours:
- 2
- Past 7 Days:
- 19
- Past 30 Days:
- 110
- All Time:
- 5,797
Comments: 4
4 comments on steps.
Completed: 3 4
3 people have marked this guide "completed." Will you be next?
4 people have marked this guide "completed." Including you — great job!
Favorites: 6 7
6 people have favorited (and subscribed to) this guide. Will you be next?
7 people have favorited (and subscribed to) this guide — including you!
Missing Steps
Oops! This guide is currently missing one or more important steps.
Action Shots
Be an action hero! This guide needs images that better demonstrate how to perform specific actions.
Needs Better Images
Better photos will improve this guide. Help out by taking, editing, or uploading new ones!
Introduction
Go to step 1 ↓This guide will teach you how to perform a fan replacement on the HP Mini 210.
What you need
Tools
-
-
Spudger4.9


-
-
-
Hold the netbook top-side down with the lid closed.
-
Slide the plastic battery release latches towards the lock symbols.
 Ask FixBot
-
-
-
-
-
Turn the netbook to view its edge.
-
Press both orange eject buttons simultaneously, and use a spudger to pry off the back case.
-
-
-
-
-
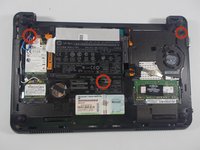
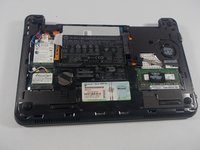
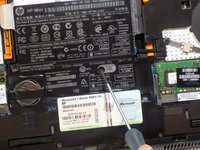
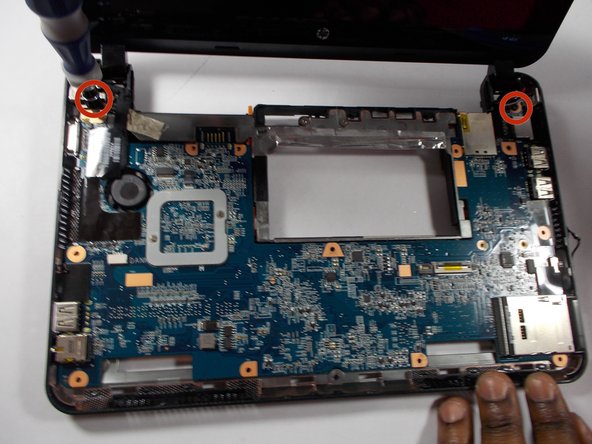
Using a screwdriver, remove the three 6.6 mm screws highlighted with the red circles in the first picture above.
-
-
-
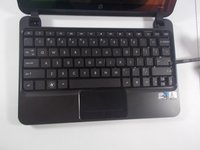
Once you have removed the screws, flip the netbook over so that the keyboard is now facing upwards. Open the screen as far back as the netbook allows.
-
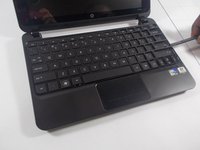
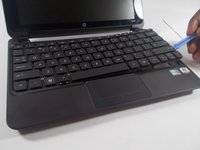
Using a prying tool, lift upwards and remove the plastic casing that covers the spaces around the keys of the keyboard.
-
-
-
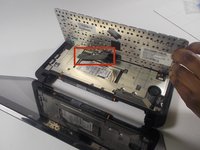
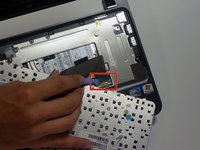
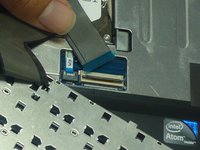
Lift the latch on the ZIF (zero insertion-force) connector using a plastic opening tool. The ZIF connector is located on the motherboard and is connected to the keyboard through the ribbon cable.
-
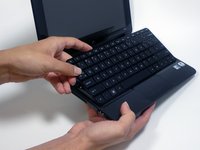
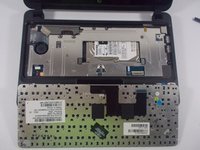
Disconnect the ribbon cable from the ZIF connector on the motherboard by lifting it up and out; this completely removes the keyboard.
-
-
-
-
-
Use the spudger to peel the front black plastic plate from the rest of the case, starting at a corner and working your way around the entire case.
-
-
-
-
Locate the cable that connects the trackpad to the motherboard and carefully remove it.
-
-
-
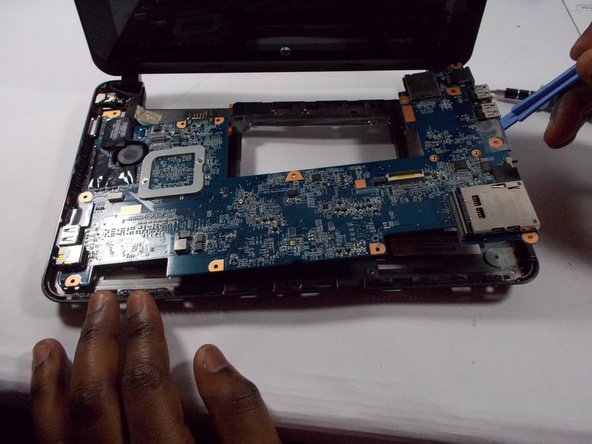
Flip over the motherboard to get to the fan.
-
Carefully remove the cable that is attaches the fan to the motherboard.
-
Remove the screws that hold in the fan.
-
The fan is now able to be completely removed.
-
-














To reassemble your device, follow these instructions in reverse order.
Cancel: I did not complete this guide.
3 other people completed this guide.

Team

UMass Dartmouth, Team 3-6, Calaway Spring 2014 Member of UMass Dartmouth, Team 3-6, Calaway Spring 2014
UMASSD-CALAWAY-S14S3G6
3 Members
24 Guides authored
