Free Shipping on Domestic Orders $75+

HP Media Center 876x Optical Drive Replacement

What you need

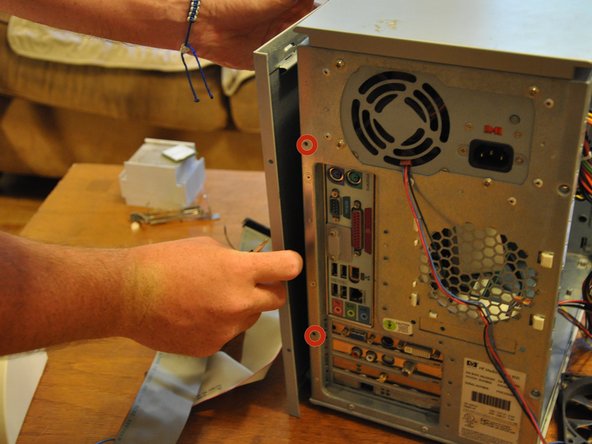
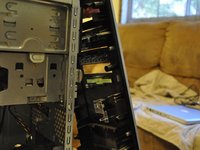
    1. HP Media Center 876x Optical Drive Replacement, Side Panel: step 1, image 1 of 2 HP Media Center 876x Optical Drive Replacement, Side Panel: step 1, image 2 of 2
      • Remove the two (9 mm) hand screws on the back panel.

      Ask FixBot
      Add Comment

    2. HP Media Center 876x Optical Drive Replacement: step 2, image 1 of 3 HP Media Center 876x Optical Drive Replacement: step 2, image 2 of 3 HP Media Center 876x Optical Drive Replacement: step 2, image 3 of 3
      • Place the tower on its side.

      • Slide the side panel horizontally to detach, and pull upward to remove.

      Ask FixBot
      Add Comment

    1. HP Media Center 876x Optical Drive Replacement, Front Cover: step 3, image 1 of 2 HP Media Center 876x Optical Drive Replacement, Front Cover: step 3, image 2 of 2
      • Orient the tower vertically.

      • Using the #0 Phillips head screwdriver, unscrew and remove the two (5 mm) screws that fasten the remaining side panel to the tower.

      • Slide the side panel out of its notches, and pull it gently off of the tower.

      Ask FixBot

      Add Comment

    2. HP Media Center 876x Optical Drive Replacement: step 4, image 1 of 1
      • Gently move the tower so that it is in the horizontal orientation.

      • Press down the black tabs (proximal to you) that fasten the front panel to the tower.

      • Press down on the distal, black tabs (symmetric with respect to the previous tabs).

      • Pull front panel forward slightly.

      Ask FixBot

      Add Comment

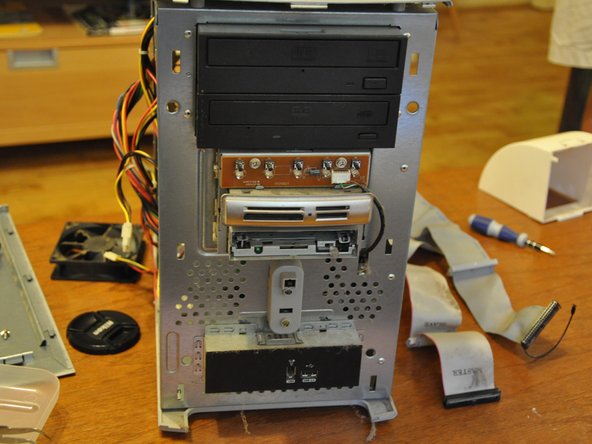
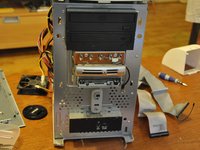
    3. HP Media Center 876x Optical Drive Replacement: step 5, image 1 of 2 HP Media Center 876x Optical Drive Replacement: step 5, image 2 of 2
      • Orient the tower vertically.

      • The front panel will come off in a hinge-like fashion, exposing the drives underneath.

      Ask FixBot

      Add Comment

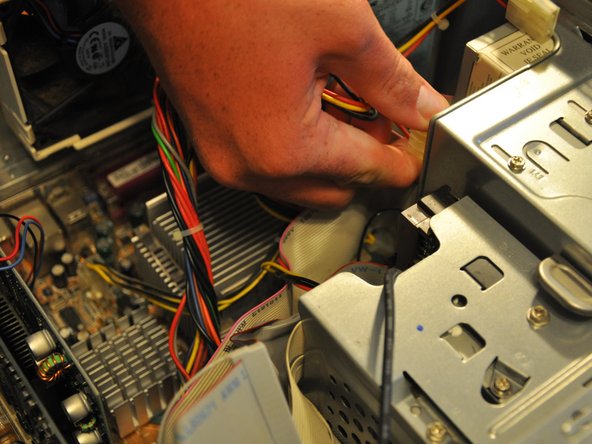
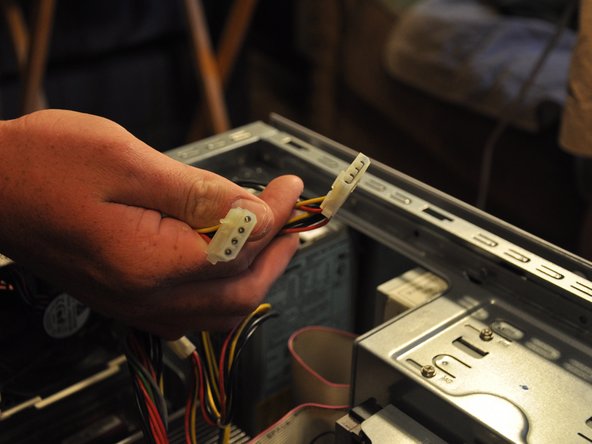
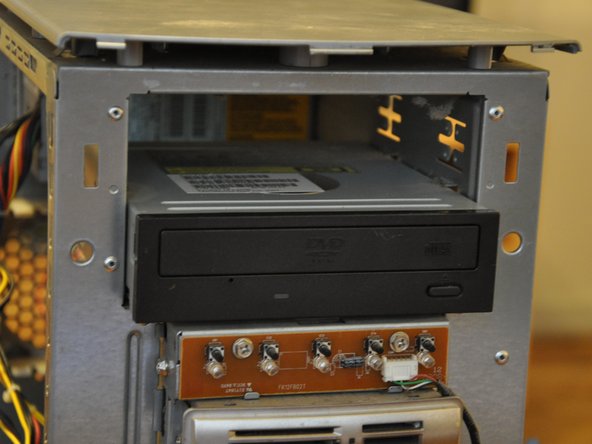
    1. HP Media Center 876x Optical Drive Replacement, Optical Drive: step 6, image 1 of 3 HP Media Center 876x Optical Drive Replacement, Optical Drive: step 6, image 2 of 3 HP Media Center 876x Optical Drive Replacement, Optical Drive: step 6, image 3 of 3
      • Identify the optical drive.

      • Pull the molex connectors out of the posterior end of the optical drive.

      Ask FixBot

      Add Comment

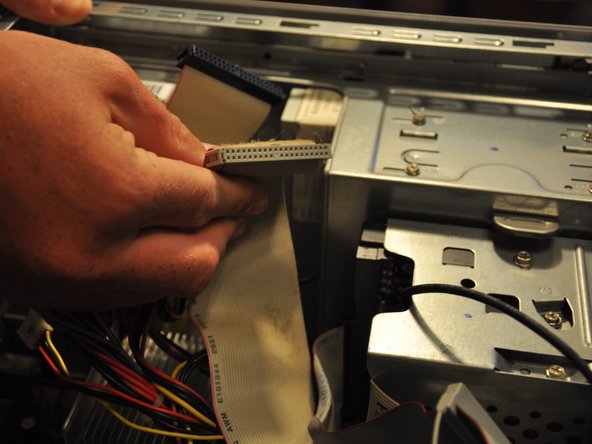
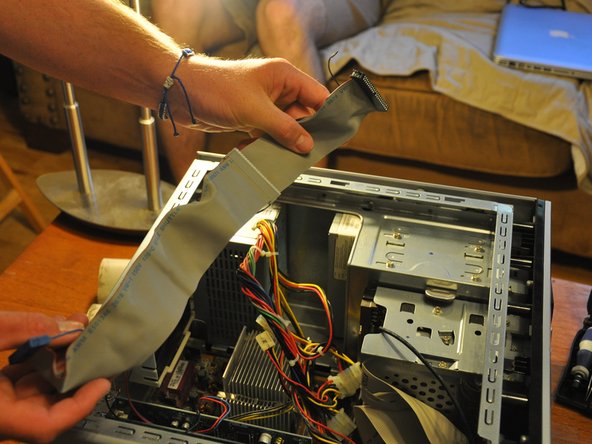
    2. HP Media Center 876x Optical Drive Replacement: step 7, image 1 of 3 HP Media Center 876x Optical Drive Replacement: step 7, image 2 of 3 HP Media Center 876x Optical Drive Replacement: step 7, image 3 of 3
      • Pull the ribbon cable out of the back of the optical drive.

      Ask FixBot
      Add Comment

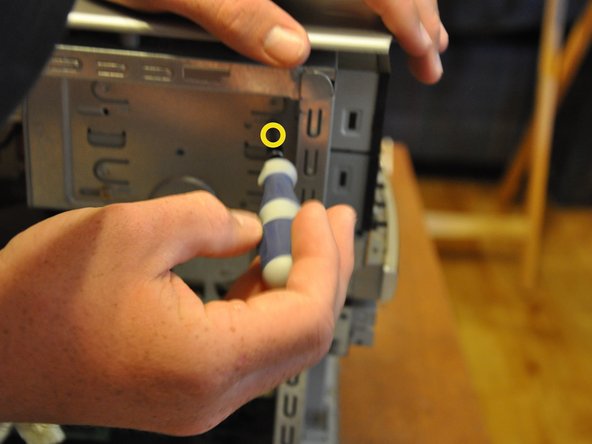
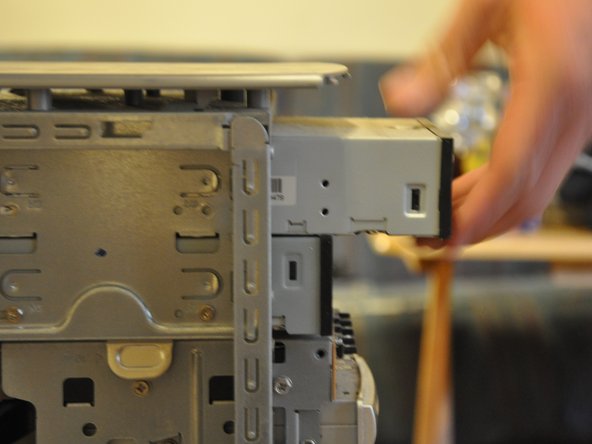
    3. HP Media Center 876x Optical Drive Replacement: step 8, image 1 of 3 HP Media Center 876x Optical Drive Replacement: step 8, image 2 of 3 HP Media Center 876x Optical Drive Replacement: step 8, image 3 of 3
      • Using the Phillips #0 screwdriver, remove the two 5 mm screws that fasten the optical drive into its port.

      • Gently pull the optical drive through the front cavity.

      Ask FixBot

      Add Comment

    4. HP Media Center 876x Optical Drive Replacement: step 9, image 1 of 2 HP Media Center 876x Optical Drive Replacement: step 9, image 2 of 2
      • Remove the optical drive completely from its port.

      Ask FixBot

      Add Comment

Conclusion

To reassemble your device, follow these instructions in reverse order.

Cancel: I did not complete this guide.

2 other people completed this guide.

Balakrishnan Pillai

Member since: 03/26/14

1,003 Reputation

8 Guides authored

Team

Clemson, Team 6-1, Benson Spring 2014 Member of Clemson, Team 6-1, Benson Spring 2014

CLEM-BENSON-S14S6G1

3 Members

96 Guides authored

0 Guide Comments

Add Comment

View Statistics:

Past 24 Hours: 7

Past 7 Days: 16

Past 30 Days: 32

All Time: 810