Introduction
When assessing whether to replace a laptop’s cooling fan, it is important to first assess the age and condition of the laptop. If the laptop is relatively new and in good condition, then it is probably not necessary to replace the cooling fan. Older laptops usually come equipped with high-quality fans that should last for a few years. However, if the laptop is a few years old and has been heavily used, then it may be beneficial to replace the fan. Over time, the fan can become clogged with dust and dirt, which reduces its efficiency and effectiveness. Replacing the fan can also be a good way to reduce the laptop’s noise level, as older fans tend to be louder than newer ones.
What you need
-
-
-
Lay the laptop down so the bottom is facing up.
-
Push the slide button, circled in photo 1, to release the battery.
-
Action in picture 2 shows the direction and release.
-
Tilt the battery back in the direction it popped up in and remove the battery.
-
This ensures there is no power in the system that could potentially short out any components.
 Ask FixBot
-
-
-
Remove the circled screws.
-
Remove the cover, exposing the hard drive and RAM.
-
-
-
Remove the 2 circled screws.
-
Use your pry to slide the hard drive over. This unplugs it from its connection and allows it to be removed.
-
Remove the hard drive.
-
-
-
Push the silver tabs in to release the RAM.
-
When they pop up from the locked position they may be removed.
-
Remove the circled screws to release the WiFi card and keyboard.
-
-
-
-
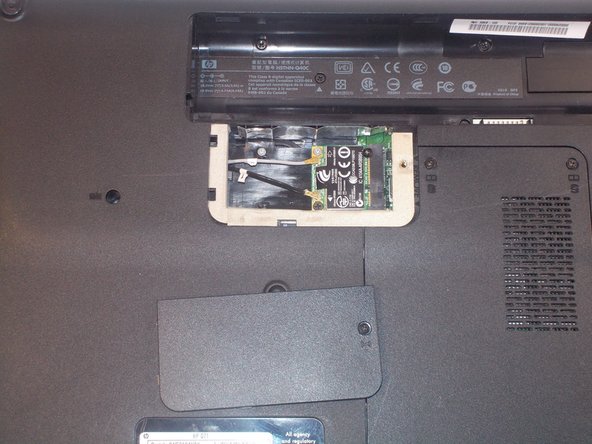
Remove the panel, exposing the WiFi card.
-
Remove the circle wire connections, make note to which port they were connected to.
-
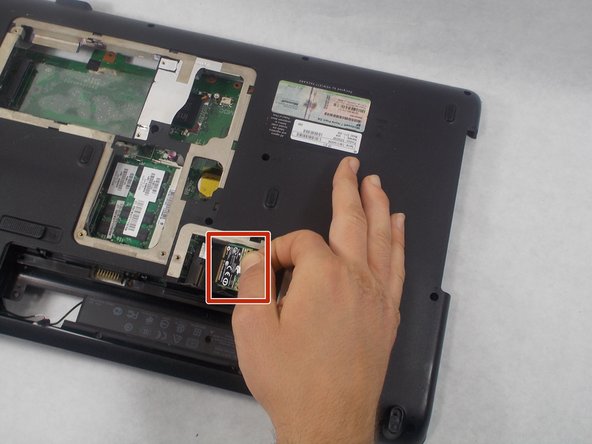
Remove the WiFi card.
-
-
-
Flip the laptop over and open it now that the keyboard has been unscrewed.
-
Take your pry bar and go around the outer edge of the keyboard. Popping it free from the bezel.
-
-
-
Lift the keyboard up.
-
Remove the connections from the keyboard to the motherboard.
-
Remember each attachments position because they will need to be connected again.
-
-
-
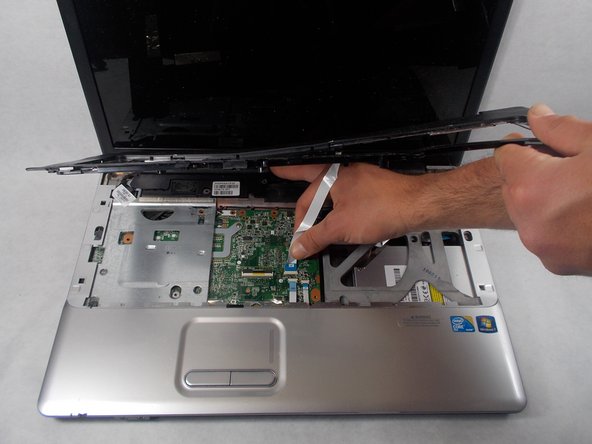
Lift the bezel from the face plate.
-
Disconnect the power connection from the bezel to the motherboard.
-
-
-
Carefully detach the highlighted connections.
-
Remove the motherboard from the device.
-
-
-
Remove three screws to detach the cooling fan from the motherboard.
-
Remove the last connection.
-
-






To reassemble your device, follow these instructions in reverse order.

Team

UMass Dartmouth, Team S1-G5, Simcock Spring 2019 Member of UMass Dartmouth, Team S1-G5, Simcock Spring 2019
UMASSD-SIMCOCK-S19S1G5
2 Members
72 Guides authored
