Free Shipping on Domestic Orders $75+

HP G71t-300 Thermal Paste Replacement

Views: 623

View statistics:

Past 24 Hours:
5
Past 7 Days:
23
Past 30 Days:
89
All Time:
623
Comments: 0

No one has left comments on this guide. Will you be first?

Go to guide comments
Completed: 0

No one has marked this guide "completed." Will you be the first?

Favorites: 0

No one has favorited (and subscribed to) this guide. Will you be the first?

Time Required: 20 minutes
Difficulty: Difficult
HP G71t-300 Thermal Paste Replacement

Introduction

Go to step 1 ↓

The thermal paste is usually replaced in conjunction with the cooling fan. Therefore it is a good idea to replace the thermal paste while the laptop is being disassembled to save time.

What you need

Fix Kit

This kit contains all the parts and tools needed to complete this guide.

Parts

Tools

    1. HP G71t-300 Thermal Paste Replacement, Keyboard: step 1, image 1 of 3 HP G71t-300 Thermal Paste Replacement, Keyboard: step 1, image 2 of 3 HP G71t-300 Thermal Paste Replacement, Keyboard: step 1, image 3 of 3
      Tool used on this step:
      Anti-Static Wrist Strap
      $7.95
      Buy
      • Ground yourself by either touching an unpainted metal surface or by using the Anti-Static wrist strap.

      • Turn off the computer and remove the charger from the charging port.

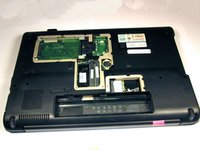
      • Turn the laptop over and slide the battery release catch to the right. The battery will pop up from its slot. Remove it using your fingers.

      Ask FixBot

      Add Comment

    2. HP G71t-300 Thermal Paste Replacement: step 2, image 1 of 2 HP G71t-300 Thermal Paste Replacement: step 2, image 2 of 2
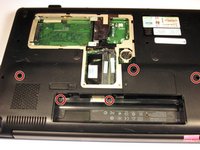
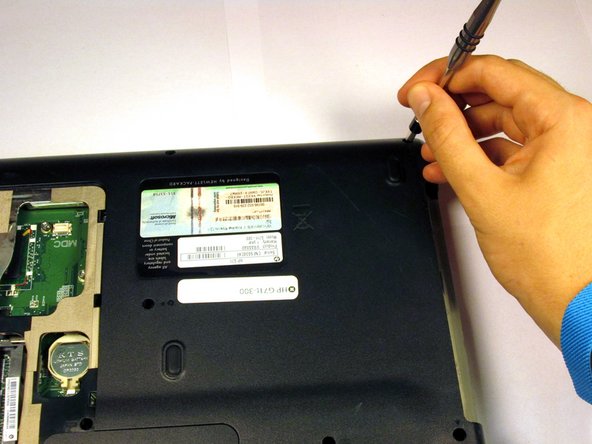
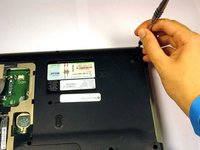
      • Use a Phillips #0 screwdriver to remove the four screws from the indicated cover.

      • Gently lift and remove the cover.

      Ask FixBot

      Add Comment

    3. HP G71t-300 Thermal Paste Replacement: step 3, image 1 of 2 HP G71t-300 Thermal Paste Replacement: step 3, image 2 of 2
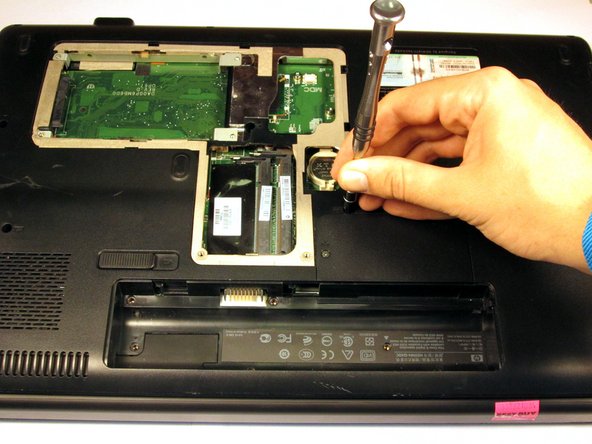
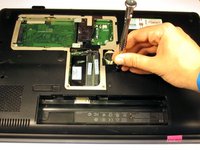
      • Remove the five 6mm screws with the Phillips #0 screwdriver.

      Ask FixBot

      Add Comment

    4. HP G71t-300 Thermal Paste Replacement: step 4, image 1 of 2 HP G71t-300 Thermal Paste Replacement: step 4, image 2 of 2
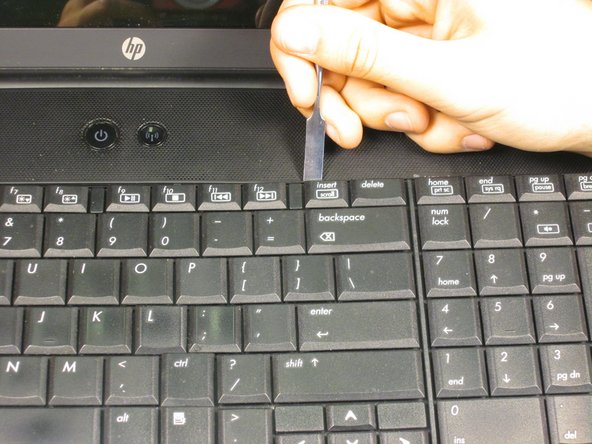
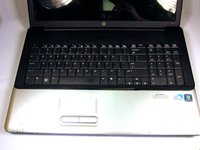
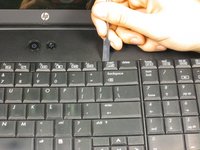
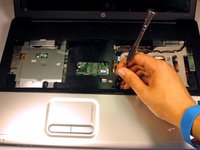
      • Pry the keyboard off with a spudger. Be careful not to apply too much pressure and damage any components.

      Ask FixBot

      Add Comment

    5. HP G71t-300 Thermal Paste Replacement: step 5, image 1 of 2 HP G71t-300 Thermal Paste Replacement: step 5, image 2 of 2
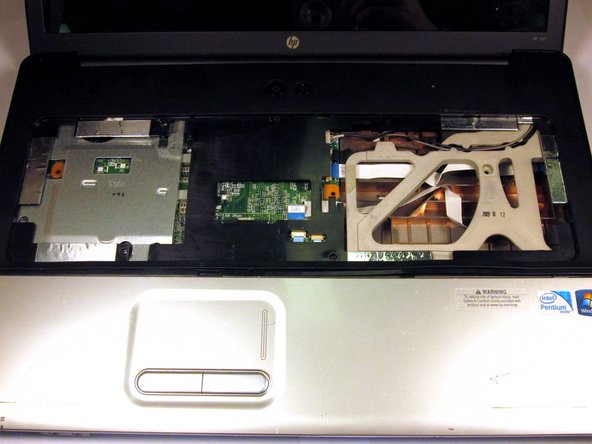
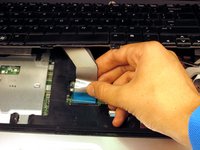
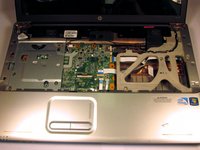
      • Disconnect the clip attaching the keyboard wiring to the motherboard. Lift and remove the keyboard.

      Ask FixBot

      Add Comment

    1. HP G71t-300 Thermal Paste Replacement, Cooling Fan: step 6, image 1 of 3 HP G71t-300 Thermal Paste Replacement, Cooling Fan: step 6, image 2 of 3 HP G71t-300 Thermal Paste Replacement, Cooling Fan: step 6, image 3 of 3
      • Use a Phillips #0 screwdriver to remove the 6mm screw from the top panel.

      • Gently lift and remove the panel. Use a metal spudger if the it seems set in place.

      Ask FixBot

      Add Comment

    2. HP G71t-300 Thermal Paste Replacement: step 7, image 1 of 2 HP G71t-300 Thermal Paste Replacement: step 7, image 2 of 2
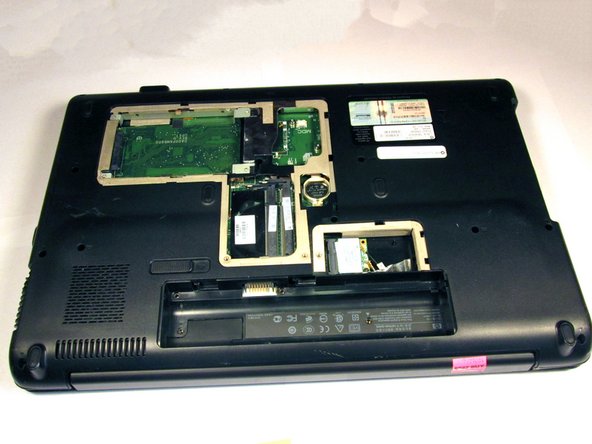
      • Use a Phillips #0 screwdriver to remove the 6mm screw for the Wi-Fi module cover.

      • Remove the cover.

      Ask FixBot

      Add Comment

    3. HP G71t-300 Thermal Paste Replacement: step 8, image 1 of 2 HP G71t-300 Thermal Paste Replacement: step 8, image 2 of 2
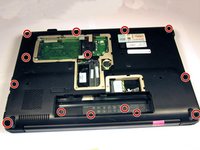
      • Remove all fourteen 6mm screws using a Phillips #0 screwdriver.

      Ask FixBot

      Add Comment

    4. HP G71t-300 Thermal Paste Replacement: step 9, image 1 of 2 HP G71t-300 Thermal Paste Replacement: step 9, image 2 of 2
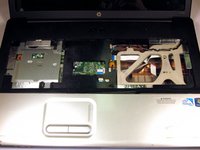
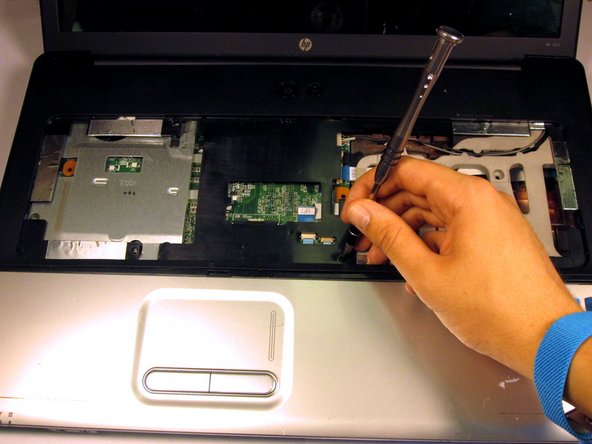
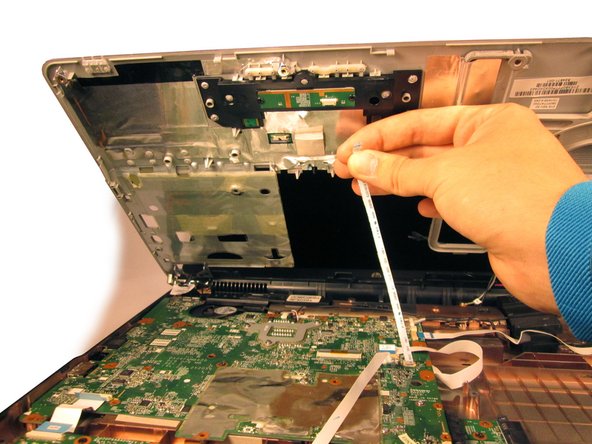
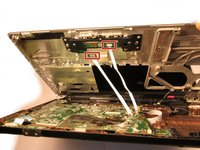
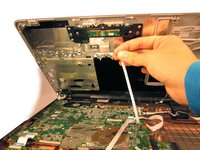
      • Partially separate the two panels until connectors are visible.

      • Unclip the wires that attach the trackpad module to the motherboard.

      Ask FixBot

      Add Comment

    5. HP G71t-300 Thermal Paste Replacement: step 10, image 1 of 2 HP G71t-300 Thermal Paste Replacement: step 10, image 2 of 2
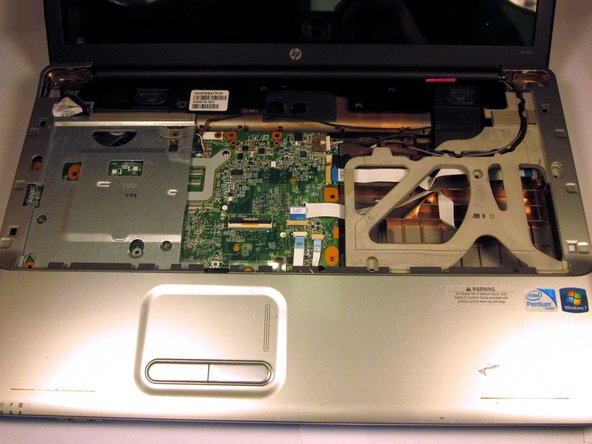
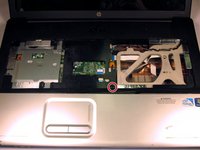
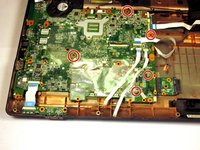
      • Remove the five highlighted screws using a Phillips #0 screwdriver.

      Ask FixBot

      Add Comment

    6. HP G71t-300 Thermal Paste Replacement: step 11, image 1 of 2 HP G71t-300 Thermal Paste Replacement: step 11, image 2 of 2
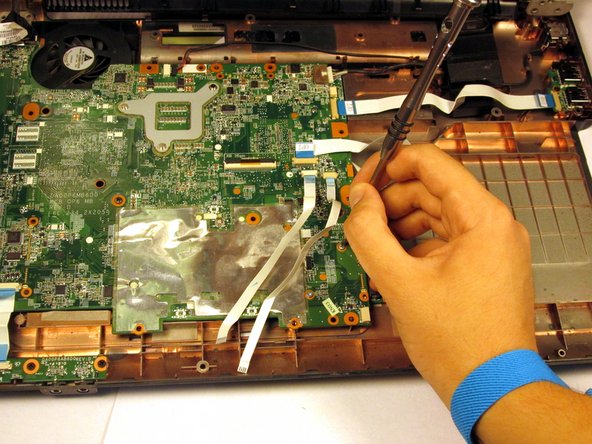
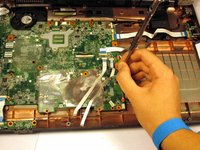
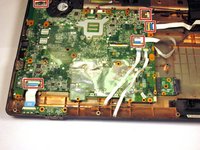
      • Disconnect the five cables by gently pulling them from their slots.

      Ask FixBot

      Add Comment

    7. HP G71t-300 Thermal Paste Replacement: step 12, image 1 of 2 HP G71t-300 Thermal Paste Replacement: step 12, image 2 of 2
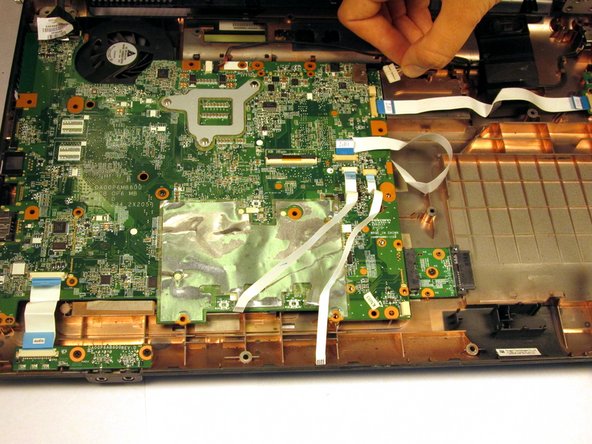
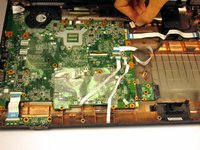
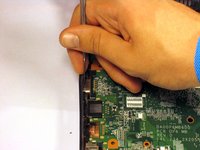
      • Press a metal spudger between the VGA port and the plastic housing to pry up the motherboard.

      • Remove the motherboard and turn it so that the fan is facing upward.

      Ask FixBot

      Add Comment

    8. HP G71t-300 Thermal Paste Replacement: step 13, image 1 of 3 HP G71t-300 Thermal Paste Replacement: step 13, image 2 of 3 HP G71t-300 Thermal Paste Replacement: step 13, image 3 of 3
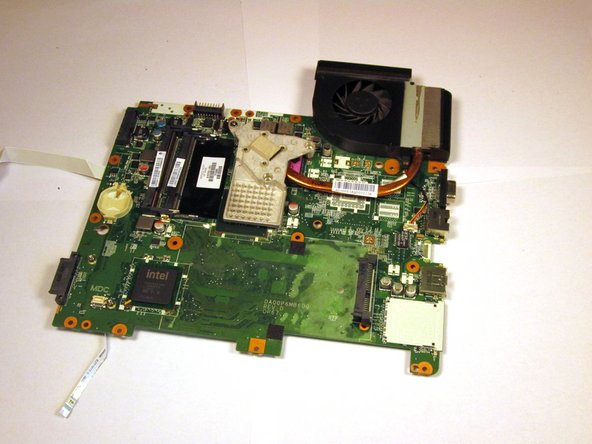
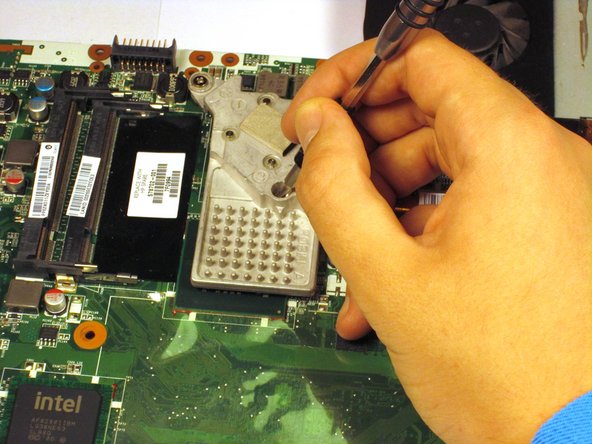
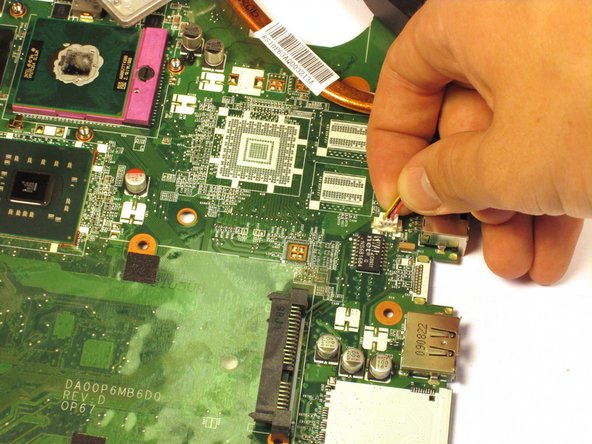
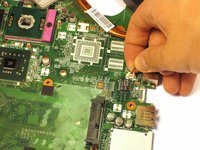
      • Use a Phillips #0 screwdriver to loosen the three screws attaching the heatsink to the motherboard.

      • Remove the heatsink and fan assembly by unclipping the fan from the motherboard.

      Ask FixBot

      Add Comment

    1. HP G71t-300 Thermal Paste Replacement, Thermal Paste: step 14, image 1 of 2 HP G71t-300 Thermal Paste Replacement, Thermal Paste: step 14, image 2 of 2
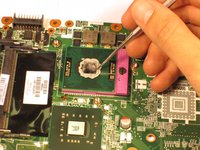
      • Gently wipe the thermal paste off of the processor and heatsink using an alcohol pad or damp cloth. Let the components dry for a few minutes.

      • Apply a pea sized amount of thermal paste to the processor and heatsink. Keep the paste thick to prevent forming air bubbles and reducing thermal performance.

      Ask FixBot

      Add Comment

Conclusion

To reassemble your device, follow these instructions in reverse order.

Cancel: I did not complete this guide.

Rohan Mathew

Member since: 09/22/16

513 Reputation

5 Guides authored

Team

UC Davis, Team 2-3, Oliver Fall 2016 Member of UC Davis, Team 2-3, Oliver Fall 2016

UCD-OLIVER-F16S2G3

5 Members

72 Guides authored

0 Guide Comments

Add Comment

View Statistics:

Past 24 Hours: 5

Past 7 Days: 23

Past 30 Days: 89

All Time: 623