
HP Folio 13t-1000 Keyboard Replacement

Cody Badchkam and 2 other contributors
Last updated on Dec 22, 2016
Views: 1.5K
View statistics:
- Past 24 Hours:
- 1
- Past 7 Days:
- 17
- Past 30 Days:
- 94
- All Time:
- 1,474
Comments: 2
2 guide comments.
Go to guide commentsCompleted: 2 3
2 people have marked this guide "completed." Will you be next?
3 people have marked this guide "completed." Including you — great job!
Favorites: 0 1
No one has favorited (and subscribed to) this guide. Will you be the first?
1 person has favorited (and subscribed to) this guide — and that's you!
Introduction
Go to step 1 ↓This guide will walk you through the process of detaching the keyboard.
This is the first step to opening the HP Folio Laptop and is necessary to replace any defective hardware.
For safety precautions, it is recommended to wear a anti-static wrist strap or find a way to ground yourself to prevent electrostatic shock to the laptop.
What you need
Tools
-
Spudger4.9
-


-
-
-
Use a PH1 screw head to remove the 16, 6mm screws from the bottom case housing of the laptop.
 Ask FixBot
-
-
-
Slide the spudger with a twisting motion along the entire perimeter of the laptop until the top cover is separated from the frame of the device.
-
-
-
Using the flat portion of the plastic spudger, push the corner of the black surface until the first clip unlocks.
-
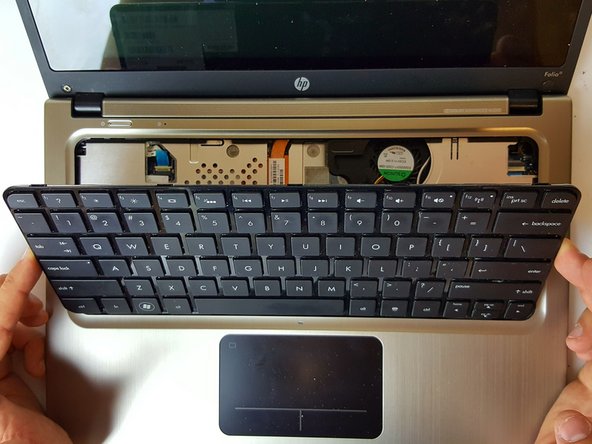
The top right corner of the keyboard should now be sticking out slightly.
-
Repeat the same process for the top left corner.
-
-
-
Slide the keyboard up and towards the screen just enough to separate the keyboard from the top cover.
-
-
-
-
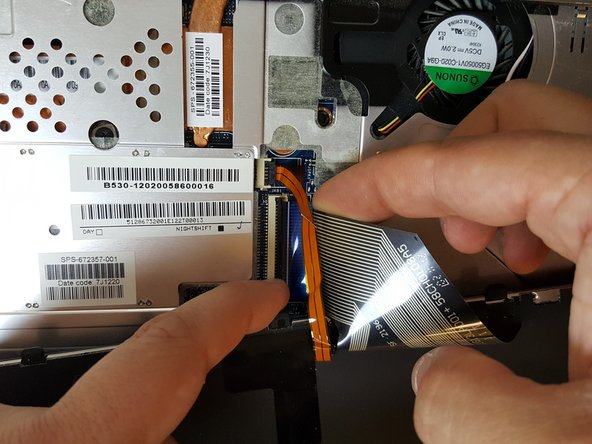
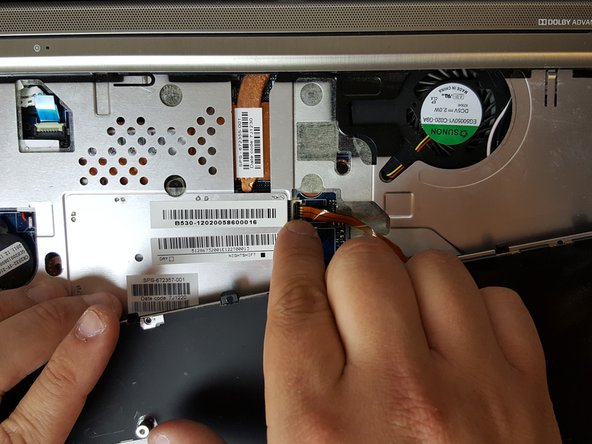
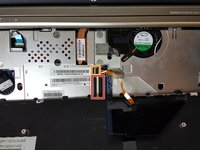
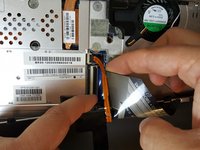
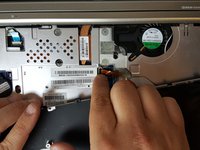
To unlock the clamps connected to the motherboard, use your fingers or insert the pointed edge of the spudger between the first clamp and the cable.
-
Repeat the same process for the second clamp.
-
-




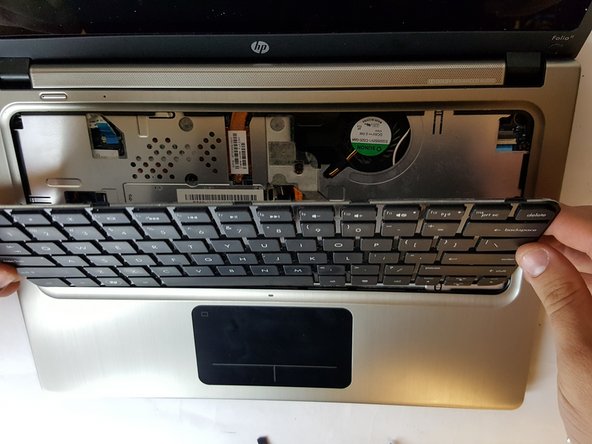
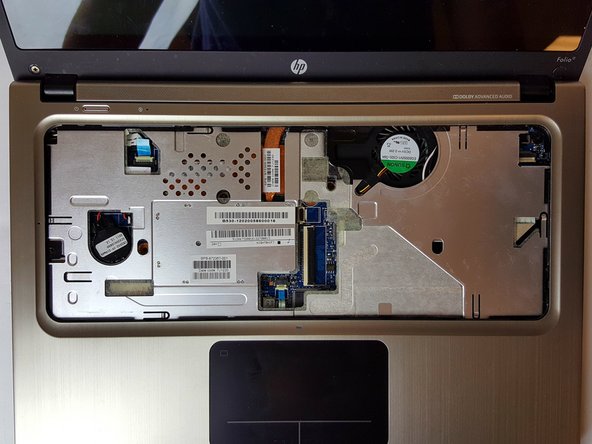
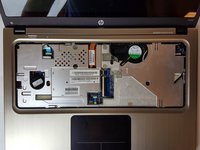
To reassemble your device, follow these instructions in reverse order.
Cancel: I did not complete this guide.
2 other people completed this guide.

Team

USF Tampa, Team 1-2, Cagle Fall 2016 Member of USF Tampa, Team 1-2, Cagle Fall 2016
USFT-CAGLE-F16S1G2
4 Members
84 Guides authored
2 Guide Comments
Awsome Thanks! had my keyboard flooded with some cola :( .. Fixed it !
Turn your Folio 13 upside down.
Looking at the screws on the back, work out which ones go into the keyboard to retain it (it’s only 3!).
You only need to take those screws out.
Use something thin and flat to go around the keyboard, separating it from the case front.
It will lift out easily.
There is no need to remove all 16 screws or take the case front off.
