
HP Envy m6-n010dx RAM Replacement

Johnathan Morales and one other contributor
Last updated on May 24, 2018
Views: 710
View statistics:
- Past 24 Hours:
- 2
- Past 7 Days:
- 17
- Past 30 Days:
- 63
- All Time:
- 710
Comments: 4
4 comments on steps.
Completed: 0 1
No one has marked this guide "completed." Will you be the first?
1 person has marked this guide "completed." It's you — great job!
Favorites: 0 1
No one has favorited (and subscribed to) this guide. Will you be the first?
1 person has favorited (and subscribed to) this guide — and that's you!
Introduction
Go to step 1 ↓This guide demonstrates how to properly remove the RAM of a HP Envy m6-n010dx.
What you need
Tools


-
-
-
Find the battery removal slider.
-
Slide it across while simultaneously popping out and removing the device's battery.
 Ask FixBot
-
-
-
-
-
Remove the five marked screws found under the battery using a philips head screwdriver.
-
-
-
-
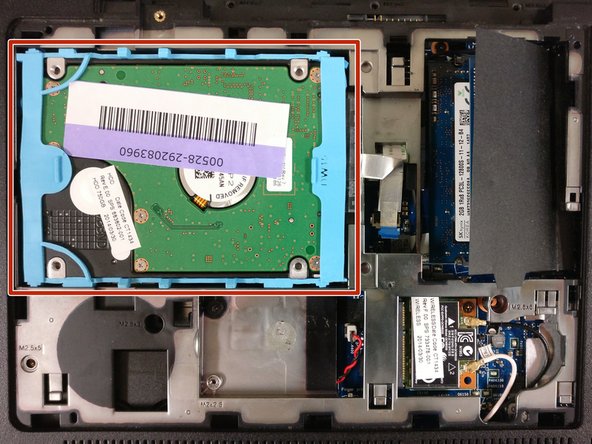
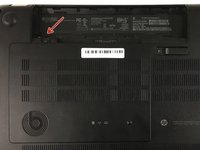
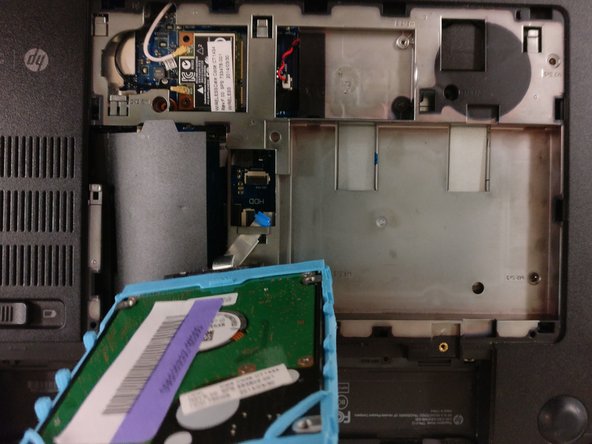
Remove the small panel on the back by prying it off. This should reveal the hard drive.
-
-
-
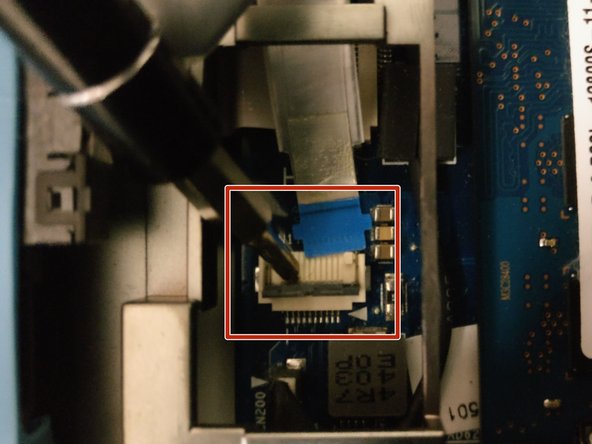
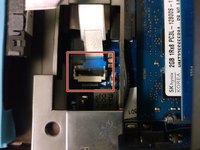
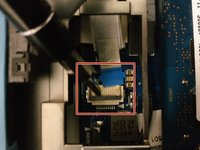
Gently pry off the cover to release the cable.
-
Slowly lift the hard drive out and away from the device.
-
-
-
-
-
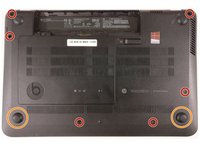
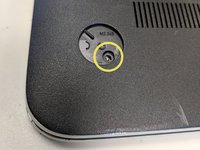
Remove the highlighted screws
-
Pry off the lower two grip pads
-
Remove the two additional screws underneath the lower grip pads
-
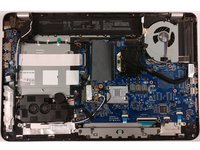
Remove the large back panel to reveal the inner workings
-
-
-
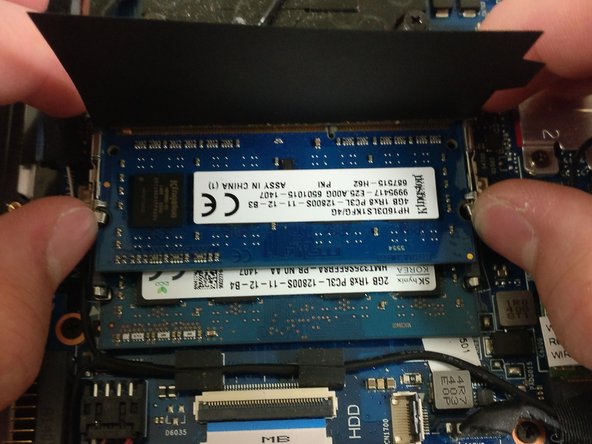
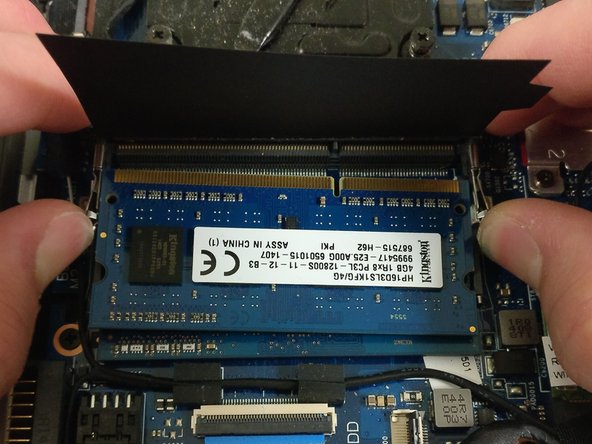
Pull back the black rectangular cover to reveal the RAM
-
Unclip the metal restraints on the side to pop out the RAM
-
Repeat the previous step for the second RAM below
-
-






To reassemble your device, follow these instructions in reverse order.

Team

University of North Texas, Team S2-G1, Thomas Spring 2018 Member of University of North Texas, Team S2-G1, Thomas Spring 2018
UNT-THOMAS-S18S2G1
4 Members
72 Guides authored
