Free Shipping on Domestic Orders $75+

HP Envy m6-n010dx Fan Replacement

What you need

    1. HP Envy m6-n010dx Fan Replacement, Battery: step 1, image 1 of 3 HP Envy m6-n010dx Fan Replacement, Battery: step 1, image 2 of 3 HP Envy m6-n010dx Fan Replacement, Battery: step 1, image 3 of 3
      • Find the battery removal slider.

      • Slide it across while simultaneously popping out and removing the device's battery.

      Ask FixBot

      Add Comment

    1. HP Envy m6-n010dx Fan Replacement, Hard Drive: step 2, image 1 of 1
      • Remove the five marked screws found under the battery using a philips head screwdriver.

      Ask FixBot

      Add Comment

    2. HP Envy m6-n010dx Fan Replacement: step 3, image 1 of 2 HP Envy m6-n010dx Fan Replacement: step 3, image 2 of 2
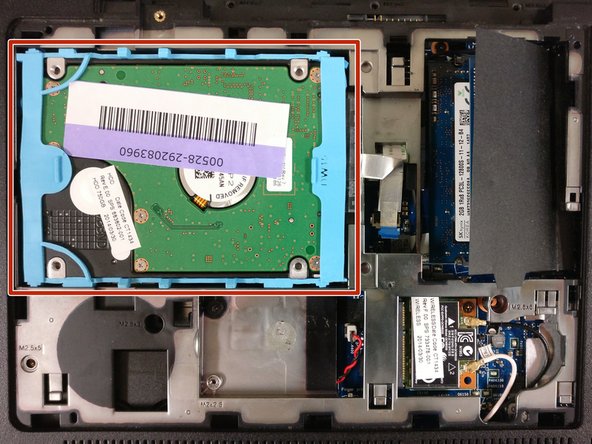
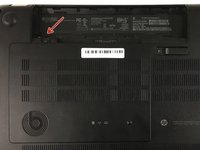
      • Remove the small panel on the back by prying it off. This should reveal the hard drive.

      Ask FixBot

      Add Comment

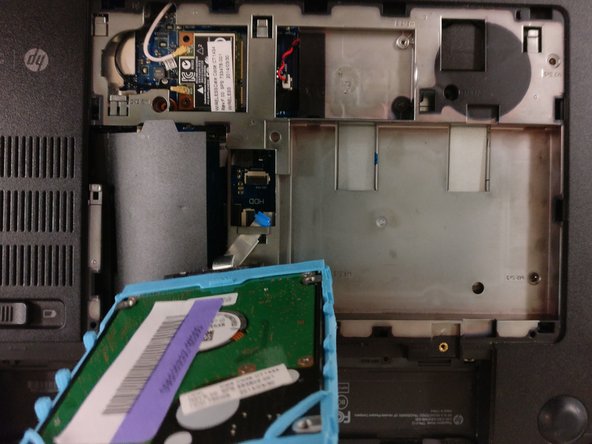
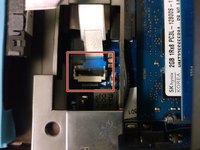
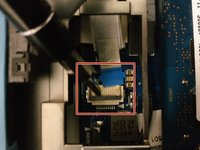
    3. HP Envy m6-n010dx Fan Replacement: step 4, image 1 of 3 HP Envy m6-n010dx Fan Replacement: step 4, image 2 of 3 HP Envy m6-n010dx Fan Replacement: step 4, image 3 of 3
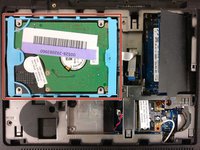
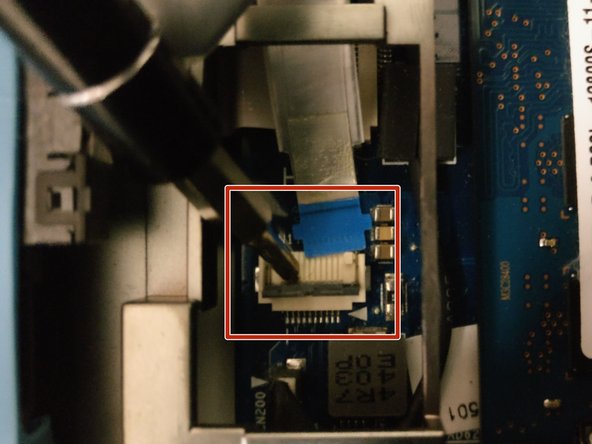
      • The hard drive is connected to the motherboard via this blue-tabbed cable, highlighted in red.

      • Gently pry off the cover to release the cable.

      • Slowly lift the hard drive out and away from the device.

      Ask FixBot

      Add Comment

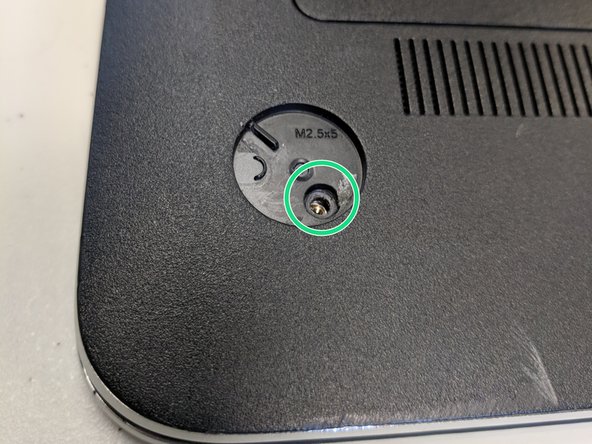
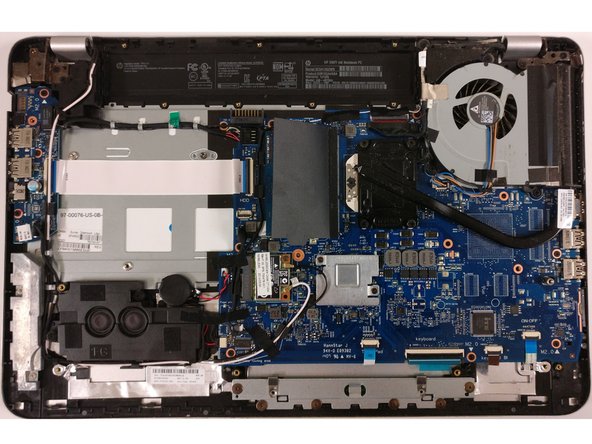
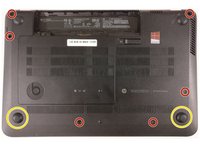
    1. HP Envy m6-n010dx Fan Replacement, Fan: step 5, image 1 of 3 HP Envy m6-n010dx Fan Replacement, Fan: step 5, image 2 of 3 HP Envy m6-n010dx Fan Replacement, Fan: step 5, image 3 of 3
      • Remove the screws highlighted in red

      • Pry off with prying tool the lower two grip pads highlighted in orange

      • You may need to use more force than feels necessary

      • Remove the two additional screws underneath the lower grip pads

      • Remove the large back panel to reveal the inner workings

      • The back panel might be difficult to remove. Use a flat object to help pry it off, and don't be afraid to use force.

      Ask FixBot

      Add Comment

    2. HP Envy m6-n010dx Fan Replacement: step 6, image 1 of 3 HP Envy m6-n010dx Fan Replacement: step 6, image 2 of 3 HP Envy m6-n010dx Fan Replacement: step 6, image 3 of 3
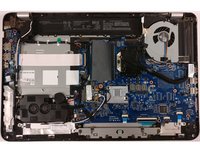
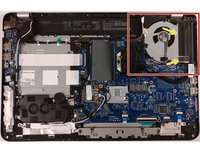
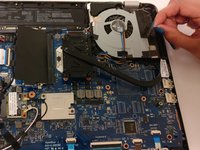
      • Locate fan

      • Gently remove tape that hold the heatsink and fan together

      • When reassembling , make sure to use new electrical tape so it will stick.

      Ask FixBot

      Add Comment

    3. HP Envy m6-n010dx Fan Replacement: step 7, image 1 of 3 HP Envy m6-n010dx Fan Replacement: step 7, image 2 of 3 HP Envy m6-n010dx Fan Replacement: step 7, image 3 of 3
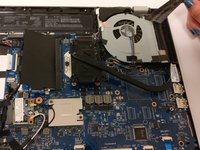
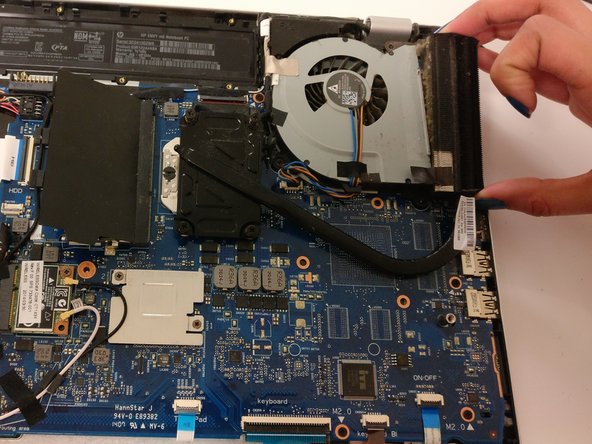
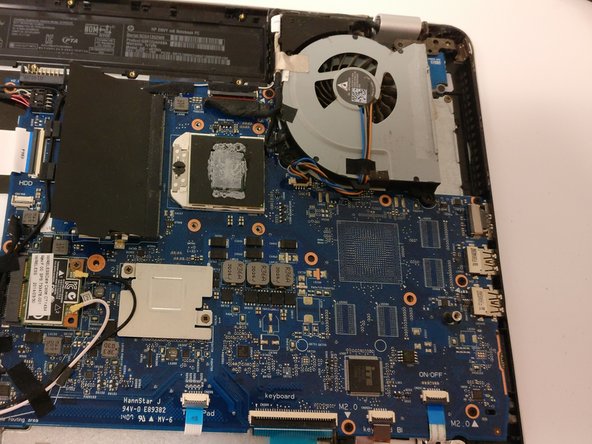
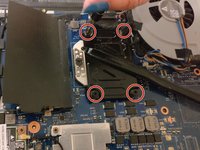
      • Loosen the four screws on the heat sink indicated in picture

      • Remove the heatsink

      Ask FixBot

      Add Comment

    4. HP Envy m6-n010dx Fan Replacement: step 8, image 1 of 2 HP Envy m6-n010dx Fan Replacement: step 8, image 2 of 2
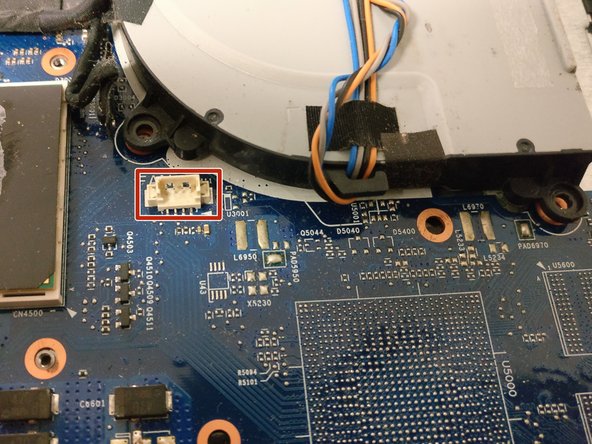
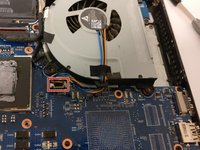
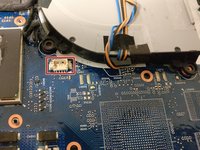
      • Gently disconnect the wire connecting the fan to the motherboard

      Ask FixBot

      Add Comment

    5. HP Envy m6-n010dx Fan Replacement: step 9, image 1 of 3 HP Envy m6-n010dx Fan Replacement: step 9, image 2 of 3 HP Envy m6-n010dx Fan Replacement: step 9, image 3 of 3
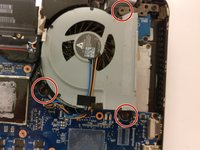
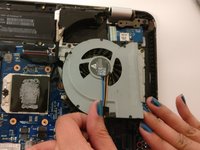
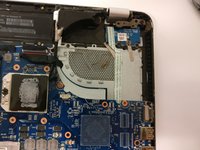
      • Remove screws indicated in photo.

      • Remove fan

      Ask FixBot

      Add Comment

Conclusion

To reassemble your device, follow these instructions in reverse order.

Cancel: I did not complete this guide.

6 other people completed this guide.

0 Guide Comments

Add Comment

View Statistics:

Past 24 Hours: 0

Past 7 Days: 9

Past 30 Days: 37

All Time: 1,424