
HP Envy M6-1205DX Fan Replacement

Alex Wasilewski and 2 other contributors
Last updated on Dec 19, 2016
Views: 6.1K
View statistics:
- Past 24 Hours:
- 2
- Past 7 Days:
- 21
- Past 30 Days:
- 95
- All Time:
- 6,144
Comments: 1
1 comment on steps.
Completed: 7 8
7 people have marked this guide "completed." Will you be next?
8 people have marked this guide "completed." Including you — great job!
Favorites: 2 3
2 people have favorited (and subscribed to) this guide. Will you be next?
3 people have favorited (and subscribed to) this guide — including you!
Introduction
Go to step 1 ↓Many user have problems with their computer over heating and that is due to a faulty fan or one that is clogged up. If you don't want to replace it and think it only needs to be cleaned you can simply remove it and clean it with computer duster.
What you need
Tools


-
-
-
-
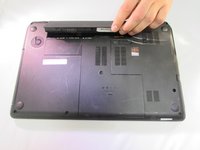
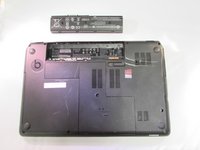
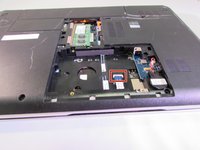
Using a Phillips #1, remove the 8 10.6mm screws.
-
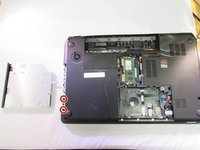
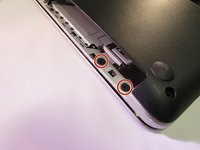
Also using a Phillips #1, remove the 8.6mm screw.
-
-
-
Using a Phillips #1, remove the 3.5mm screw.
-
Using a Phillips #1, remove the four 10.6mm screws.
-
-
Tool used on this step:Tweezers$4.99
-
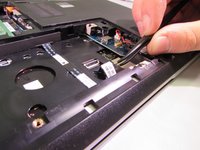
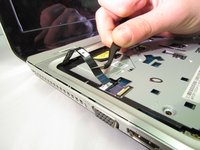
Flip the black tab up on the clamp that holds the ribbon cable in place.
-
Pull the cable back with your fingers or a pair of tweezers.
-
-
-
Flip the computer back over
-
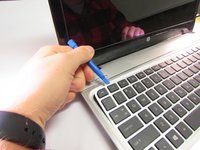
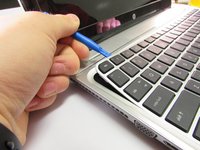
Use the plastic opening tool to pry the keyboard up .
-
-
-
Carefully lift the keyboard up.
-
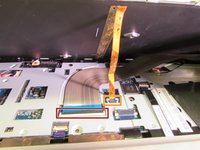
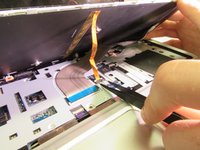
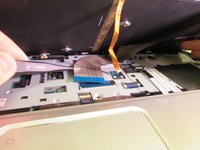
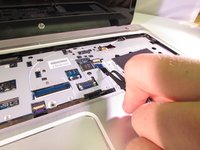
Flip up the black tab holding the large ribbon cable down.
-
Push both sides of the small white tab forward to release the small ribbon cable.
-
Pull both the cables out to remove them.
-
Remove the keyboard.
-
-
-
-
Flip the small white tab up to release the ribbon cable.
-
Pull to remove.
-
Repeat the same steps for the other cable.
-
-
-
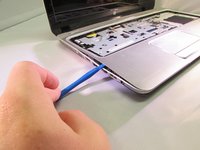
Use the plastic opening tool to pry the face plate off the rest of the frame.
-
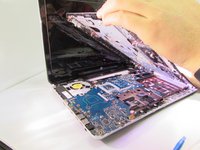
Once you pry all of the snaps up lift the face plate off.
-
-
-
-
-
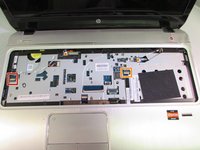
Using a Phillips #1, remove the two 10.6 mm screws.
-
Gently pull back on on the cable to unplug it.
-
-

 Ask FixBot
















To reassemble your device, follow these instructions in reverse order.
Cancel: I did not complete this guide.
7 other people completed this guide.

Team

Eastern Washington University, Team 2-3, Mathisen Fall 2016 Member of Eastern Washington University, Team 2-3, Mathisen Fall 2016
EWU-MATHISEN-F16S2G3
5 Members
60 Guides authored
