
HP Envy 7640 Printhead Replacement

Mani Movva and 5 other contributors
Last updated on May 16, 2024
Views: 11K
View statistics:
- Past 24 Hours:
- 5
- Past 7 Days:
- 37
- Past 30 Days:
- 157
- All Time:
- 10,545
Comments: 3
1 comment on steps, 2 guide comments.
Go to guide commentsCompleted: 2 3
2 people have marked this guide "completed." Will you be next?
3 people have marked this guide "completed." Including you — great job!
Favorites: 0 1
No one has favorited (and subscribed to) this guide. Will you be the first?
1 person has favorited (and subscribed to) this guide — and that's you!
Introduction
Go to step 1 ↓The printhead is the "arm" of the printer that carries out the instructions it receives from the motherboard. Replacement of the printhead violates the warranty on HP printers. Proceed through this guide with caution. While following the steps in this guide, ensure your printer is grounded (plugged into a wall socket rated for 15A, 120V) to ensure that static discharge does not damage your printer after the replacement.
What you need
Tools
-
Spudger4.9
-
-


-
-
-
Open the printer by pushing upwards on the plastic tabs located on the sides of the printer.
-
Remove the opening assist from its purchase by pushing it toward the front of the printer with a nylon spudger.
-
Remove the spring-loaded clip attached to the top of the printer by pushing it off of the hook.
 Ask FixBot
-
-
-
Remove the last ten 12mm screws by placing the Torx 9 screwdriver in the screw slot and turning counterclockwise.
-
Remove the last two 12mm screws by placing the Torx 9 screwdriver in the screw slot and turning counterclockwise; the screen plate can now be separated from the printer by pushing out and to the right.
-
Take out the inner plastic frame (this piece is removeable after having removed the ten 12 mm screws outlined in the first bullet) by grasping the frame with both hands and carefully pulling the frame away from the printer body.
-
-
-
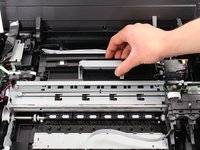
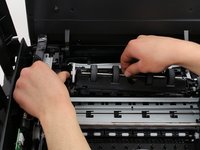
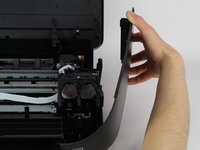
Grasp the gray lever of the black plastic cover of the rollers and gently pull the lever up and to the right.
-
-
-
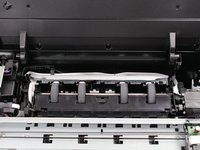
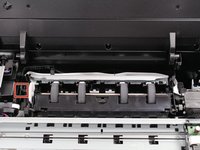
Press the lever outwards and away from the paper rollers with one hand.
-
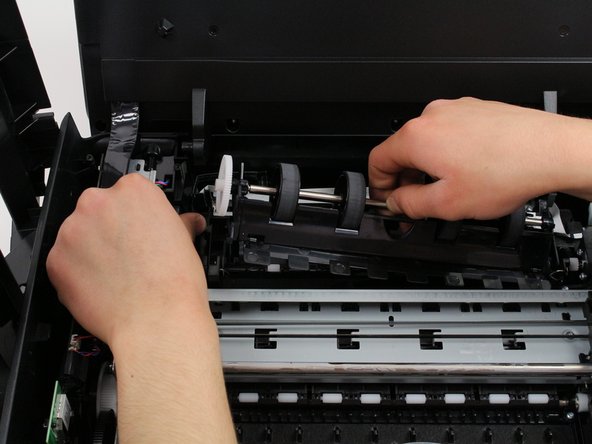
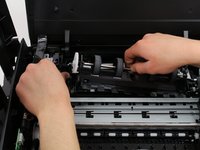
Pull the paper rollers up and out of your HP printer with one hand while the other continues to depress the lever away from the paper rollers.
-
-
-
-
-
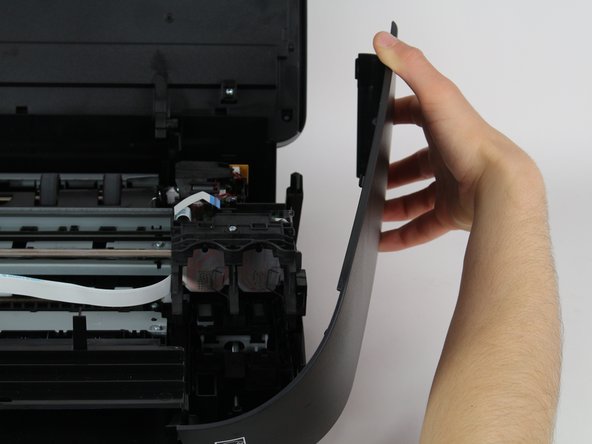
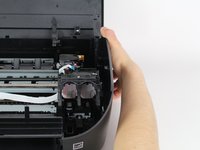
Pull the side panels up and away from the printer to remove them.
-
-
-
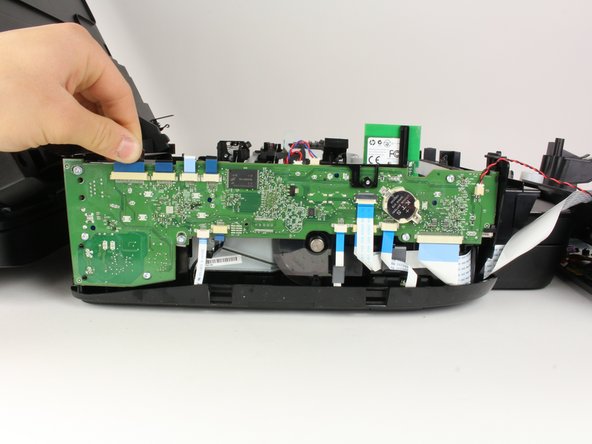
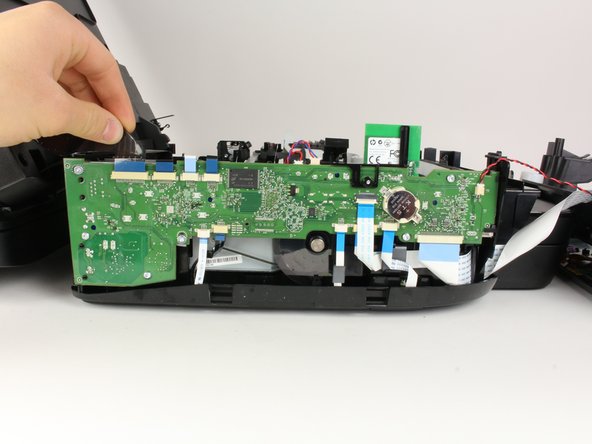
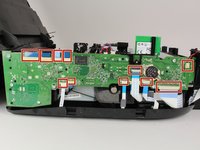
Detach all the cables by gently pulling on them at their base in the direction of origin (for top connectors pull up and for bottom connectors pull down).
-
-
-
Remove the last two connectors found at the top of the motherboard by grasping the tan portion adjacent to the motherboard and pulling up.
-
-
-
Remove the four 7 mm screws from the motherboard by placing the Torx 9 screwdriver in the screw slots and turning counterclockwise.
-
-
-
-
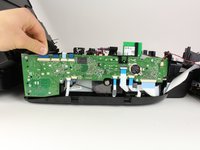
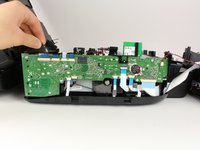
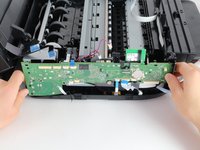
Start to remove the motherboard from the device by lifting the left hand side of the motherboard out from the printer shell with minimal force.
-
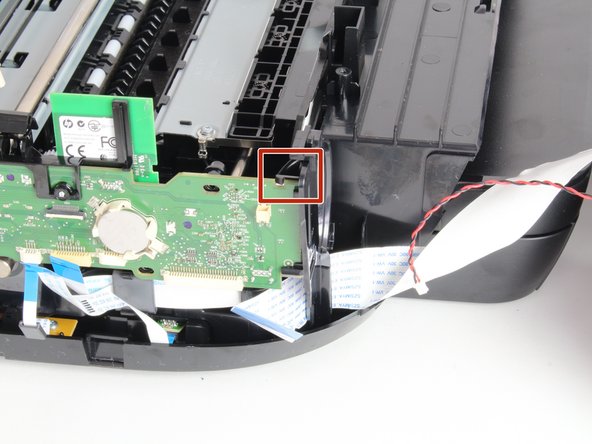
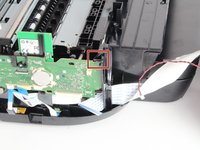
Push the clip's head away from the motherboard to release the right hand side of the motherboard from the printer shell.
-
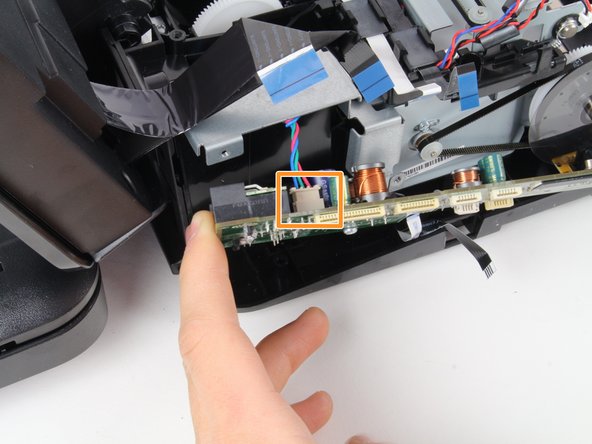
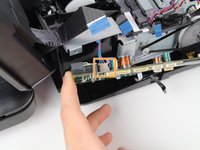
Remove the back connector by firmly grasping the tan portion of the connector adjacent to the motherboard and pulling in toward the printer to dislodge the motherboard.
-
-
-
-
Tool used on this step:Tweezers$4.99
-
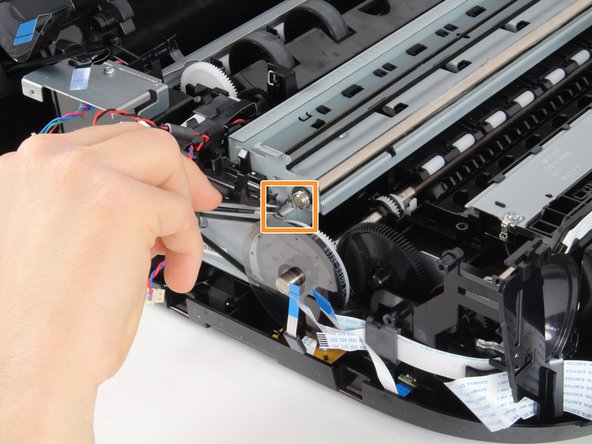
Place the T9 Torx screwdriver in the screw slot and turn counterclockwise to extract the single 14 mm screw.
-
Using the blunt tweezers, detach the spring by grasping the end attached to the fuser assembly and pulling out and away.
-
Using the blunt tweezers, remove the black, ribbed washer by prying away from the print rail.
-
-
-
Using the blunt tweezers, remove the spring via the same method outlined in the previous step.
-
Firmly grasp the print rail and gently guide it out of the slot in the fuser assembly by pulling away from the printer body.
-
-
-
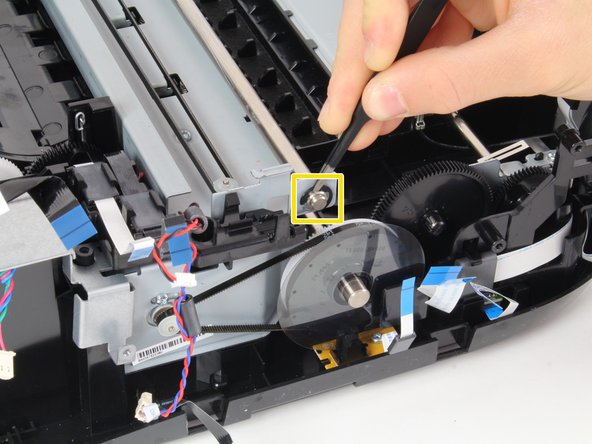
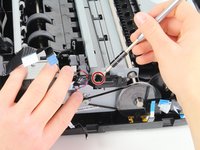
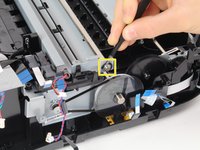
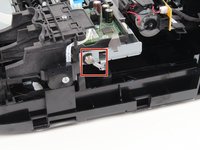
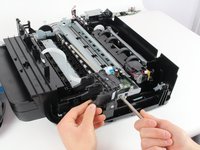
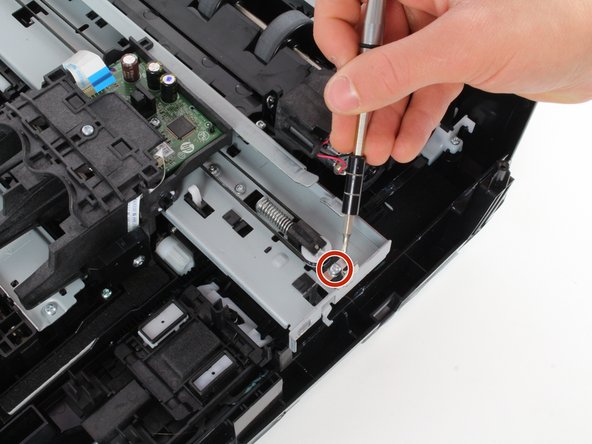
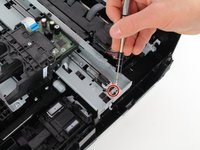
Place the T9 Torx screwdriver in the screw slot and turn counterclockwise to remove the single 12 mm screw.
-
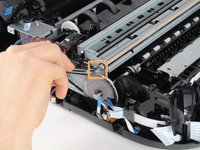
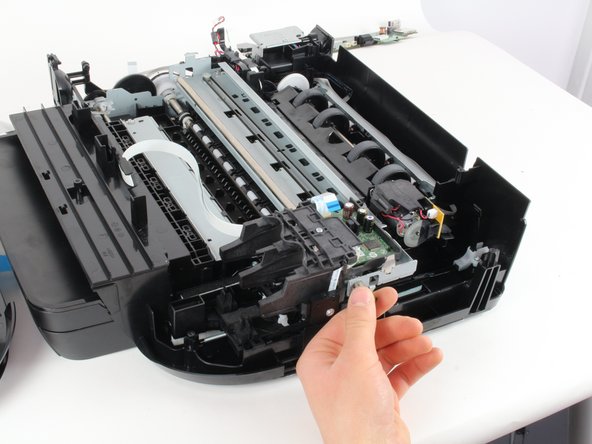
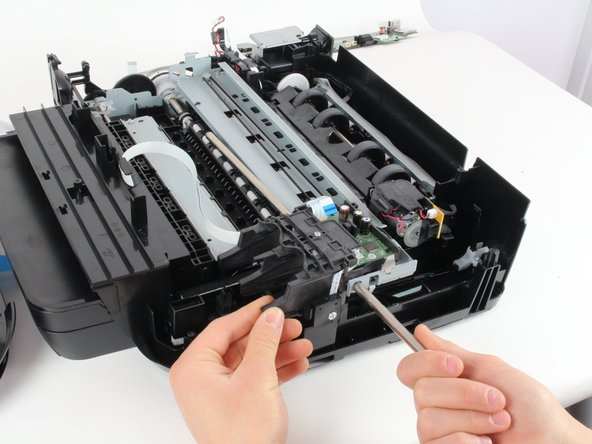
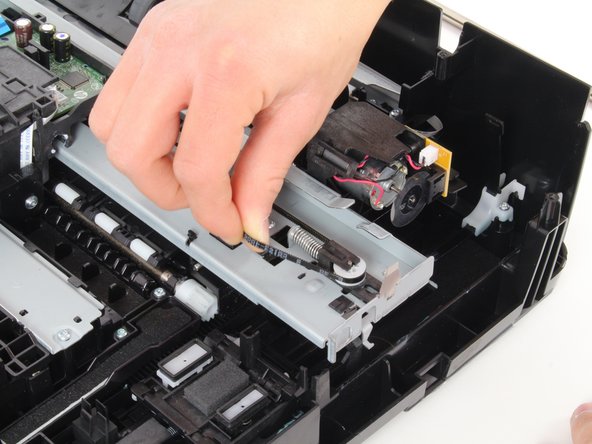
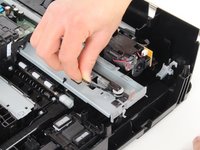
Grasp the black, elastic band firmly and pull out and away from the white plastic pulley; the printhead can now be lifted out of the printer.
-
-











To reassemble your device, follow these instructions in reverse order.
Cancel: I did not complete this guide.
2 other people completed this guide.

Team

Cal Poly, Team S1-G2, Livingston Winter 2018 Member of Cal Poly, Team S1-G2, Livingston Winter 2018
CPSU-LIVINGSTON-W18S1G2
3 Members
60 Guides authored
