Free Shipping on Domestic Orders $75+

HP Envy 700-030qe CD Drive Replacement

What you need

  1. HP Envy 700-030qe CD Drive Replacement, CD Drive: step 1, image 1 of 2 HP Envy 700-030qe CD Drive Replacement, CD Drive: step 1, image 2 of 2
    • Make sure that you are wearing your anti-static wristband. This will prevent damaging any internal parts with any built up static electricity.

    • Unscrew the 10.5mm screw on the left of the desktop using your hand.

    • If it is too tight you may use a torx-head screwdriver or a flat-head screwdriver.

    Ask FixBot

    Add Comment

  2. HP Envy 700-030qe CD Drive Replacement: step 2, image 1 of 2 HP Envy 700-030qe CD Drive Replacement: step 2, image 2 of 2
    • Remove the side panel by sliding it towards the back of the desktop and pulling up on it as shown.

    Ask FixBot

    Add Comment

  3. HP Envy 700-030qe CD Drive Replacement: step 3, image 1 of 1
    • For the next step, remove the CD drive power cable.

    Ask FixBot

    Add Comment

  4. HP Envy 700-030qe CD Drive Replacement: step 4, image 1 of 1
    • Reorient the device with the front pointing away from you.

    • Next, remove the SATA interface cable. It is directly next to the power cable on the CD drive.

    Ask FixBot

    Add Comment

  5. HP Envy 700-030qe CD Drive Replacement: step 5, image 1 of 1
    • Now pull up and swing the mounting lever in. The lever closest to the front mounts the top drive slot, and the lever farther away mounts the bottom one.

    Ask FixBot

    Add Comment

  6. HP Envy 700-030qe CD Drive Replacement: step 6, image 1 of 2 HP Envy 700-030qe CD Drive Replacement: step 6, image 2 of 2
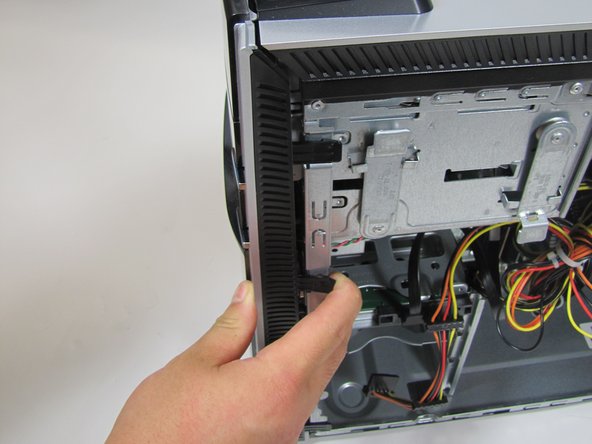
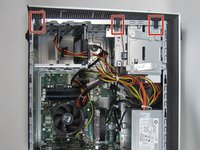
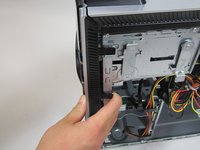
    • Now stand your desktop up and remove the 3 clips on the right side of the front panel.

    • Then pull the front panel off, pulling from the side that the clips are on.

    Ask FixBot

    Add Comment

  7. HP Envy 700-030qe CD Drive Replacement: step 7, image 1 of 1
    • Now you can pull the CD drive straight out of the casing!

    Ask FixBot

    Add Comment

Conclusion

To reassemble your device, follow these instructions in reverse order.

Cancel: I did not complete this guide.

One other person completed this guide.

Yoav Rosenberg

Member since: 10/01/15

396 Reputation

2 Guides authored

Team

Cal Poly, Team 5-9, Maness Fall 2015 Member of Cal Poly, Team 5-9, Maness Fall 2015

CPSU-MANESS-F15S5G9

4 Members

10 Guides authored

0 Guide Comments

Add Comment

View Statistics:

Past 24 Hours: 0

Past 7 Days: 2

Past 30 Days: 36

All Time: 1,628