Introduction
This guide will show you how to replace the glass scanner bed.
What you need
-
-
Remove the large flat ribbon cable by pinching the top and bottom of the cable between thumb and index finger and pulling away from the mother board.
-
Remove the small flat ribbon cable by pinching the top and bottom of the cable between thumb and index finger and pulling away from the mother board.
-
-
-
-
Remove the clip holding the scanner bed up by using the plastic opening tools. Prying the clip away from the the side of the scanner bed.
-
-
-
Using the plastic opening tools, pry between the outer shell and the main plastic frame.
-
-
-
Remove the black flat ribbon cable by pinching the top and bottom of the cable between thumb and index finger and pulling it away from the port.
-
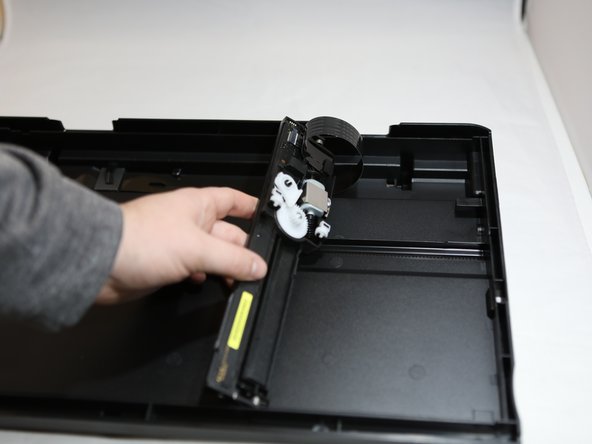
Lift the scanner bed in an upward motion out of the printer.
-
-
-
Remove the nine 14 mm T10 Hex screws located around the edge of the scanner bed (Bottom).
-
Pry the two plastic flanges outward to release the glass scanner bed.
-


 Ask FixBot




To reassemble your device, follow these instructions in reverse order.
Cancel: I did not complete this guide.
One other person completed this guide.

Team

Eastern Washington University, Team S1-G6, Carnegie Fall 2018 Member of Eastern Washington University, Team S1-G6, Carnegie Fall 2018
EWU-CARNEGIE-F18S1G6
4 Members
13 Guides authored
1 Guide Comment
step 4 - Remove the clip holding the scanner bed up by using the plastic opening tools. Prying the clip away from the the side of the scanner bed.
That clip is designed to be pulled toward the front of the printer to be released from the pin. And push the arm toward the back to snap back in place.
