Introduction
Is your HP Envy 17m-ae111dx getting really hot? If so, here is the guide to fix the problem with a replacement of the CPU fan. You will need is the iFixit Opening Tool, a 00 Phillips-head Screwdriver, and a T5 Torx-Head Screwdriver.
What you need
-
-
-
Remove the plastic covering to the Disk Reader.
-
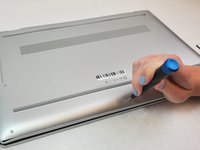
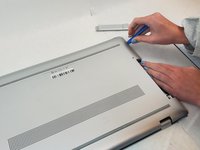
Locate the small hole on the side of the disk reader. Insert the T5 Torx head screwdriver (or device of similar thickness) to release the covering for the disk reader.
-
-
-
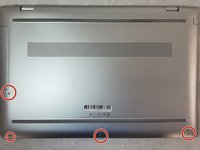
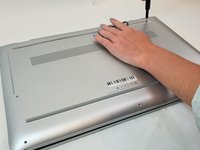
Unscrew all visible screws.
-
Use the T5 Torx Screwdriver and remove the four visible 6.5mm screws on the bottom of the laptop.
-
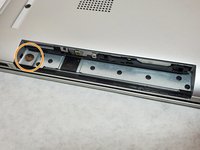
One 2.5mm screw, is located where the disk reader was once located. Use a Phillips #00 screwdriver to remove the single screw that connects the bottom cover of the laptop to the bottom frame.
-
-
-
-
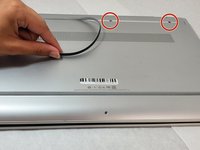
Pry the gripper completely off to expose the two screws.
-
Remove the 2.5mm screws under the gripper nearest to the hinge using the Phillips #00 screwdriver.
-
-
-
-
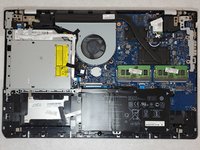
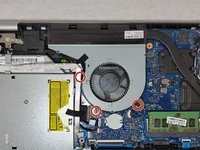
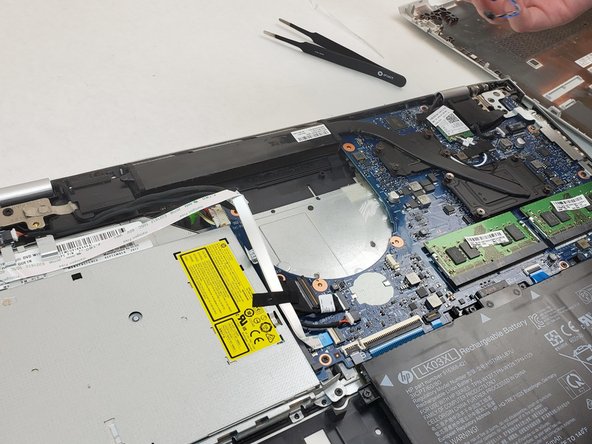
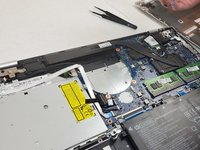
Use the Phillips #00 screwdriver to remove the three 5.5mm screws that secure the fan.
-
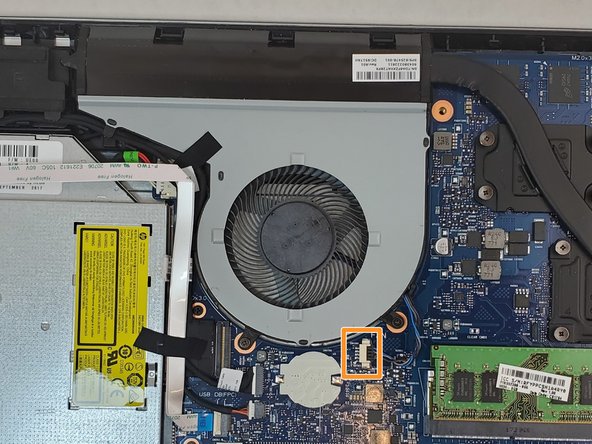
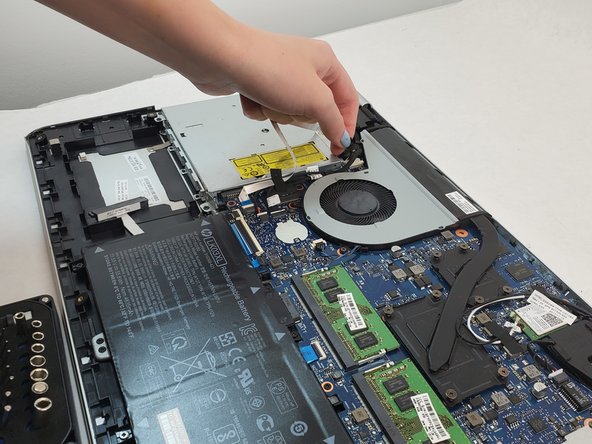
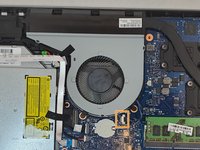
Unplug the wire that is connected to the fan and move the wires so they are out of the way of the fan.
-
Remove the tape off of the fan that is holding the wires in place against the fan.
-
-
-
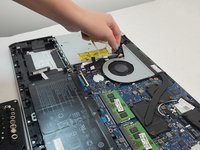
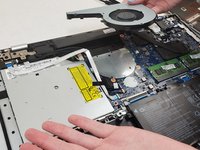
Remove the fan from the laptop, ensuring the wires are properly disconnected.
-
-

 Ask FixBot









To reassemble your device, follow these instructions in reverse order.
Cancel: I did not complete this guide.
4 other people completed this guide.

Team

Embry-Riddle Aeronautical University, Team S23-G5, McClure Fall 2019 Member of Embry-Riddle Aeronautical University, Team S23-G5, McClure Fall 2019
ERAU-MCCLURE-F19S23G5
4 Members
56 Guides authored
