Free Shipping on Domestic Orders $75+

HP Elitebook 2740p Screen Replacement

What you need

    1. HP Elitebook 2740p Screen Replacement, Battery: step 1, image 1 of 1
      • Slide the lock tab to the right.

      Ask FixBot
      Add Comment

    2. HP Elitebook 2740p Screen Replacement: step 2, image 1 of 1
      • Lift and remove the battery from the battery compartment.

      Ask FixBot
      Add Comment

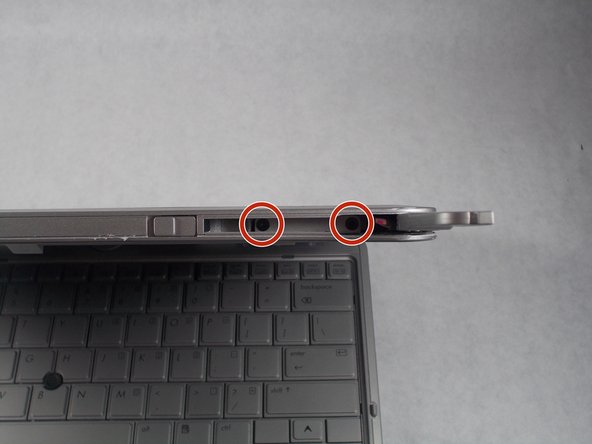
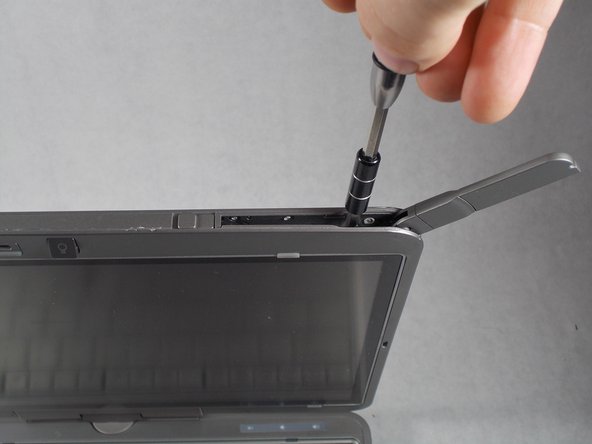
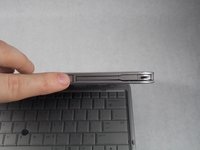
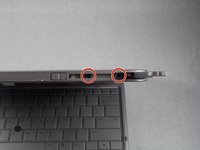
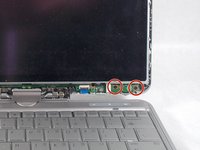
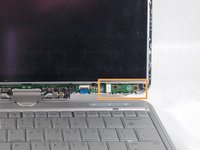
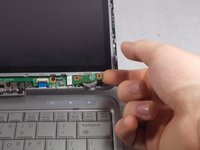
    1. HP Elitebook 2740p Screen Replacement, Screen: step 3, image 1 of 3 HP Elitebook 2740p Screen Replacement, Screen: step 3, image 2 of 3 HP Elitebook 2740p Screen Replacement, Screen: step 3, image 3 of 3
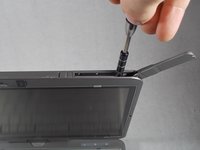
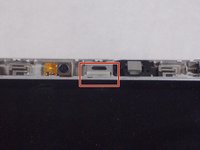
      • Locate the radio antenna on the right side of the top edge of the screen. Slide the latch to release the antenna.

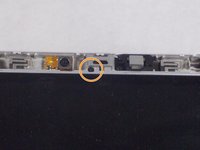
      • Use a Phillips #0 screwdriver to remove the two 4 mm screws recessed in the antenna housing.

      Ask FixBot
      Add Comment

    2. HP Elitebook 2740p Screen Replacement: step 4, image 1 of 3 HP Elitebook 2740p Screen Replacement: step 4, image 2 of 3 HP Elitebook 2740p Screen Replacement: step 4, image 3 of 3
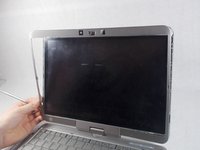
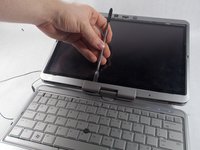
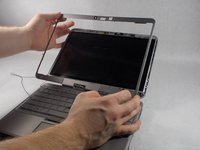
      • Use a metal spudger to separate bezel from laptop body. there are tabs holding the bezel on along the entire bezel.

      • Pay special attention to the hinge cover at the bottom. It has tabs at both the top and bottom.

      • Remove the bezel from the laptop.

      Ask FixBot

      Add Comment

    3. HP Elitebook 2740p Screen Replacement: step 5, image 1 of 3 HP Elitebook 2740p Screen Replacement: step 5, image 2 of 3 HP Elitebook 2740p Screen Replacement: step 5, image 3 of 3
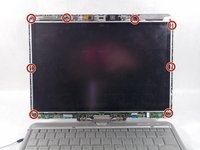
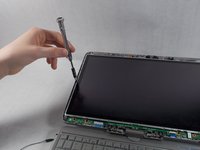
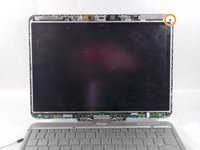
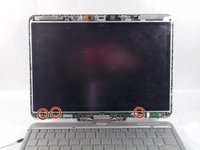
      • Use a Phillips #0 screwdriver to remove the eight 4 mm screws that hold the frame of the screen in place.

      • Use a Phillips #00 screwdriver to remove the single 3 mm screw at the corner of the frame.

      Ask FixBot
      Add Comment

    4. HP Elitebook 2740p Screen Replacement: step 6, image 1 of 3 HP Elitebook 2740p Screen Replacement: step 6, image 2 of 3 HP Elitebook 2740p Screen Replacement: step 6, image 3 of 3
      • Use a Phillips #0 screwdriver to remove the two 4 mm screws that hold the tilt button in place.

      • Remove the tilt button.

      Ask FixBot
      Add Comment

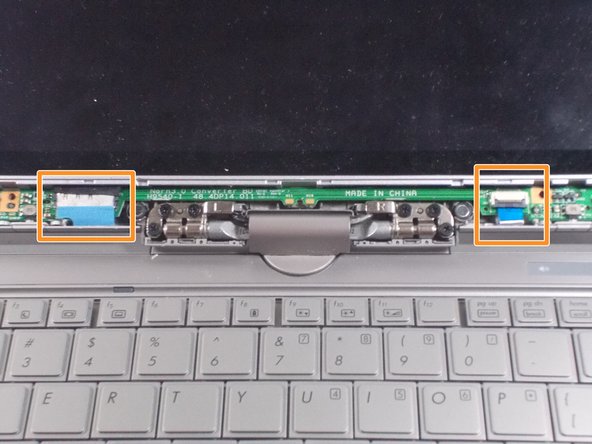
    5. HP Elitebook 2740p Screen Replacement: step 7, image 1 of 3 HP Elitebook 2740p Screen Replacement: step 7, image 2 of 3 HP Elitebook 2740p Screen Replacement: step 7, image 3 of 3
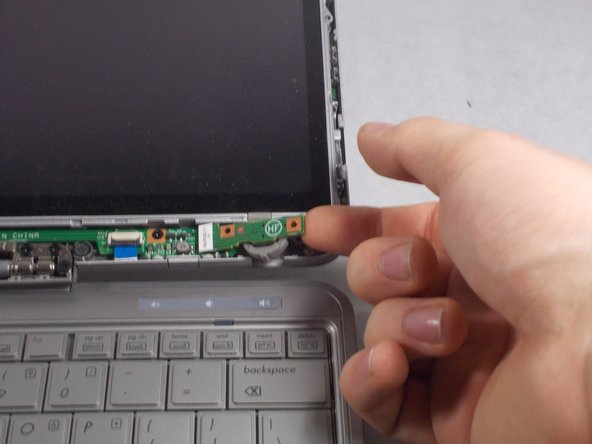
      • Use a Phillips #0 screwdriver to remove the three screws that secure the tablet-mode button board.

      • Disconnect the two blue ribbon cables and gently pull them free.

      • Remove the PCB board from the screen housing.

      Ask FixBot
      Add Comment

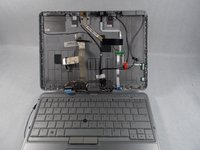
    6. HP Elitebook 2740p Screen Replacement: step 8, image 1 of 3 HP Elitebook 2740p Screen Replacement: step 8, image 2 of 3 HP Elitebook 2740p Screen Replacement: step 8, image 3 of 3
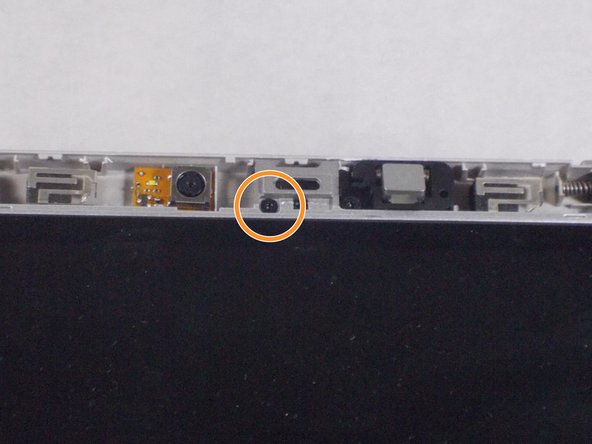
      • Remove the gray rubber pad at the top of the screen next to the camera.

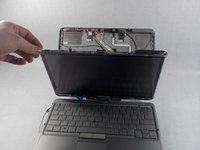
      • Remove the 3mm screw with a Phillips #0 screwdriver

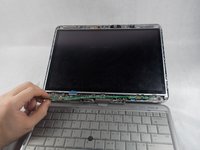
      • Carefully tilt the screen down onto the keayboard

      Ask FixBot
      Add Comment

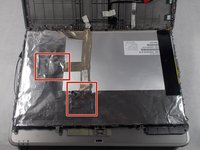
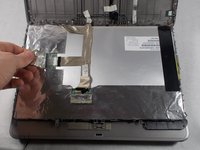
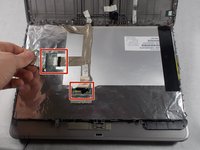
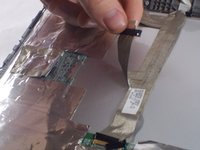
    7. HP Elitebook 2740p Screen Replacement: step 9, image 1 of 2 HP Elitebook 2740p Screen Replacement: step 9, image 2 of 2
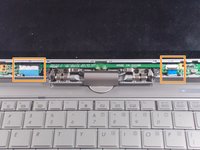
      • Fold the protective foil back from the ribbon cables.

      Ask FixBot
      Add Comment

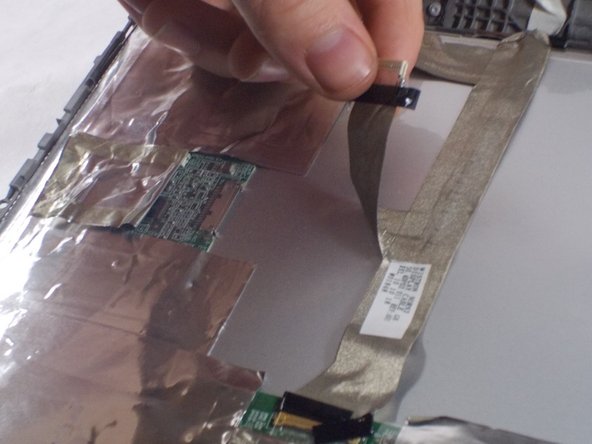
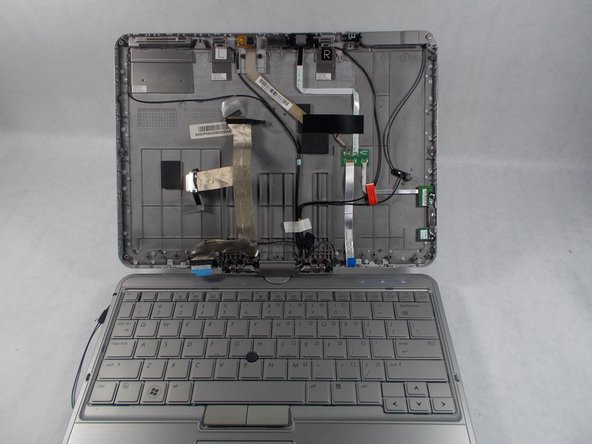
    8. HP Elitebook 2740p Screen Replacement: step 10, image 1 of 3 HP Elitebook 2740p Screen Replacement: step 10, image 2 of 3 HP Elitebook 2740p Screen Replacement: step 10, image 3 of 3
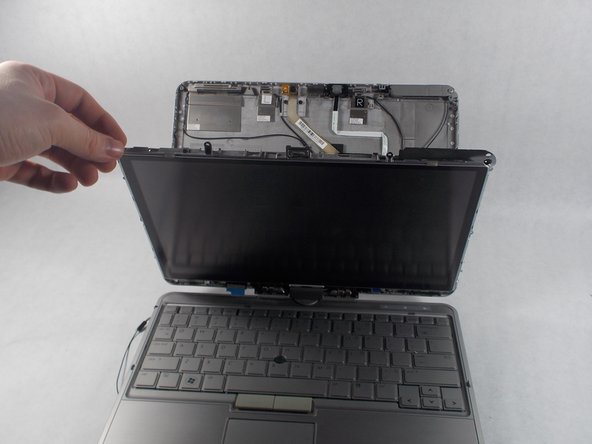
      • Unseat display ribbon cables.

      • Ribbon cables are secured with tape. Do not force the cables out of their sockets.
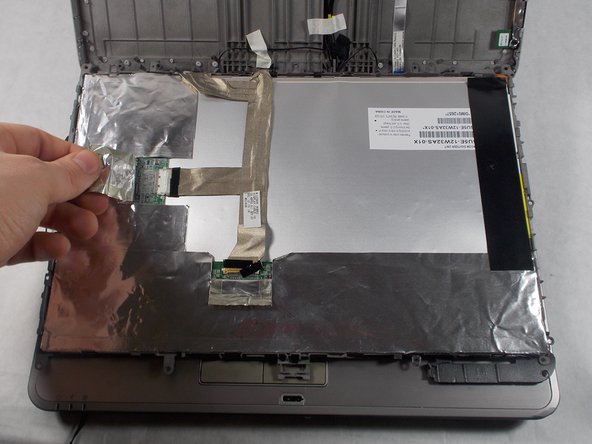
      • Remove the screen.

      Ask FixBot

      Add Comment

Conclusion

To reassemble your device, follow these instructions in reverse order.

Cancel: I did not complete this guide.

4 other people completed this guide.

Joseph Hazel

Member since: 03/24/17

353 Reputation

2 Guides authored

Team

0 Guide Comments

Add Comment

View Statistics:

Past 24 Hours: 0

Past 7 Days: 7

Past 30 Days: 39

All Time: 1,871