Free Shipping on Domestic Orders $75+

HP ElitePad 900 LCD Replacement

What you need

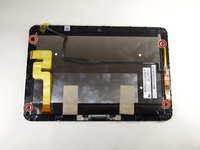
    1. HP ElitePad 900 LCD Replacement, Front Panel Assembly: step 1, image 1 of 1
      • Unscrew the two 2.8mm Phillips #000 screws near the power connector.

      Ask FixBot

      Add Comment

    2. HP ElitePad 900 LCD Replacement: step 2, image 1 of 2 HP ElitePad 900 LCD Replacement: step 2, image 2 of 2
      • Use a suction cup to pull the display assembly up.

      Ask FixBot

      Add Comment

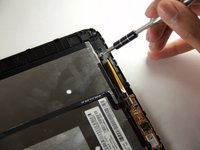
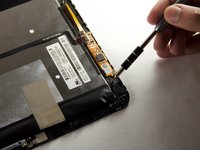
    3. HP ElitePad 900 LCD Replacement: step 3, image 1 of 2 HP ElitePad 900 LCD Replacement: step 3, image 2 of 2
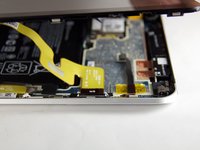
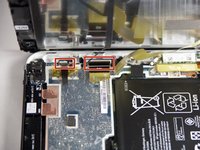
      • Use the tip of a spudger to disconnect the two display ZIF connectors.

      Ask FixBot

      Add Comment

    1. HP ElitePad 900 LCD Replacement, LCD: step 4, image 1 of 3 HP ElitePad 900 LCD Replacement, LCD: step 4, image 2 of 3 HP ElitePad 900 LCD Replacement, LCD: step 4, image 3 of 3
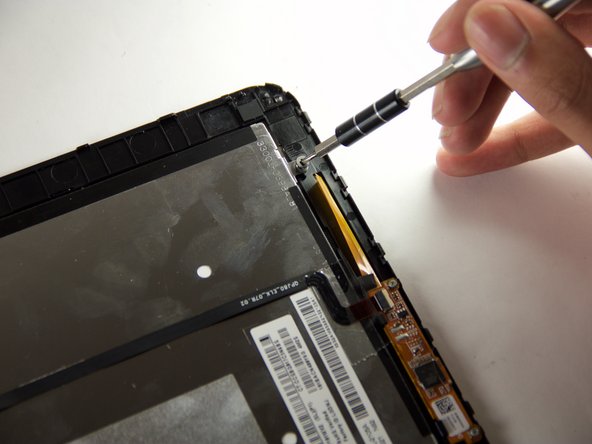
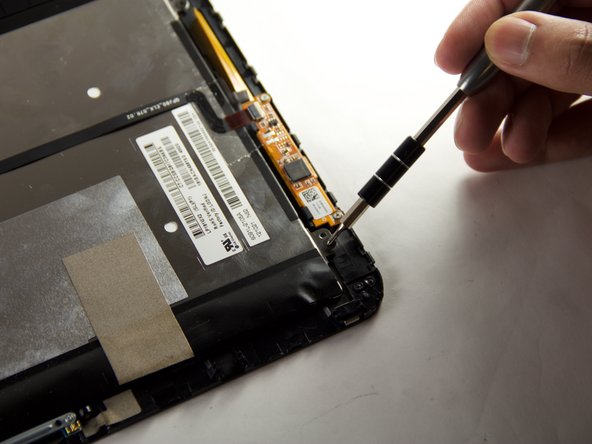
      • Remove the four 1.6mm Phillips #000 screws securing the LCD to the digitizer.

      Ask FixBot

      Add Comment

    2. HP ElitePad 900 LCD Replacement: step 5, image 1 of 1
      • Use the tip of a spudger to disconnect the ribbon cable ZIF connector.

      Ask FixBot

      Add Comment

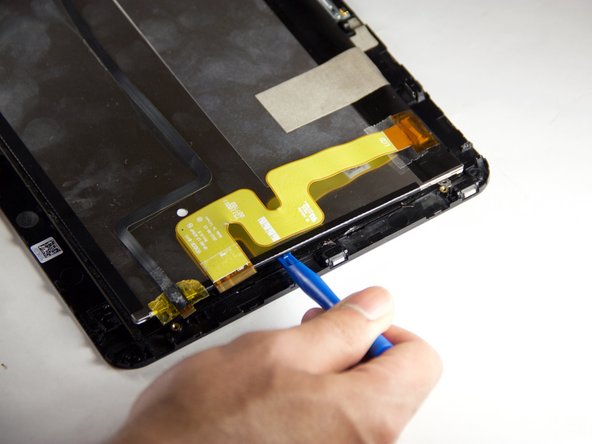
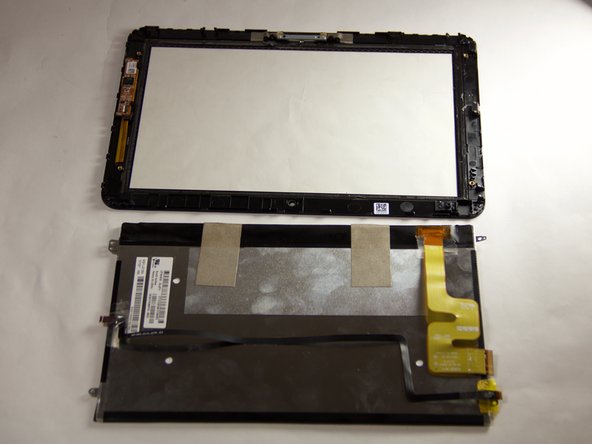
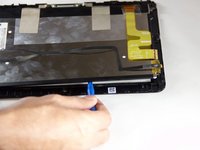
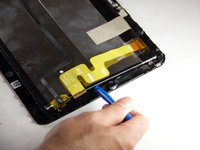
    3. HP ElitePad 900 LCD Replacement: step 6, image 1 of 3 HP ElitePad 900 LCD Replacement: step 6, image 2 of 3 HP ElitePad 900 LCD Replacement: step 6, image 3 of 3
      • Use a plastic opening tool to separate the LCD from the digitizer.

      Ask FixBot

      Add Comment

Conclusion

To reassemble your device, follow these instructions in reverse order.

Cancel: I did not complete this guide.

2 other people completed this guide.

Kyle Marques

Member since: 09/03/15

889 Reputation

6 Guides authored

Team

USF Tampa, Team 12-4, Blackwell Fall 2015 Member of USF Tampa, Team 12-4, Blackwell Fall 2015

USFT-BLACKWELL-F15S12G4

4 Members

72 Guides authored

0 Guide Comments

Add Comment

View Statistics:

Past 24 Hours: 4

Past 7 Days: 29

Past 30 Days: 48

All Time: 1,691