
HP EliteBook x360 830 G7 Solid State Drive Replacement

Emily Kaplan and 4 other contributors
Last updated on May 18, 2023
Views: 2.6K
View statistics:
- Past 24 Hours:
- 4
- Past 7 Days:
- 25
- Past 30 Days:
- 97
- All Time:
- 2,617
Comments: 0
No one has left comments on this guide. Will you be first?
Go to guide commentsCompleted: 1 2
1 person has marked this guide "completed." Will you be next?
2 people have marked this guide "completed." Including you — great job!
Favorites: 2 3
2 people have favorited (and subscribed to) this guide. Will you be next?
3 people have favorited (and subscribed to) this guide — including you!
Introduction
Go to step 1 ↓This guide will help you replace the solid state drive from your HP EliteBook x360 830 G7 laptop.
The SSD is a piece of hardware that stores the digital content and data on your computer. The signs of a failing disk drive include overheating, unusual noises, program crashes, and/or a blue screen error.
Before using this guide, be sure to check out the troubleshooting page- sometimes malware and viruses can be removed without replacing the SSD.
NOTE: Make sure to back up your SSD in order to ensure that you do not lose any data.
Power off and disconnect the laptop from any power source before starting.
What you need
Fix Kit
This kit contains all the parts and tools needed to complete this guide.

Parts


Tools


-
-
-
Turn the computer over so the back is facing up.
-
Use a Torx T5 screwdriver to remove the three 9 mm screws from the hinge of the device.
-
Use a Torx T5 screwdriver to remove the two 7 mm screws from the left and right mid-section of the case.
-
Lift the backplate from the computer.
 Ask FixBot
-
-
-
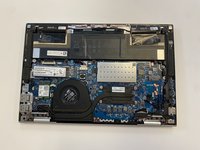
Lift the metal shielding off of the solid state drive.
-
-
-
-
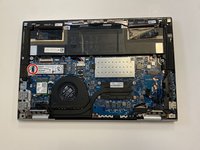
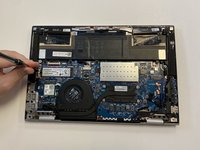
Use a Phillips #0 screwdriver to remove the 4 mm screw that secures the SSD.
-
-



To reassemble your device, follow these instructions in reverse order.
Cancel: I did not complete this guide.
One other person completed this guide.

Team

University of Alabama, Team 2-1, Bedsole Spring 2022 Member of University of Alabama, Team 2-1, Bedsole Spring 2022
UA-BEDSOLE-S22S2G1
4 Members
60 Guides authored
