Introduction
There are many ways screens can get damaged, and sometimes it is hard to identify a damaged screen if doesn’t work and it’s not cracked. If you do believe the screen is bad, don’t worry, replacing the screen is not as bad as you think. This guide will show you how to replace the screen in an HP EliteBook 8530w laptop.
What you need
-
-
-
Turn the laptop off then place it down so that the back is facing up.
-
Slide the battery release switch to the left and hold it there.
 Ask FixBot
-
-
-
Pull the battery away upward and away from the laptop while continuing to hold the release switch.
-
-
-
-
-
-
Turn the laptop off then place it down so that the top is facing up, then open the laptop.
-
Remove the six screws around the screen bezel using a Phillips #00 screwdriver.
-
-
-
Using a plastic opening tool, gently pry the bezel from the screen on all four sides.
-
Remove the bezel.
-
-
-
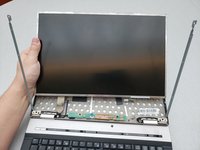
Lift the screen from the frame at the top of the laptop.
-
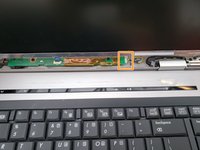
At the bottom of the screen, there will be a cable connected to the body of the laptop. Remove this cable.
-
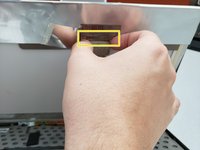
On the back of the screen, there will be a ribbon cable that connects to it. Remove this cable by pinching the two tabs on the ends of the connector and pull outwards.
-
-
-
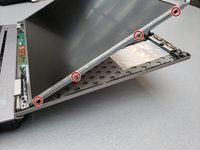
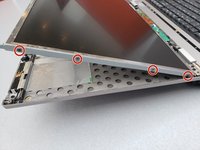
The screen is being held in place by eight screws on the left and right side. Remove these eight screws with a Phillips #00 screwdriver.
-
Remove the screen.
-
-


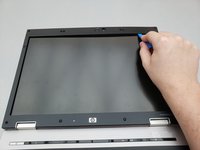
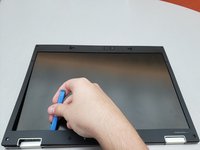
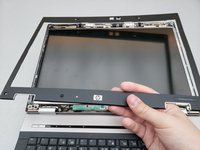


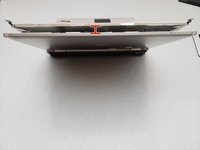


To reassemble your device, follow these instructions in reverse order.
Cancel: I did not complete this guide.
One other person completed this guide.

Team

Embry-Riddle Aeronautical University, Team S14-G6, Lamothe Spring 2020 Member of Embry-Riddle Aeronautical University, Team S14-G6, Lamothe Spring 2020
ERAU-LAMOTHE-S20S14G6
3 Members
60 Guides authored
2 Guide Comments
Hi! I have this laptop and i got a problem. Laptop starts but it's not showing nothing on the screen. If i remove the RAM memory i cannot here any sound from the motherboard so i think that the problem it is not in the screen and it's on the motherboard. What kind of test i could make to check my theory? Could be the BIOS too? Any help pls
Hi I have a similar laptop, the 8540w that I want to keep working with it's DreamColor screen, but the plastic tabs on the flat ribbon cable connector fell apart. Do you recommend using a solder iron to remove and then replace the connector or could a non-conductive polymide tape work to hold the ribbon in place? It's disappointing that plastic deteriorates, otherwise, it's a functional laptop.
