Free Shipping on Domestic Orders $75+

HP EliteBook 850 G3 Fan Replacement

Views: 3.7K

View statistics:

Past 24 Hours:
2
Past 7 Days:
21
Past 30 Days:
95
All Time:
3,688
Comments: 0

No one has left comments on this guide. Will you be first?

Go to guide comments
Completed: 2

2 people have marked this guide "completed." Will you be next?

Favorites: 0

No one has favorited (and subscribed to) this guide. Will you be the first?

Time Required: 10 - 20 minutes
Difficulty: Moderate
HP EliteBook 850 G3 Fan Replacement

Introduction

Go to step 1 ↓

If your HP EliteBook 850 G3 is overheating and the fan is not operating, use this guide to replace the fan. Fans are used to draw cooler air into the case from the outside, expel warm air from inside and move air across a heat sink to cool various components. When a fan is faulty the computer may overheat and perform sub-optimally, and also potentially shut down under heavy loads. Before using this guide, feel free to check out the troubleshooting page to see if any issues can be resolved without a replacement.

What you need

Tools

    1. HP EliteBook 850 G3 Fan Replacement, Battery: step 1, image 1 of 1
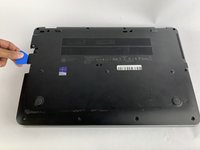
      • Turn off your laptop before starting.

      • Flip the laptop over so the model stickers face up.

      Ask FixBot
      Add Comment

    2. HP EliteBook 850 G3 Fan Replacement, Unscrew the bottom: step 2, image 1 of 2 HP EliteBook 850 G3 Fan Replacement, Unscrew the bottom: step 2, image 2 of 2
      • Use a Phillips #0 screwdriver to remove eleven 5.7mm screws.

      Ask FixBot

      Add Comment

    3. HP EliteBook 850 G3 Fan Replacement: step 3, image 1 of 2 HP EliteBook 850 G3 Fan Replacement: step 3, image 2 of 2
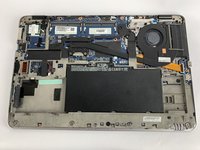
      • Insert the iFixit opening pick underneath the plastic back of the laptop. Use force to pry the back off.

      Ask FixBot
      Add Comment

    4. HP EliteBook 850 G3 Fan Replacement, Remove the battery screws: step 4, image 1 of 2 HP EliteBook 850 G3 Fan Replacement, Remove the battery screws: step 4, image 2 of 2
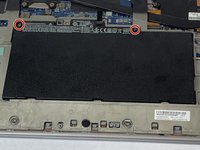
      • Use the Phillips #0 screwdriver to remove the two battery screws.

      • The two battery screws are captured screws and do not come out.

      Ask FixBot
      Add Comment

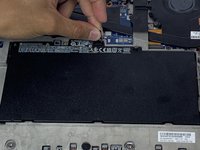
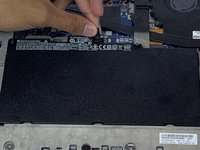
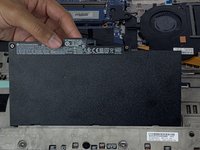
    5. HP EliteBook 850 G3 Fan Replacement, Lift the battery: step 5, image 1 of 3 HP EliteBook 850 G3 Fan Replacement, Lift the battery: step 5, image 2 of 3 HP EliteBook 850 G3 Fan Replacement, Lift the battery: step 5, image 3 of 3
      • Lift and pull the flap located at the top of the battery to remove it.

      Ask FixBot
      Add Comment

    1. HP EliteBook 850 G3 Fan Replacement, Fan: step 6, image 1 of 1
      • Gently unclip the plastic frame.

      Ask FixBot
      Add Comment

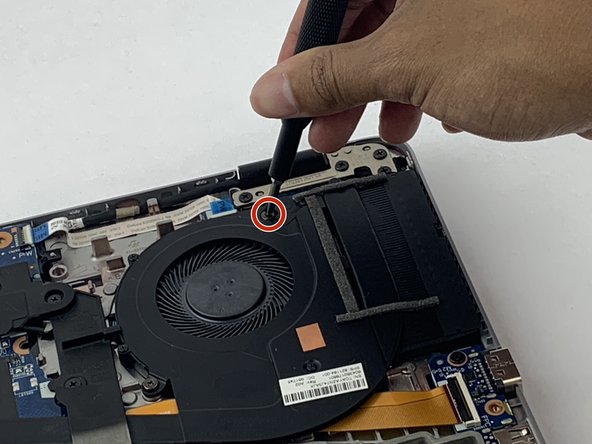
    2. HP EliteBook 850 G3 Fan Replacement: step 7, image 1 of 3 HP EliteBook 850 G3 Fan Replacement: step 7, image 2 of 3 HP EliteBook 850 G3 Fan Replacement: step 7, image 3 of 3
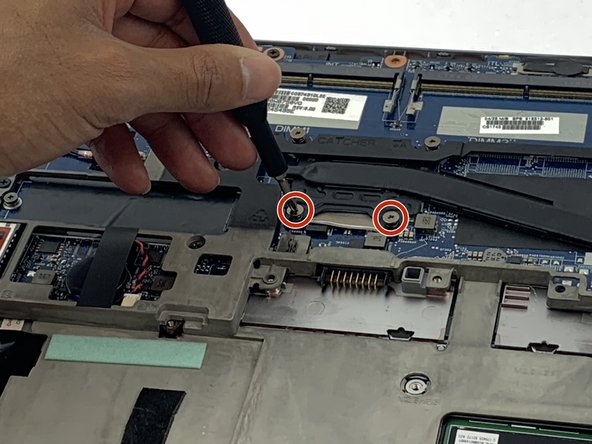
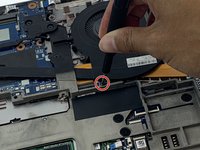
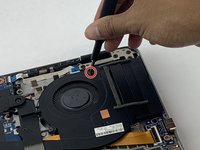
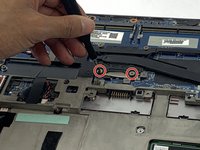
      • Use a Phillips #0 screwdriver to unscrew the four captive screws located near the fan and heatsink assembly.

      Ask FixBot
      Add Comment

    3. HP EliteBook 850 G3 Fan Replacement: step 8, image 1 of 2 HP EliteBook 850 G3 Fan Replacement: step 8, image 2 of 2
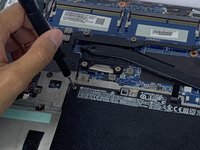
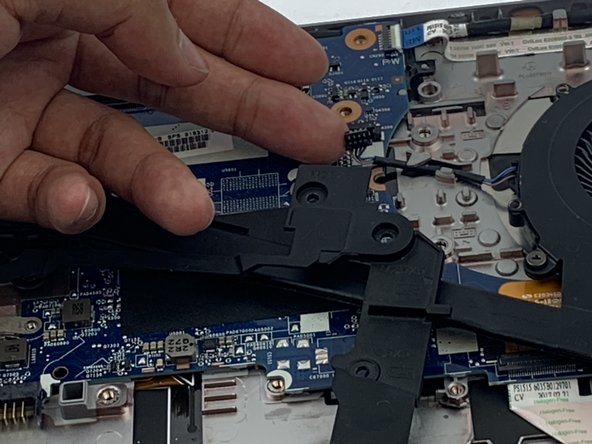
      • Carefully remove the connector for the fan.

      Ask FixBot

      Add Comment

    4. HP EliteBook 850 G3 Fan Replacement: step 9, image 1 of 3 HP EliteBook 850 G3 Fan Replacement: step 9, image 2 of 3 HP EliteBook 850 G3 Fan Replacement: step 9, image 3 of 3
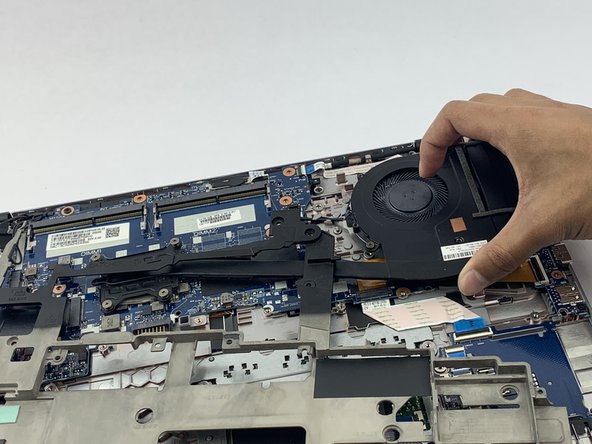
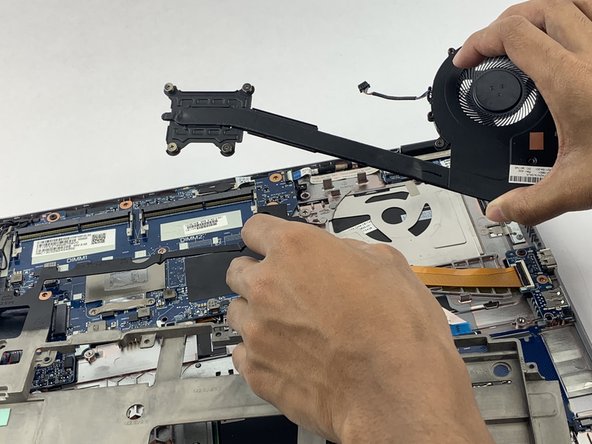
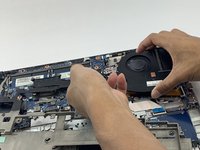
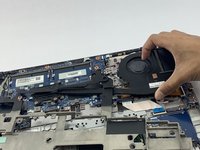
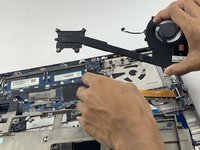
      • Carefully remove the fan and heatsink assembly from the laptop.

      Ask FixBot

      Add Comment

Conclusion

To reassemble your device, follow these instructions in reverse order.

Cancel: I did not complete this guide.

2 other people completed this guide.

Annabeth Grover

Member since: 10/10/19

1,117 Reputation

5 Guides authored

Team

USF Tampa, Team S1-G1, Leahy Fall 2019 Member of USF Tampa, Team S1-G1, Leahy Fall 2019

USFT-LEAHY-F19S1G1

4 Members

60 Guides authored

0 Guide Comments

Add Comment

View Statistics:

Past 24 Hours: 2

Past 7 Days: 21

Past 30 Days: 95

All Time: 3,688