Free Shipping on Domestic Orders $75+

HP EliteBook 850 G3 Display Assembly Replacement

What you need

    1. HP EliteBook 850 G3 Display Assembly Replacement, Battery: step 1, image 1 of 1
      • Turn off your laptop before starting.

      • Flip the laptop over so the model stickers face up.

      Ask FixBot

      Add Comment

    2. HP EliteBook 850 G3 Display Assembly Replacement, Unscrew the bottom: step 2, image 1 of 2 HP EliteBook 850 G3 Display Assembly Replacement, Unscrew the bottom: step 2, image 2 of 2
      • Use a Phillips #0 screwdriver to remove eleven 5.7mm screws.

      Ask FixBot

      Add Comment

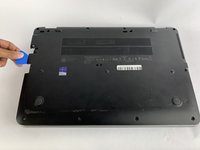
    3. HP EliteBook 850 G3 Display Assembly Replacement: step 3, image 1 of 2 HP EliteBook 850 G3 Display Assembly Replacement: step 3, image 2 of 2
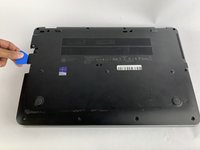
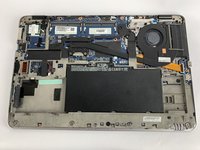
      • Insert the iFixit opening pick underneath the plastic back of the laptop. Use force to pry the back off.

      Ask FixBot
      Add Comment

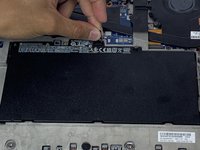
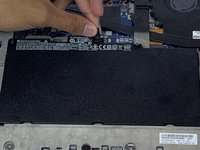
    4. HP EliteBook 850 G3 Display Assembly Replacement, Remove the battery screws: step 4, image 1 of 2 HP EliteBook 850 G3 Display Assembly Replacement, Remove the battery screws: step 4, image 2 of 2
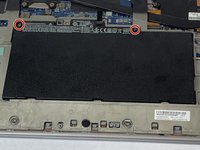
      • Use the Phillips #0 screwdriver to remove the two battery screws.

      • The two battery screws are captured screws and do not come out.

      Ask FixBot
      Add Comment

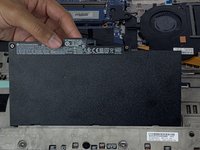
    5. HP EliteBook 850 G3 Display Assembly Replacement, Lift the battery: step 5, image 1 of 3 HP EliteBook 850 G3 Display Assembly Replacement, Lift the battery: step 5, image 2 of 3 HP EliteBook 850 G3 Display Assembly Replacement, Lift the battery: step 5, image 3 of 3
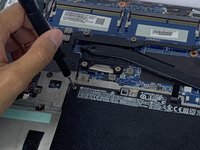
      • Lift and pull the flap located at the top of the battery to remove it.

      Ask FixBot

      Add Comment

    1. HP EliteBook 850 G3 Display Assembly Replacement, WiFi Card: step 6, image 1 of 1
      • Turn off your laptop before starting

      • Flip the laptop over so the model stickers face the ceiling.

      Ask FixBot
      Add Comment

    2. HP EliteBook 850 G3 Display Assembly Replacement: step 7, image 1 of 2 HP EliteBook 850 G3 Display Assembly Replacement: step 7, image 2 of 2
      • Use a Phillips #0 screwdriver to remove eleven 5.7mm screws.

      Ask FixBot
      Add Comment

    3. HP EliteBook 850 G3 Display Assembly Replacement: step 8, image 1 of 2 HP EliteBook 850 G3 Display Assembly Replacement: step 8, image 2 of 2
      • Insert the iFixit opening pick underneath the plastic back of the laptop. Use force to pry back off.

      Ask FixBot
      Add Comment

    4. HP EliteBook 850 G3 Display Assembly Replacement: step 9, image 1 of 1
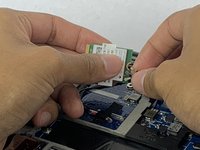
      • Use the Phillips #0 screwdriver to remove the 3.3mm screw on the WiFi card.

      Ask FixBot
      Add Comment

    5. HP EliteBook 850 G3 Display Assembly Replacement: step 10, image 1 of 2 HP EliteBook 850 G3 Display Assembly Replacement: step 10, image 2 of 2
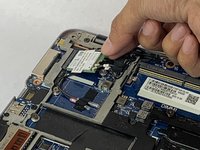
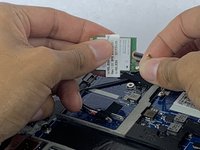
      • Slide out the WiFi card.

      Ask FixBot
      Add Comment

    6. HP EliteBook 850 G3 Display Assembly Replacement: step 11, image 1 of 3 HP EliteBook 850 G3 Display Assembly Replacement: step 11, image 2 of 3 HP EliteBook 850 G3 Display Assembly Replacement: step 11, image 3 of 3
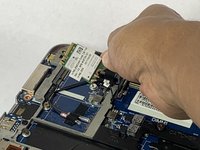
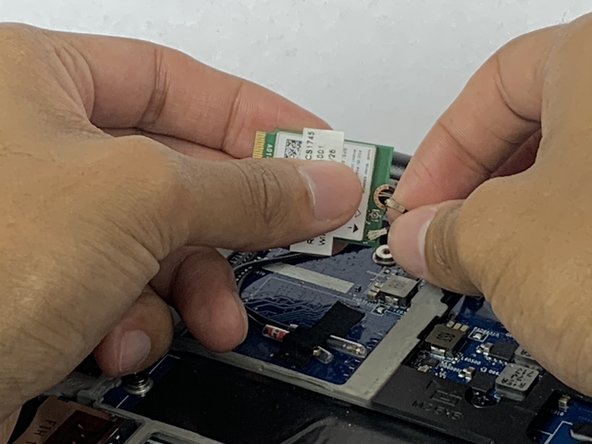
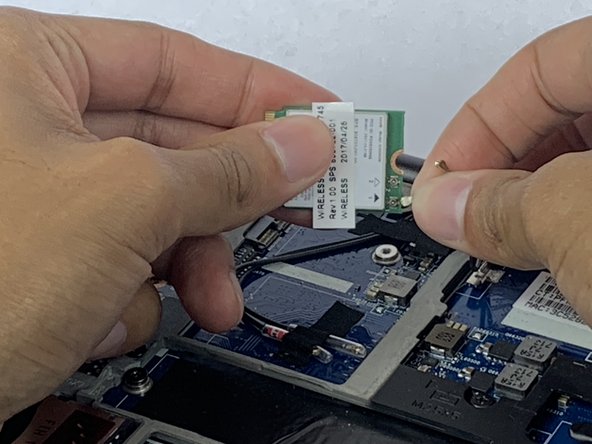
      • Disconnect the primary and secondary antenna wires from the WiFi card.

      • These are often marked with a white #1 and a black #2 (if there are two they are always marked.) note orientation to make clipping them onto your replacement card a little easier.

      Ask FixBot

      Add Comment

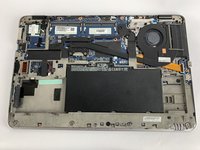
    1. HP EliteBook 850 G3 Display Assembly Replacement, Fan: step 12, image 1 of 1
      • Gently unclip the plastic frame.

      Ask FixBot

      Add Comment

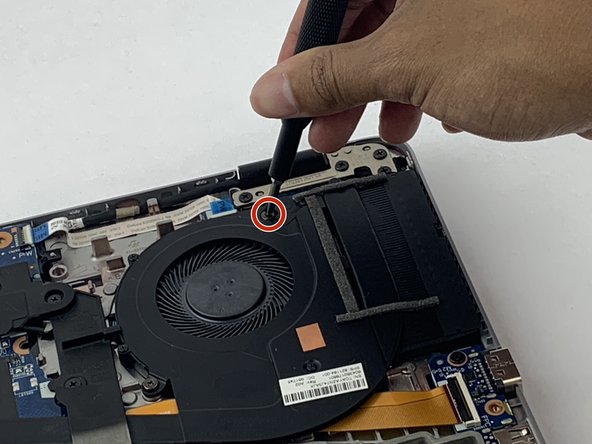
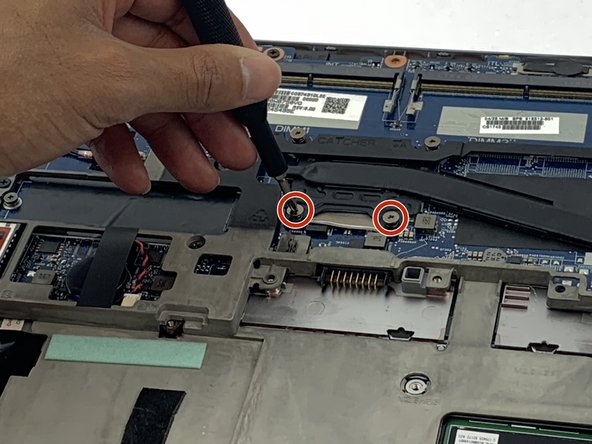
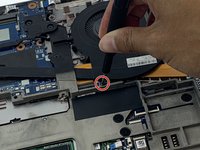
    2. HP EliteBook 850 G3 Display Assembly Replacement: step 13, image 1 of 3 HP EliteBook 850 G3 Display Assembly Replacement: step 13, image 2 of 3 HP EliteBook 850 G3 Display Assembly Replacement: step 13, image 3 of 3
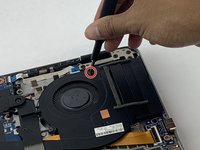
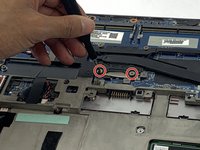
      • Use a Phillips #0 screwdriver to unscrew the four captive screws located near the fan and heatsink assembly.

      Ask FixBot

      Add Comment

    3. HP EliteBook 850 G3 Display Assembly Replacement: step 14, image 1 of 2 HP EliteBook 850 G3 Display Assembly Replacement: step 14, image 2 of 2
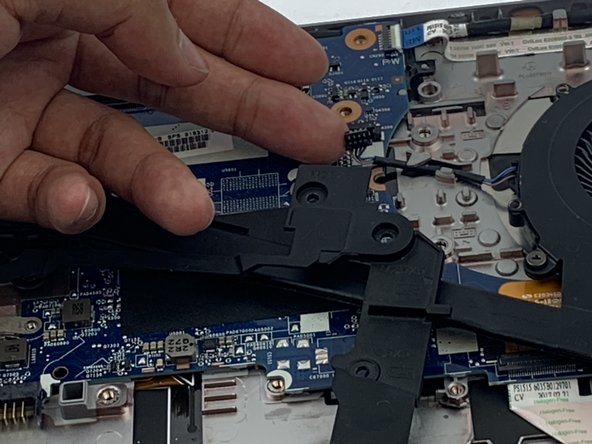
      • Carefully remove the connector for the fan.

      Ask FixBot

      Add Comment

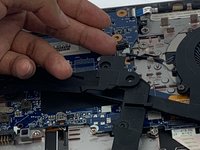
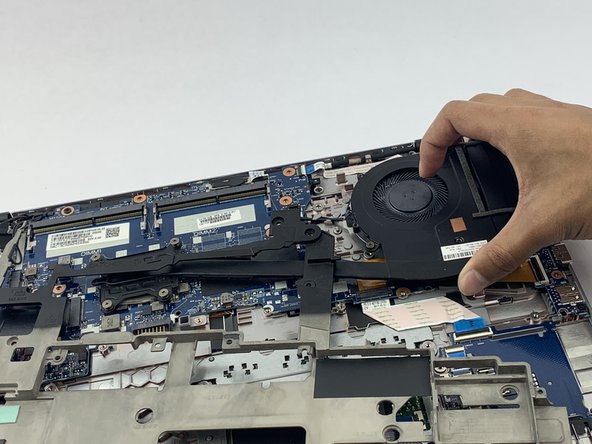
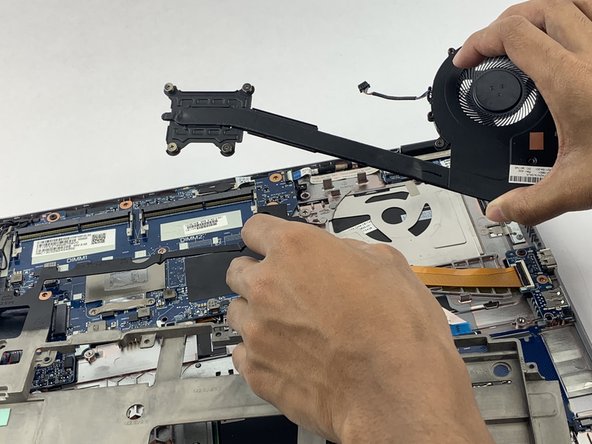
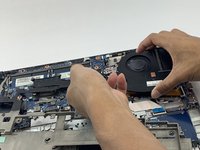
    4. HP EliteBook 850 G3 Display Assembly Replacement: step 15, image 1 of 3 HP EliteBook 850 G3 Display Assembly Replacement: step 15, image 2 of 3 HP EliteBook 850 G3 Display Assembly Replacement: step 15, image 3 of 3
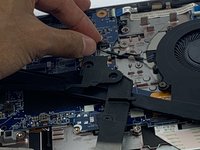
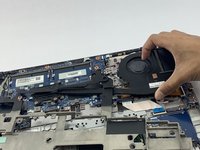
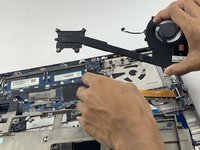
      • Carefully remove the fan and heatsink assembly from the laptop.

      Ask FixBot

      Add Comment

    1. HP EliteBook 850 G3 Display Assembly Replacement, Display Assembly: step 16, image 1 of 2 HP EliteBook 850 G3 Display Assembly Replacement, Display Assembly: step 16, image 2 of 2
      • Use the Phillips #0 screwdriver to remove the 7.7mm screw and six 5.8 mm screws from the corners inside the laptop.

      Ask FixBot

      Add Comment

    2. HP EliteBook 850 G3 Display Assembly Replacement: step 17, image 1 of 1
      • Use the Phillips #0 screwdriver to remove the 5.7 mm screw under the plastic frame.

      Ask FixBot

      Add Comment

    3. HP EliteBook 850 G3 Display Assembly Replacement: step 18, image 1 of 1
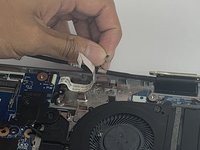
      • Use the opening pick to unplug the cable with the black tab on top.

      Ask FixBot

      Add Comment

    4. HP EliteBook 850 G3 Display Assembly Replacement: step 19, image 1 of 3 HP EliteBook 850 G3 Display Assembly Replacement: step 19, image 2 of 3 HP EliteBook 850 G3 Display Assembly Replacement: step 19, image 3 of 3
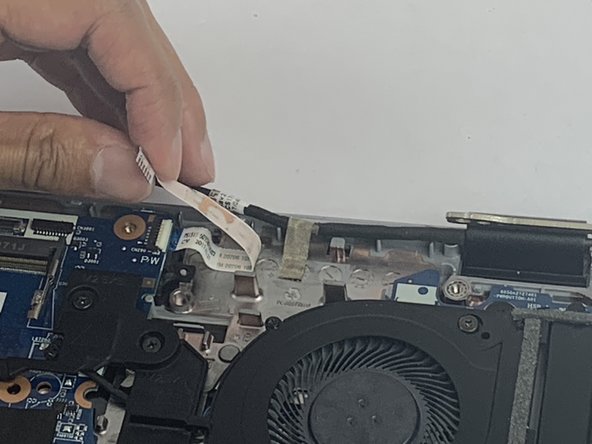
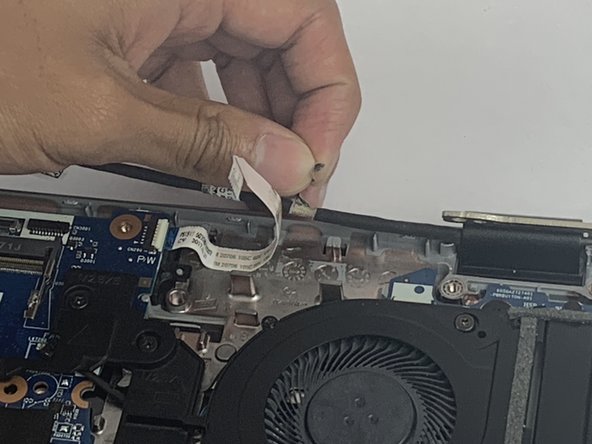
      • Disconnect wire over gold tape and remove tape. You will have to peel the wire up to get to the tape.

      • The tape is not reusable.

      Ask FixBot

      Add Comment

    5. HP EliteBook 850 G3 Display Assembly Replacement: step 20, image 1 of 2 HP EliteBook 850 G3 Display Assembly Replacement: step 20, image 2 of 2
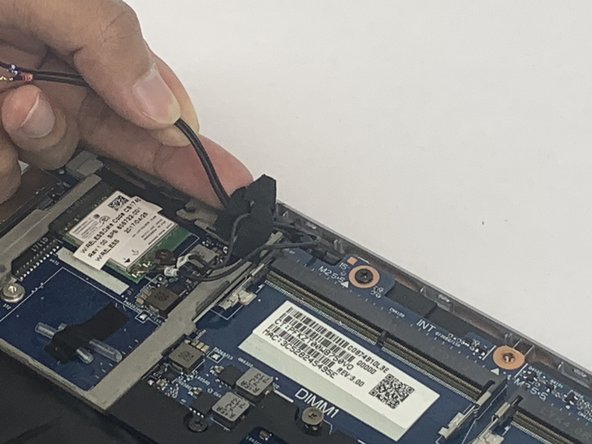
      • Remove the coaxial cables from the wifi card and from clear plastic holds. Remove the black tape and slip out from black clip.

      • This tape is not reusable.

      Ask FixBot

      Add Comment

    6. HP EliteBook 850 G3 Display Assembly Replacement: step 21, image 1 of 2 HP EliteBook 850 G3 Display Assembly Replacement: step 21, image 2 of 2
      • Open the top of the laptop and bend the hinges so that the metal bits in the corners will come up.

      Ask FixBot

      Add Comment

    7. HP EliteBook 850 G3 Display Assembly Replacement: step 22, image 1 of 2 HP EliteBook 850 G3 Display Assembly Replacement: step 22, image 2 of 2
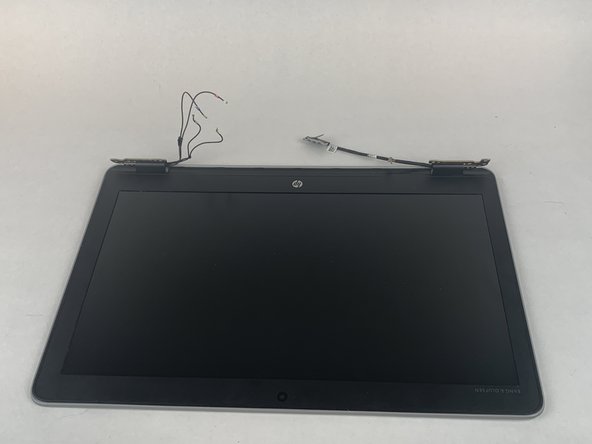
      • Take the display assembly off.

      Ask FixBot

      Add Comment

Conclusion

To reassemble your device, follow these instructions in reverse order.

Cancel: I did not complete this guide.

2 other people completed this guide.

Annabeth Grover

Member since: 10/10/19

1,075 Reputation

5 Guides authored

Team

USF Tampa, Team S1-G1, Leahy Fall 2019 Member of USF Tampa, Team S1-G1, Leahy Fall 2019

USFT-LEAHY-F19S1G1

4 Members

60 Guides authored

3 Guide Comments

looks like there are duplicate steps for cover removal.

Cody White - Reply Share

do tou have tuchscreen assenbly for same nmodel ??

shiva netra - Reply Share

do upu have couch scfeen assembly for this model ; hp elitebook 450g3

shiva netra - Reply Share

Add Comment

View Statistics:

Past 24 Hours: 1

Past 7 Days: 8

Past 30 Days: 47

All Time: 3,721