
HP EliteBook 820 G3 Keyboard Replacement

Caleb Morales and 2 other contributors
Last updated on Dec 27, 2022
Views: 3.1K
View statistics:
- Past 24 Hours:
- 8
- Past 7 Days:
- 48
- Past 30 Days:
- 158
- All Time:
- 3,061
Comments: 2
1 comment on steps, 1 guide comment.
Go to guide commentsCompleted: 6 7
6 people have marked this guide "completed." Will you be next?
7 people have marked this guide "completed." Including you — great job!
Favorites: 0 1
No one has favorited (and subscribed to) this guide. Will you be the first?
1 person has favorited (and subscribed to) this guide — and that's you!
Introduction
Go to step 1 ↓This guide will show you how to replace the keyboard for the HP EliteBook 820 G3 laptop. If any of the keys do not work or the small track pad on the keyboard does not work, the keyboard will need to be replaced. Before beginning, power off the device and disconnect any external power supply.
What you need
Tools


-
-
-
Remove the SD card blank and the single 3 mm screw beneath it using a Phillips #00 screwdriver.
-
Lift off the back cover with your hands.
-
-
-
-
-
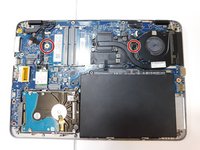
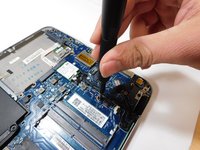
Remove the two 3.4 mm keyboard screws found near the fan and on top of the hard drive using a Phillips #00 screwdriver.
-
-
-
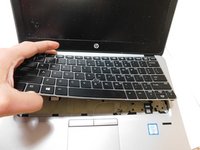
Use an iFixit opening pick to gently pry open the top of the keyboard.
-
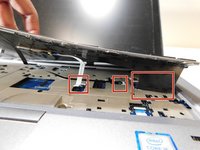
Gently pull the keyboard up until you can see the three ribbons under the keyboard.
-
-
-
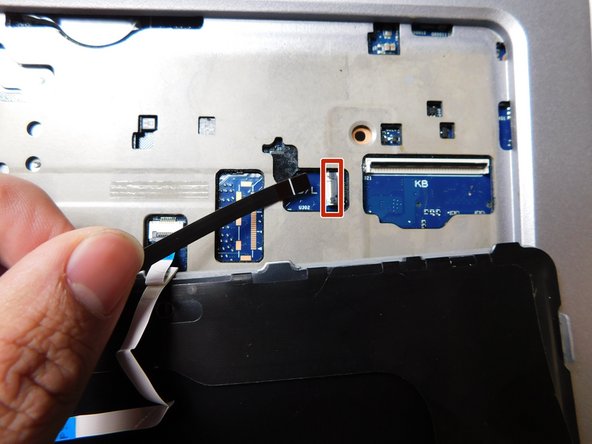
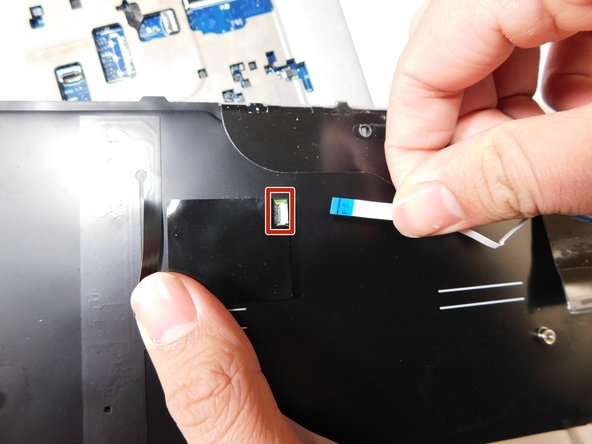
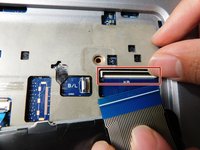
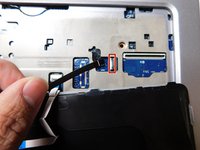
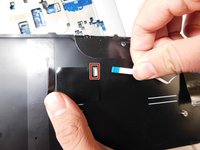
Lift up the latch holding down the ribbon and pull the ribbon out once it is lifted.
-
Repeat for all three of the ribbons.
-
-


 Ask FixBot






To reassemble your device, follow these instructions in reverse order.
Cancel: I did not complete this guide.
6 other people completed this guide.

Team

Gateway, Team 1-1, Class Fall 2022 Member of Gateway, Team 1-1, Class Fall 2022
GCC-CLASS-F22S1G1
4 Members
60 Guides authored
