
HP EliteBook 725 G4 Fans Replacement

Johnathan Rozzell and 3 other contributors
Last updated on Aug 11, 2026
Views: 116
View statistics:
- Past 24 Hours:
- 1
- Past 7 Days:
- 10
- Past 30 Days:
- 54
- All Time:
- 116
Comments: 0
No one has left comments on this guide. Will you be first?
Go to guide commentsCompleted: 0 1
No one has marked this guide "completed." Will you be the first?
1 person has marked this guide "completed." It's you — great job!
Favorites: 1 2
1 person has favorited (and subscribed to) this guide. Will you be next?
2 people have favorited (and subscribed to) this guide — including you!
Introduction
Go to step 1 ↓Use this guide to replace the cooling fan in an HP EliteBook 725 G4.
The laptop uses a 4-pin, 5V DC fan with an aluminum heat sink to remove heat and push warm air out of the laptop.
A failing fan may make grinding noises, stop spinning, or cause overheating and shutdowns. Before replacing it, check the vents for dust and wipe the outside with a dry microfiber cloth.
What you need
Parts

Tools


-
-
-
Turn off the computer and make sure the computer is not plugged in.
-
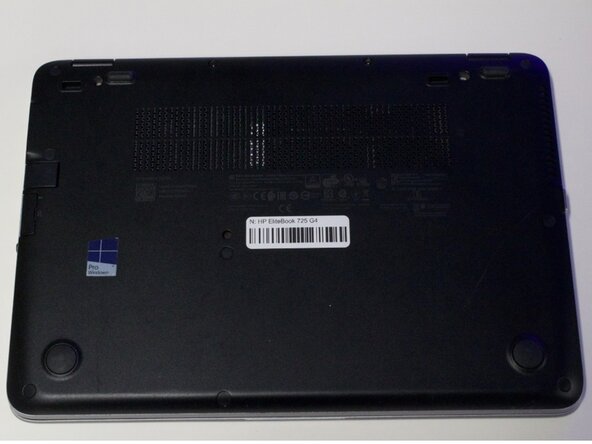
Flip the laptop over on its top.
 Ask FixBot
-
-
-
Remove eleven 5 mm screws using a Phillips #0 screwdriver.
-
Remove the SD card insert.
-
Remove the last screw under the SD card insert.
-
-
-
-
-
-
Remove four screws from the CPU.
-
Remove four 4 mm screws holding the fan down using a Phillips #00 screwdriver.
-
Remove the fan.
-
-



To reassemble your device, follow these instructions in reverse order.

Team

Austin Community College, Team 1-1, Anderson Summer 2026 Member of Austin Community College, Team 1-1, Anderson Summer 2026
AUSTINCC-ANDERSON-SU26S1G1
4 Members
60 Guides authored
