
HP EliteBook 1050 G1 Keyboard Panel Replacement

Ming-chin Wu and 4 other contributors
Last updated on Jan 3, 2024
Views: 1.7K
View statistics:
- Past 24 Hours:
- 3
- Past 7 Days:
- 24
- Past 30 Days:
- 76
- All Time:
- 1,690
Comments: 0
No one has left comments on this guide. Will you be first?
Go to guide commentsCompleted: 0 1
No one has marked this guide "completed." Will you be the first?
1 person has marked this guide "completed." It's you — great job!
Favorites: 0 1
No one has favorited (and subscribed to) this guide. Will you be the first?
1 person has favorited (and subscribed to) this guide — and that's you!
Introduction
Go to step 1 ↓This guide will show the reader how to replace the keyboard panel on the HP EliteBook 1050 G1. The keyboard panel is used to type letters on the computer screen. The keyboard replacement is not very difficult, so it has been labeled as "easy", and this task only takes about 10 minutes to complete. To prevent any danger, the battery has been removed. The tools required are shown in the section named "what you need" located to the right of the introduction.
What you need
Tools
-
Spudger4.9
-


-
-
-
Remove the two 5.5mm screws with a Torx T8 driver.
-
Remove the five 8.7mm screws with a Torx T8 driver.
-
Remove the two 6.6mm screws with a Torx T8 driver.
-
Pry open the backplate with a Jimmy.
 Ask FixBot
-
-
-
Remove the two 1.9mm screws from the SSDs with a Phillips #0 driver.
-
Disconnect the two PCIe SSDs by sliding them out of each port.
-
-
-
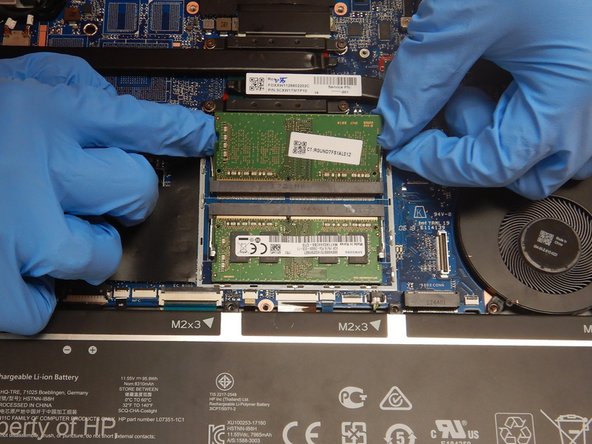
Pull the clips on either side of the RAM chip away from each other using your fingers.
-
Slide the RAM chips out of their respective slots.
-
-
-
Remove eight 4.5 mm screws from the battery with a Phillips #1 screwdriver.
-
Disconnect the white tipped battery cable from the motherboard.
-
-
-
-
Remove the six 4.5mm screws from the fan assembly using a Phillips #00 screwdriver.
-
Unscrew four 3.6mm screws from the heatsink assembly with a Phillips #00 screwdriver.
-
Remove the fan assembly.
-
-
-
Unplug the seven ZIF connecters from the motherboard by flipping up the black switches with a spudger and pulling out the cables.
-
-
-
Remove two 1.9mm screws from the display cable bracket using a Phillips #00 driver.
-
Remove the two connectors on the right side gently.
-
Remove the connector on right side of motherboard.
-
Remove the three 4.5mm screws using a Phillips #00 driver and remove the bracket.
-
Remove the two coaxial cables.
-
-
-
Remove the two 3mm screws using a Phillips #00 driver.
-
Remove the motherboard by lifting it up and out of the case.
-
-
-
-
-
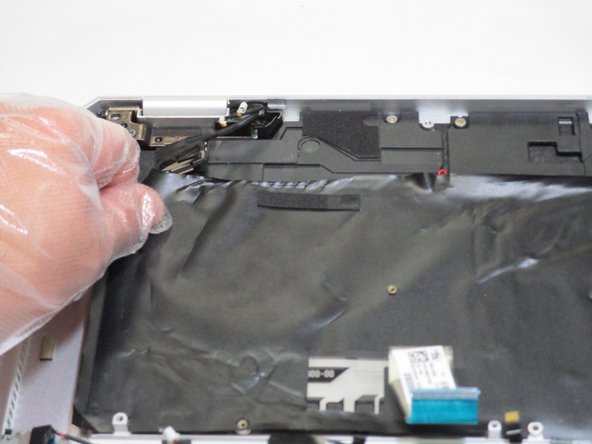
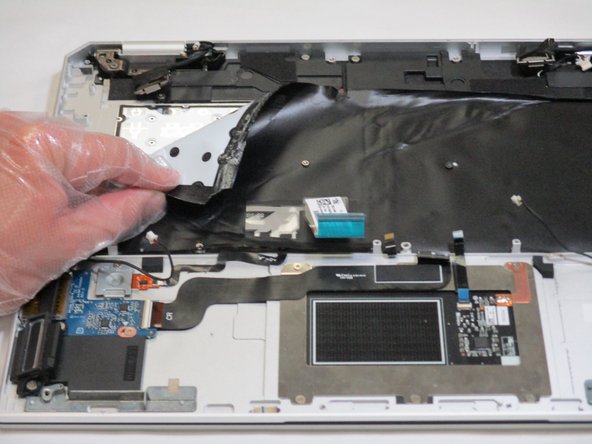
Remove all 52 screws from the keyboard panel using a Phillips #000 screwdriver.
-







To reassemble your device, follow these instructions in reverse order.

Team

The Citadel Military College of South Carolina, Team 1-3, Eggleston Fall 2021 Member of The Citadel Military College of South Carolina, Team 1-3, Eggleston Fall 2021
CMCSC-EGGLESTON-F21S1G3
3 Members
24 Guides authored
