Free Shipping on Domestic Orders $75+

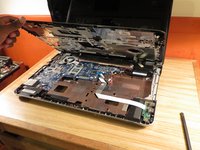
HP DV7-4285DX LCD Replacement

What you need

    1. HP DV7-4285DX LCD Replacement, Battery: step 1, image 1 of 1
      • Make sure laptop is shutdown and unplugged from power adapter.

      • Slide the battery release latch to the left and remove the battery.

      Ask FixBot

      Add Comment

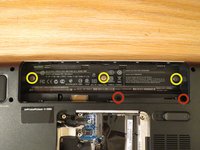
    2. HP DV7-4285DX LCD Replacement, Bottom Cover: step 2, image 1 of 3 HP DV7-4285DX LCD Replacement, Bottom Cover: step 2, image 2 of 3 HP DV7-4285DX LCD Replacement, Bottom Cover: step 2, image 3 of 3
      • Unscrew the five screws holding the bottom cover for accessing the RAM, hard drive and wifi card.

      • Five Phillips #1

      • When removing the cover, start from the top edge and lift up.

      • Remove cover.

      Ask FixBot

      Add Comment

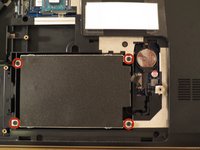
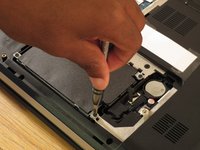
    3. HP DV7-4285DX LCD Replacement, Hard Drive: step 3, image 1 of 2 HP DV7-4285DX LCD Replacement, Hard Drive: step 3, image 2 of 2
      • Remove the four screws holding the hard drive.

      • Four Phillips #1

      Ask FixBot

      Add Comment

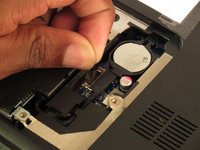
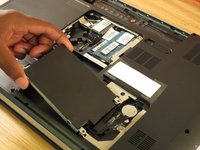
    4. HP DV7-4285DX LCD Replacement, Hard Drive: step 4, image 1 of 2 HP DV7-4285DX LCD Replacement, Hard Drive: step 4, image 2 of 2
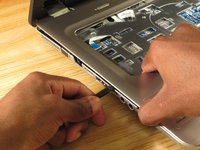
      • Unplug the SATA connection using the black pull tab.

      • Remove hard drive

      Ask FixBot

      Add Comment

    5. HP DV7-4285DX LCD Replacement, RAM: step 5, image 1 of 1
      • Remove RAM by pushing the locking clips outwards.

      Ask FixBot

      Add Comment

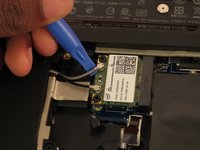
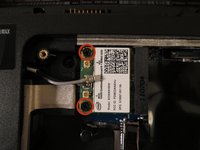
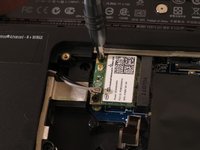
    6. HP DV7-4285DX LCD Replacement, Wireless Card: step 6, image 1 of 3 HP DV7-4285DX LCD Replacement, Wireless Card: step 6, image 2 of 3 HP DV7-4285DX LCD Replacement, Wireless Card: step 6, image 3 of 3
      • Use the edge of a plastic opening tool to pry the wifi antenna cable up from its socket on the wireless card.

      • Remove two screws from wireless card.

      • Two Phillips #1

      Ask FixBot

      Add Comment

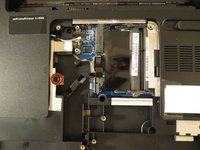
    7. HP DV7-4285DX LCD Replacement, Optical Drive: step 7, image 1 of 3 HP DV7-4285DX LCD Replacement, Optical Drive: step 7, image 2 of 3 HP DV7-4285DX LCD Replacement, Optical Drive: step 7, image 3 of 3
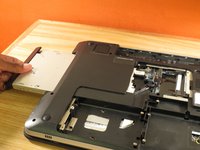
      • Remove the one screw holding the optical drive.

      • One Phillips #1

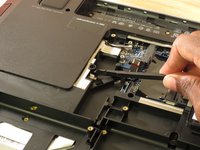
      • Use a spudger to push on the metal tab below where the screw was. This should disconnect the optical drive from the SATA connector.

      • Remove optical drive.

      Ask FixBot

      Add Comment

    8. HP DV7-4285DX LCD Replacement: step 8, image 1 of 3 HP DV7-4285DX LCD Replacement: step 8, image 2 of 3 HP DV7-4285DX LCD Replacement: step 8, image 3 of 3
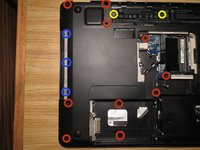
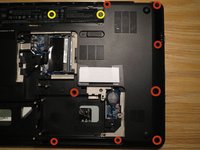
      • Remove the 26 screws on the bottom.

      • 20 Phillips #1

      • Three Phillips #0

      • Three Phillips #00

      Ask FixBot

      Add Comment

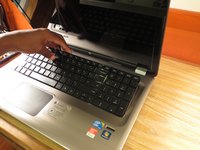
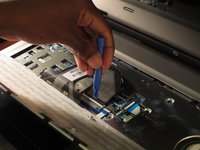
    9. HP DV7-4285DX LCD Replacement, Keyboard: step 9, image 1 of 3 HP DV7-4285DX LCD Replacement, Keyboard: step 9, image 2 of 3 HP DV7-4285DX LCD Replacement, Keyboard: step 9, image 3 of 3
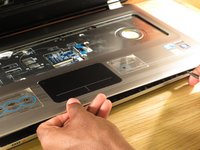
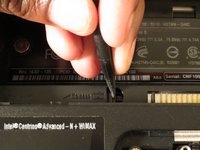
      • To the left of the battery connector is a keyboard release latch. Use a spudger to release the keyboard.

      • You may have to open the laptop some to keep the keyboard from re-latching.

      • Once freed, lift the keyboard up from the top.

      • Be careful not to damage or tear the ribbon cable.

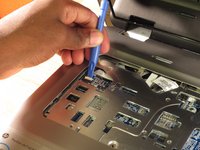
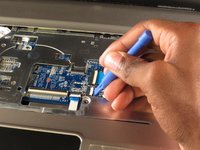
      • Use the edge of a plastic opening tool to carefully flip up the retaining flap on the keyboard ZIF socket.

      • Remove keyboard.

      Ask FixBot

      Add Comment

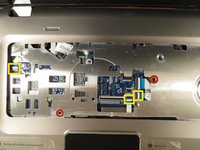
    10. HP DV7-4285DX LCD Replacement: step 10, image 1 of 3 HP DV7-4285DX LCD Replacement: step 10, image 2 of 3 HP DV7-4285DX LCD Replacement: step 10, image 3 of 3
      • Remove the two screws.

      • Two Phillips #1

      • Use the edge of a plastic opening tool to carefully flip up the retaining flaps on the three ZIF sockets.

      Ask FixBot

      Add Comment

    11. HP DV7-4285DX LCD Replacement: step 11, image 1 of 3 HP DV7-4285DX LCD Replacement: step 11, image 2 of 3 HP DV7-4285DX LCD Replacement: step 11, image 3 of 3
      • Starting on the left side, use a spudger to pry the cover up. Work your way around to the right side.

      • Remove cover.

      Ask FixBot

      Add Comment

    12. HP DV7-4285DX LCD Replacement: step 12, image 1 of 2 HP DV7-4285DX LCD Replacement: step 12, image 2 of 2
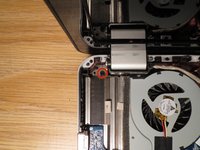
      • Remove the screw on the left side holding the lid hinge.

      • One Phillips #1

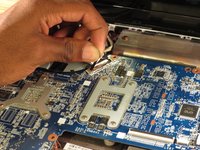
      • Use the black pull tab to remove the LCD connector.

      Ask FixBot

      Add Comment

    13. HP DV7-4285DX LCD Replacement: step 13, image 1 of 3 HP DV7-4285DX LCD Replacement: step 13, image 2 of 3 HP DV7-4285DX LCD Replacement: step 13, image 3 of 3
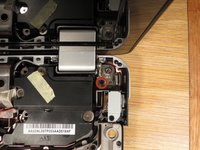
      • Remove the screw on the right side holding the lid hinge.

      • One Phillips #1

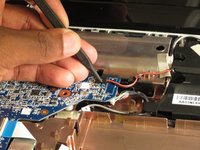
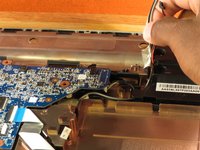
      • Use a spudger to disconnect the speaker wire.

      • Carefully pull the wifi antenna wires out from the bottom case.

      • Remove lid.

      Ask FixBot

      Add Comment

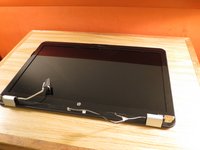
    14. HP DV7-4285DX LCD Replacement: step 14, image 1 of 3 HP DV7-4285DX LCD Replacement: step 14, image 2 of 3 HP DV7-4285DX LCD Replacement: step 14, image 3 of 3
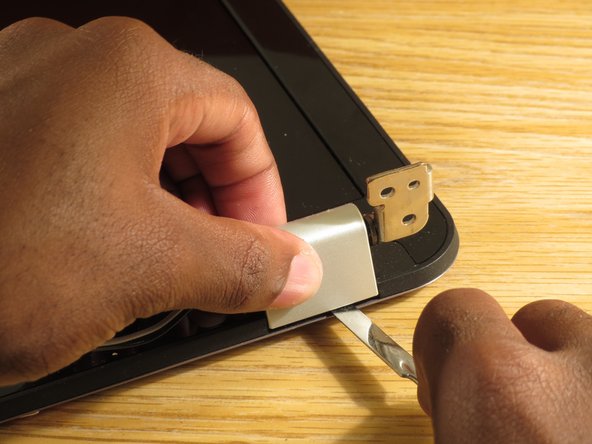
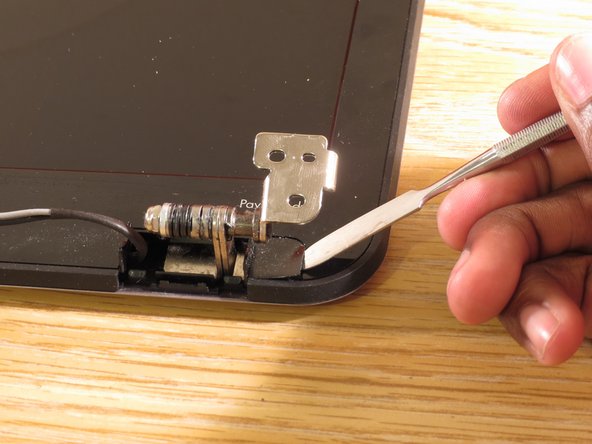
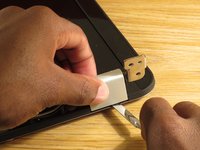
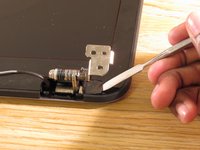
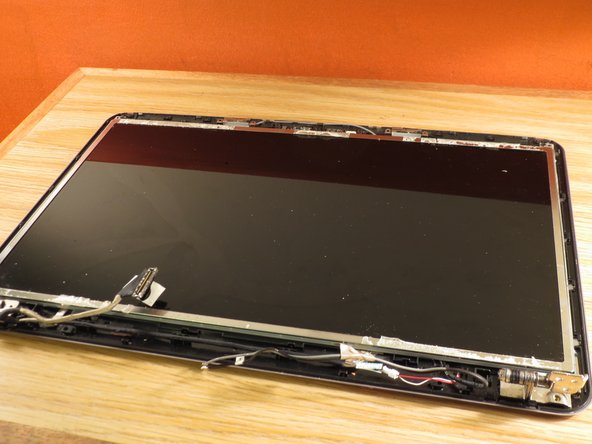
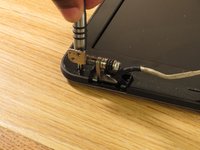
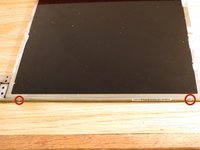
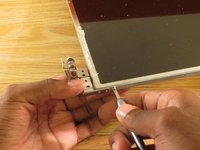
      • Using a metal spudger remove the two hinge covers.

      • Use a metal spudger to remove the two screw covers.

      Ask FixBot

      Add Comment

    15. HP DV7-4285DX LCD Replacement: step 15, image 1 of 3 HP DV7-4285DX LCD Replacement: step 15, image 2 of 3 HP DV7-4285DX LCD Replacement: step 15, image 3 of 3
      • Remove the two Phillips #1 screws that were under the covers.

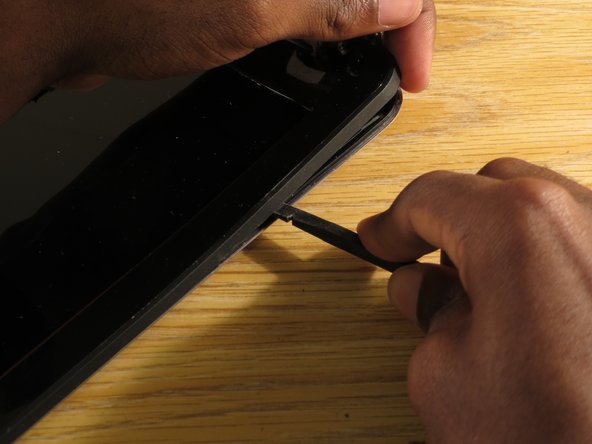
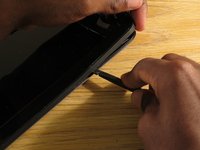
      • Starting on the left side, use a spudger to pry the bezel up.

      • Work your way around and remove the bezel.

      Ask FixBot

      Add Comment

    16. HP DV7-4285DX LCD Replacement: step 16, image 1 of 3 HP DV7-4285DX LCD Replacement: step 16, image 2 of 3 HP DV7-4285DX LCD Replacement: step 16, image 3 of 3
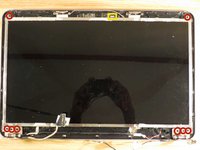
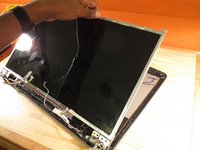
      • Remove the eight screws holding the LCD panel.

      • Eight Phillips #1

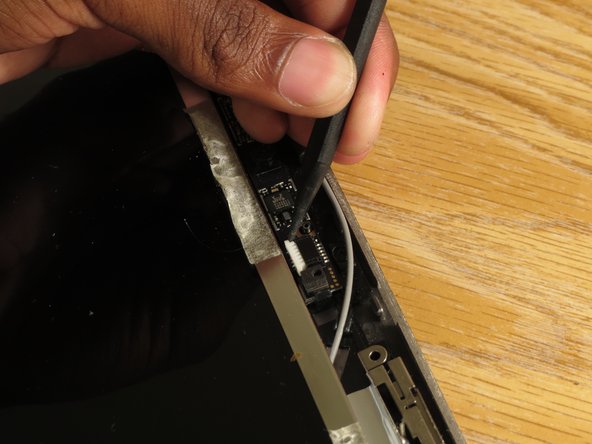
      • Use a spudger to disconnect the webcam connector.

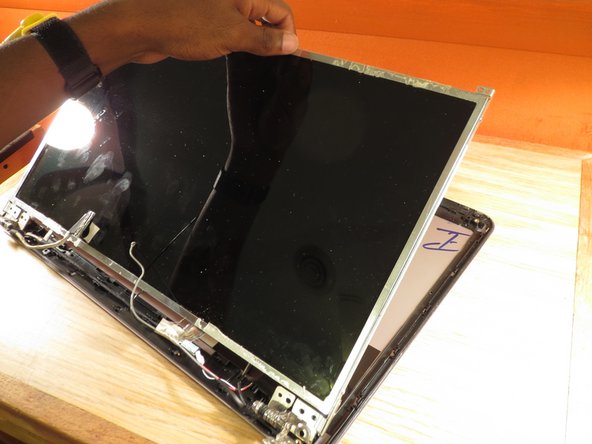
      • Lift up the LCD panel.

      • The webcam wire is attached to the back of the panel. Carefully peel it off the panel.

      Ask FixBot

      Add Comment

    17. HP DV7-4285DX LCD Replacement: step 17, image 1 of 1
      • Use a sudger to disconnect the wire from the LCD panel.

      • Remove LCD panel.

      Ask FixBot

      Add Comment

    18. HP DV7-4285DX LCD Replacement: step 18, image 1 of 3 HP DV7-4285DX LCD Replacement: step 18, image 2 of 3 HP DV7-4285DX LCD Replacement: step 18, image 3 of 3
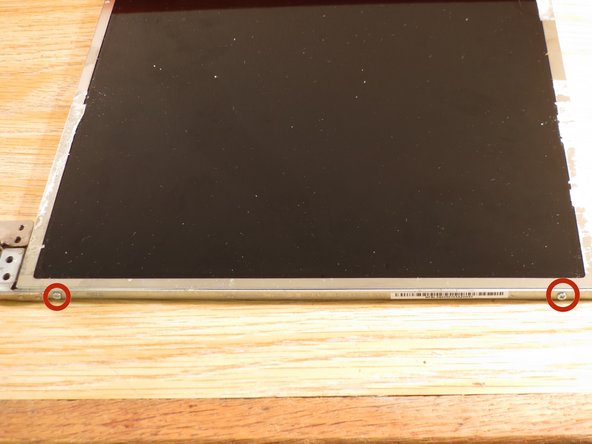
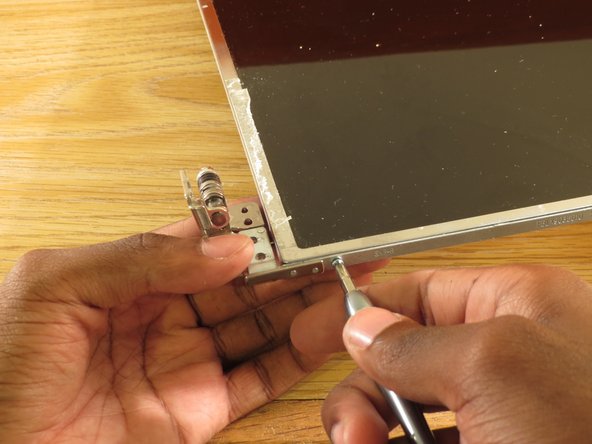
      • Remove the four screws (two on each side) holding the hinges on the sides.

      • Four Phillips #1 (two on each side)

      • Remove the hinges.

      Ask FixBot

      Add Comment

    19. HP DV7-4285DX LCD Replacement: step 19, image 1 of 1
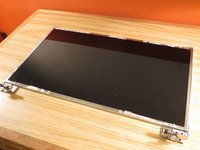
      • LCD remains.

      • To reassemble, follow these instructions in reverse order.

      Ask FixBot

      Add Comment

Conclusion

To reassemble your device, follow these instructions in reverse order.

Cancel: I did not complete this guide.

13 other people completed this guide.

Patrick

Member since: 03/30/12

531 Reputation

1 Guide authored

1 Guide Comment

good thank :)

Ernesto Sanabria Gonzalez - Reply Share
Add Comment

View Statistics:

Past 24 Hours: 0

Past 7 Days: 6

Past 30 Days: 34

All Time: 8,650