Free Shipping on Domestic Orders $75+

HP Chromebook 14a-nf009nr Display Cable Replacement

What you need

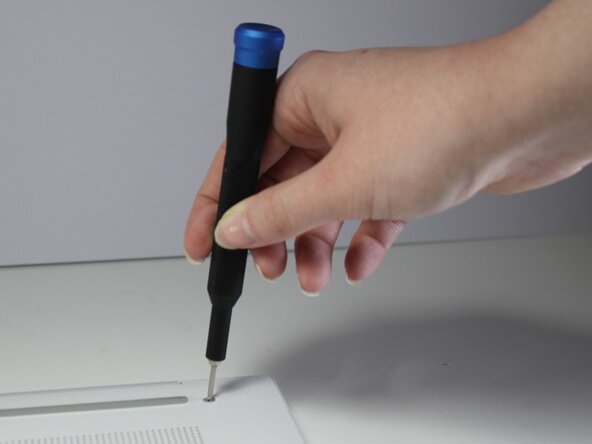
  1. HP Chromebook 14a-nf009nr Display Cable Replacement, Back Cover: step 1, image 1 of 2 HP Chromebook 14a-nf009nr Display Cable Replacement, Back Cover: step 1, image 2 of 2
    • Remove the two 13 mm screws with a Phillips #00 screwdriver.

    • Remove the two 6.6 mm screws with the Phillips #00 screwdriver.

    Ask FixBot
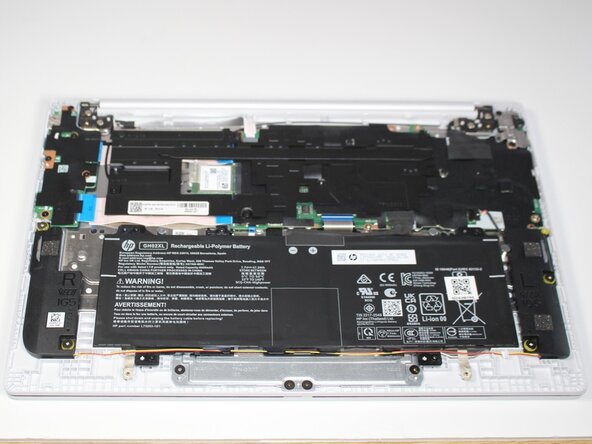
  2. HP Chromebook 14a-nf009nr Display Cable Replacement: step 2, image 1 of 2 HP Chromebook 14a-nf009nr Display Cable Replacement: step 2, image 2 of 2
    • Slide an opening tool along the edges of the back cover to remove it, revealing the components of the laptop underneath.

    Ask FixBot
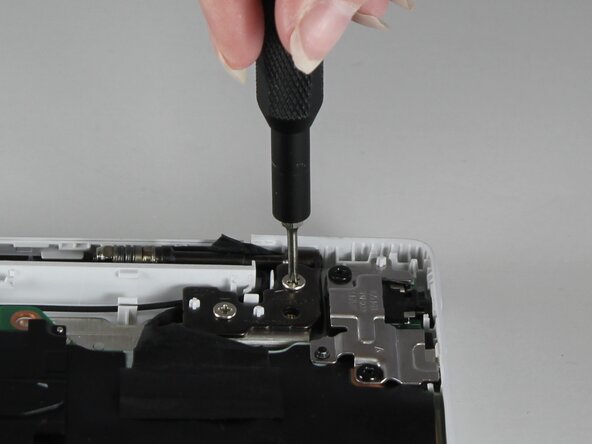
  3. HP Chromebook 14a-nf009nr Display Cable Replacement, Screen: step 3, image 1 of 2 HP Chromebook 14a-nf009nr Display Cable Replacement, Screen: step 3, image 2 of 2
    • Use a Phillips #1 screwdriver to remove the four 5 mm screws securing the hinges.

    Ask FixBot
  4. HP Chromebook 14a-nf009nr Display Cable Replacement: step 4, image 1 of 2 HP Chromebook 14a-nf009nr Display Cable Replacement: step 4, image 2 of 2
    • Unscrew the six 2.5 mm screws with a Phillips #1 screwdriver to remove the motherboard's cover.

    Ask FixBot
  5. HP Chromebook 14a-nf009nr Display Cable Replacement: step 5, image 1 of 1
    • Remove the SSD wires from the SSD card.

    • Be gentle. The wire attachment is delicate.

    Ask FixBot
  6. HP Chromebook 14a-nf009nr Display Cable Replacement: step 6, image 1 of 2 HP Chromebook 14a-nf009nr Display Cable Replacement: step 6, image 2 of 2
    • Disconnect the webcam cable from the motherboard.

    • Some cables will have lock bars, which you will need to lift with care to unlock.

    Ask FixBot
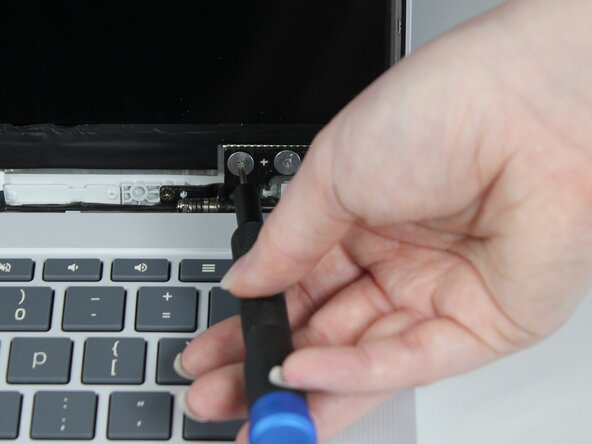
  7. HP Chromebook 14a-nf009nr Display Cable Replacement: step 7, image 1 of 2 HP Chromebook 14a-nf009nr Display Cable Replacement: step 7, image 2 of 2
    • Use the Phillips #1 screwdriver to remove the six 5 mm screws securing the hinges.

    • Use the Phillips #1 screwdriver to remove the 2.5 mm screws securing the hinges.

    Ask FixBot
  8. HP Chromebook 14a-nf009nr Display Cable Replacement: step 8, image 1 of 2 HP Chromebook 14a-nf009nr Display Cable Replacement: step 8, image 2 of 2
    • Gently lift the fabric tape to reveal the display cable attachment.

    • Lift the lock bar to remove the display cable.

    • This will detach the screen from the keyboard.

    Ask FixBot
  9. HP Chromebook 14a-nf009nr Display Cable Replacement: step 9, image 1 of 1
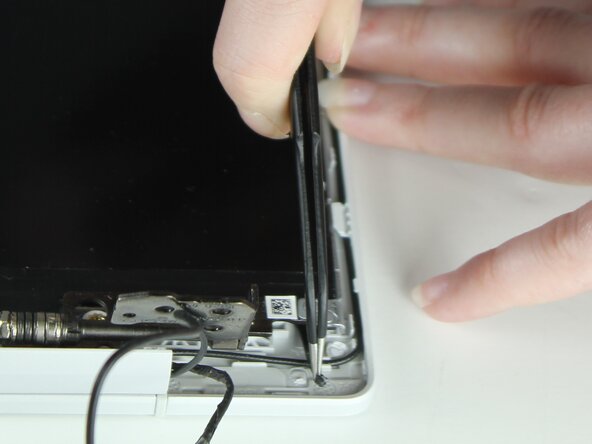
    • Use the iFixit opening tool to remove the display bezel screen frame.

    • Be gentle so as to not crack the screen.

    Ask FixBot
  10. HP Chromebook 14a-nf009nr Display Cable Replacement: step 10, image 1 of 2 HP Chromebook 14a-nf009nr Display Cable Replacement: step 10, image 2 of 2
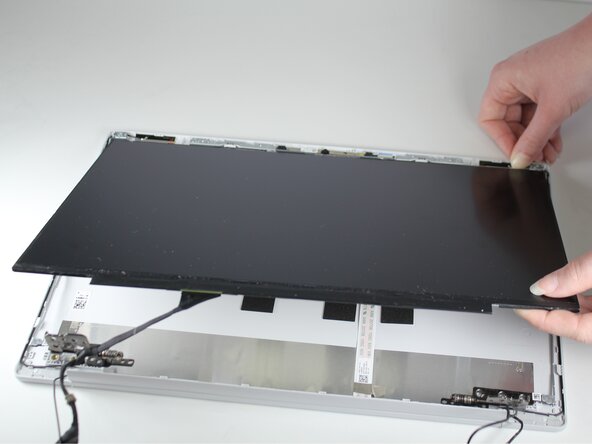
    • Carefully pull the stretch release tape until it is completely removed from the display panel.

    • Lift the left hinge to remove the stretch-release tape on the left side of the display panel using the same method.

    • Slightly lift the top of the right hinge to allow access to the stretch-release tape.

    Ask FixBot
  11. HP Chromebook 14a-nf009nr Display Cable Replacement: step 11, image 1 of 1
    • Lift the screen to remove it.

    Ask FixBot
  12. HP Chromebook 14a-nf009nr Display Cable Replacement, Display Cable: step 12, image 1 of 3 HP Chromebook 14a-nf009nr Display Cable Replacement, Display Cable: step 12, image 2 of 3 HP Chromebook 14a-nf009nr Display Cable Replacement, Display Cable: step 12, image 3 of 3
    • Peel back the tape and unplug the LCD cable to separate it from the screen.

    Ask FixBot
Conclusion

To reassemble your device, follow these instructions in reverse order.

0 Guide Comments

Add Comment

View Statistics:

Past 24 Hours: 0

Past 7 Days: 7

Past 30 Days: 30

All Time: 251