Free Shipping on Domestic Orders $75+

HP 17t-k000 Series Display Panel Replacement

What you need

    1. HP 17t-k000 Series Display Panel Replacement, Display Panel: step 1, image 1 of 2 HP 17t-k000 Series Display Panel Replacement, Display Panel: step 1, image 2 of 2
      • If the screen is cracked or otherwise severely damaged, apply painter's tape (or a light adhesive tape) over the screen to protect yourself and the laptop.

      Ask FixBot

      Add Comment

    2. HP 17t-k000 Series Display Panel Replacement: step 2, image 1 of 1
      • Make sure that the laptop is completely powered off. The power light should remain off.

      • Disconnect all cables and external devices from the laptop.

      Ask FixBot

      Add Comment

    3. HP 17t-k000 Series Display Panel Replacement: step 3, image 1 of 2 HP 17t-k000 Series Display Panel Replacement: step 3, image 2 of 2
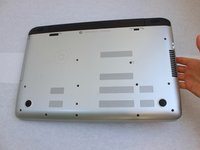
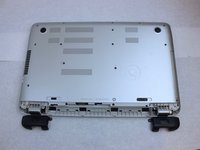
      • Close the laptop and flip it over.

      Ask FixBot

      Add Comment

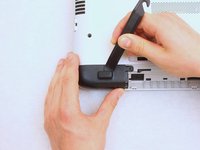
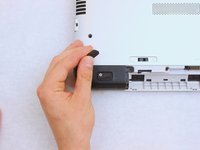
    4. HP 17t-k000 Series Display Panel Replacement: step 4, image 1 of 3 HP 17t-k000 Series Display Panel Replacement: step 4, image 2 of 3 HP 17t-k000 Series Display Panel Replacement: step 4, image 3 of 3
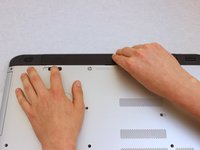
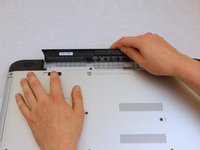
      • Slide the battery release latches toward the center of the laptop.

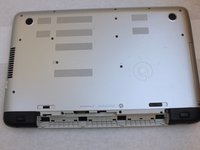
      • Remove the battery.

      Ask FixBot

      Add Comment

    5. HP 17t-k000 Series Display Panel Replacement: step 5, image 1 of 2 HP 17t-k000 Series Display Panel Replacement: step 5, image 2 of 2
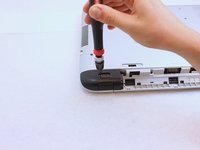
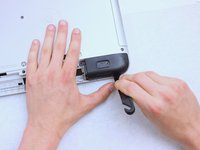
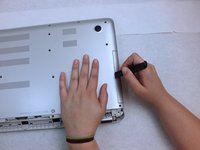
      • Remove the rubber feet on each corner cover with a plastic spudger or plastic opening tool.

      Ask FixBot

      Add Comment

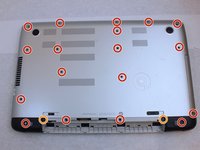
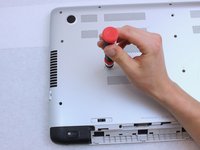
    6. HP 17t-k000 Series Display Panel Replacement: step 6, image 1 of 3 HP 17t-k000 Series Display Panel Replacement: step 6, image 2 of 3 HP 17t-k000 Series Display Panel Replacement: step 6, image 3 of 3
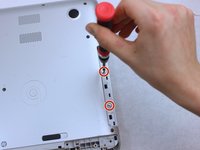
      • Remove the following screws from the back case and corner covers:

      • Eighteen 6 mm Phillips #0 screws

      • Two 7 mm Phillips #0 screws

      • If you do not have a magnet that can lift the screws out, you may have to turn the laptop over until each screw drops into your hand.

      • Do not proceed unless all the screws are out! You can severely damage your keyboard in the following steps if you still have a screw in place.

      Ask FixBot

      Add Comment

    7. HP 17t-k000 Series Display Panel Replacement: step 7, image 1 of 3 HP 17t-k000 Series Display Panel Replacement: step 7, image 2 of 3 HP 17t-k000 Series Display Panel Replacement: step 7, image 3 of 3
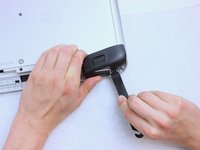
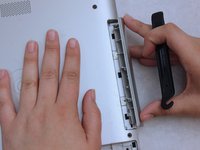
      • Lift the corner covers out with a plastic spudger or plastic opening tool.

      Ask FixBot

      Add Comment

    8. HP 17t-k000 Series Display Panel Replacement: step 8, image 1 of 3 HP 17t-k000 Series Display Panel Replacement: step 8, image 2 of 3 HP 17t-k000 Series Display Panel Replacement: step 8, image 3 of 3
      • Remove the optical drive cover with a spudger or plastic opening tool.

      • Remove the two 2 mm Phillips #00 optical drive screws.

      Ask FixBot

      Add Comment

    9. HP 17t-k000 Series Display Panel Replacement: step 9, image 1 of 2 HP 17t-k000 Series Display Panel Replacement: step 9, image 2 of 2
      • Turn the laptop over and open the lid.

      Ask FixBot

      Add Comment

    10. HP 17t-k000 Series Display Panel Replacement: step 10, image 1 of 3 HP 17t-k000 Series Display Panel Replacement: step 10, image 2 of 3 HP 17t-k000 Series Display Panel Replacement: step 10, image 3 of 3
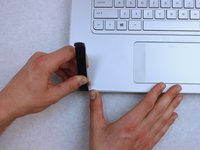
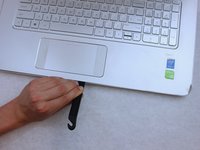
      • Begin prying up the keyboard at a front corner of the laptop with a plastic opening tool.

      • Continue prying up the keyboard, working your way toward the other front corner and then along the sides.

      • Don't lift the keyboard out yet when it separates from the frame. It still has cables attached on its underside!

      • It is normal to hear loud pops and clicks at this step.

      Ask FixBot

      Add Comment

    11. HP 17t-k000 Series Display Panel Replacement: step 11, image 1 of 3 HP 17t-k000 Series Display Panel Replacement: step 11, image 2 of 3 HP 17t-k000 Series Display Panel Replacement: step 11, image 3 of 3
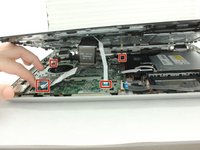
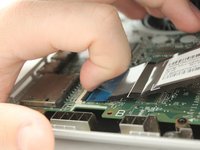
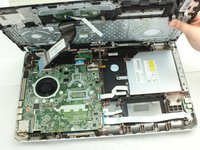
      • Disconnect the four ribbon cables that come from the underside of the keyboard.

      • To release each ribbon cable, gently pry up the retention clamp with a fingernail or plastic spudger to a 90 degree angle. Then, pull the cable out.

      • Double-check that all cables connecting the keyboard to the base of the laptop have been completely disconnected before removing the keyboard.

      • Lift the keyboard up and set it to the side.

      Ask FixBot

      Add Comment

    12. HP 17t-k000 Series Display Panel Replacement: step 12, image 1 of 1
      • Turn the laptop so that it rests on the top cover.

      • This prevents the laptop from falling over when you are not holding it.

      Ask FixBot

      Add Comment

    13. HP 17t-k000 Series Display Panel Replacement: step 13, image 1 of 2 HP 17t-k000 Series Display Panel Replacement: step 13, image 2 of 2
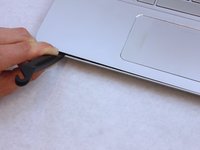
      • Starting at a corner, pry up the screen with a plastic pry tool.

      • Continue around the screen until the screen has completely separated from the top cover.

      • Don't insert the tool more than necessary along the top of the screen, or you may damage a small circuit board located in that area.

      • Don't lift the screen away from the computer yet. There are still cables connected!

      • It is normal to hear some loud pops and clicks at this step.

      Ask FixBot

      Add Comment

    14. HP 17t-k000 Series Display Panel Replacement: step 14, image 1 of 1
      • Open the laptop to its full extension.

      • Do not force the laptop open farther than it can with minimal force. This can damage the screen, hinges, and internal components!

      Ask FixBot

      Add Comment

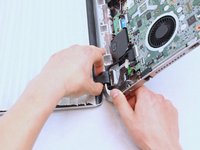
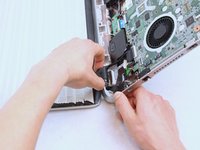
    15. HP 17t-k000 Series Display Panel Replacement: step 15, image 1 of 3 HP 17t-k000 Series Display Panel Replacement: step 15, image 2 of 3 HP 17t-k000 Series Display Panel Replacement: step 15, image 3 of 3
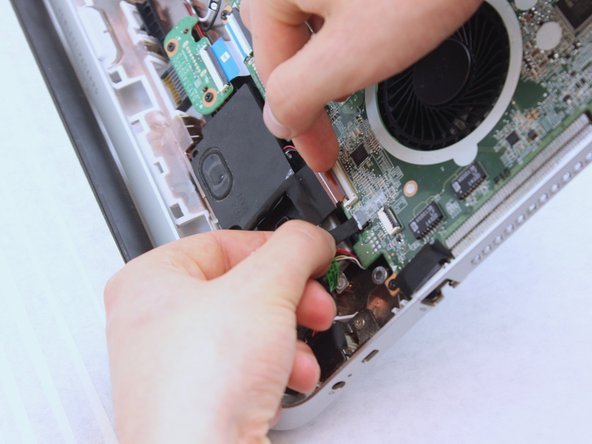
      • Release the primary display ribbon cable by gently prying up the retention clamp to a 90 degree angle.

      • Pull out the smaller sliding connector next to it.

      • Be gentle when handling the display cable, and be sure to pull the connectors straight out of their sockets.

      Ask FixBot

      Add Comment

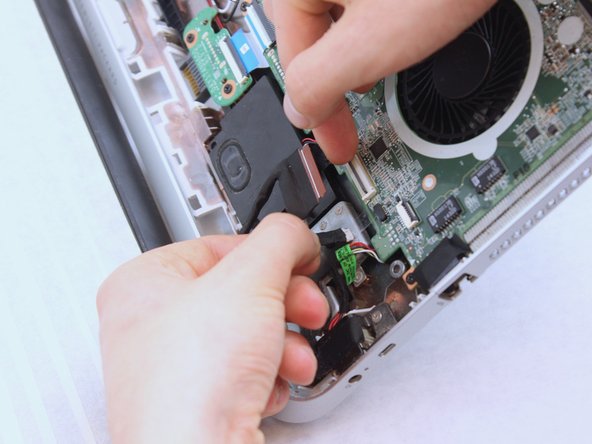
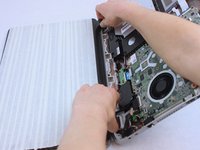
    16. HP 17t-k000 Series Display Panel Replacement: step 16, image 1 of 3 HP 17t-k000 Series Display Panel Replacement: step 16, image 2 of 3 HP 17t-k000 Series Display Panel Replacement: step 16, image 3 of 3
      • Gently pry the hinges away from the bottom mount.

      • It is normal to hear two loud clicks as these come away.

      Ask FixBot

      Add Comment

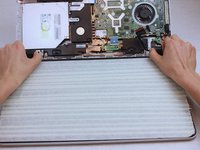
    17. HP 17t-k000 Series Display Panel Replacement: step 17, image 1 of 2 HP 17t-k000 Series Display Panel Replacement: step 17, image 2 of 2
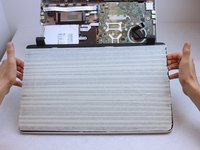
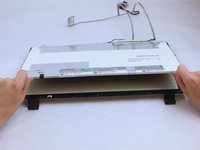
      • Gently lift the screen, bezel, and backlight panel out by the hinges.

      • Set them down so that the internal components face up.

      Ask FixBot

      Add Comment

    18. HP 17t-k000 Series Display Panel Replacement: step 18, image 1 of 3 HP 17t-k000 Series Display Panel Replacement: step 18, image 2 of 3 HP 17t-k000 Series Display Panel Replacement: step 18, image 3 of 3
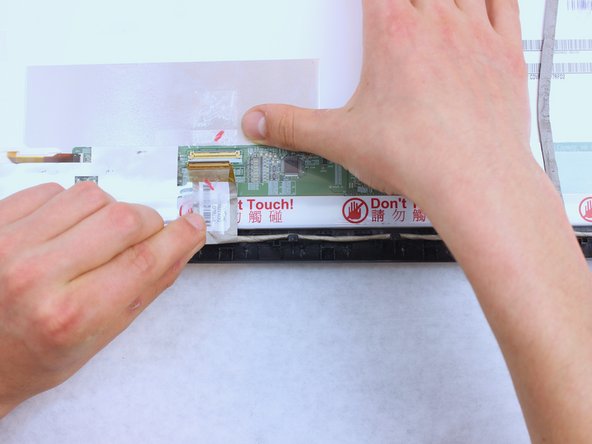
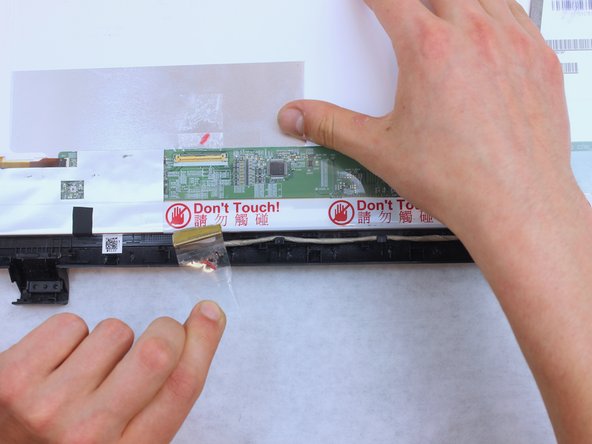
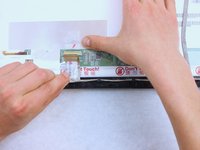
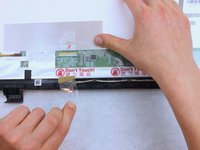
      • Carefully peel up the tape securing the connector on the back of the display panel.

      • Remove the connector from its socket by carefully pulling straight back on the tape.

      • If the flat part of the cable is stuck to the display panel, slowly pull it up to break the adhesive.

      Ask FixBot

      Add Comment

    19. HP 17t-k000 Series Display Panel Replacement: step 19, image 1 of 3 HP 17t-k000 Series Display Panel Replacement: step 19, image 2 of 3 HP 17t-k000 Series Display Panel Replacement: step 19, image 3 of 3
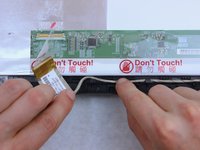
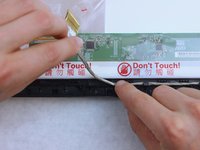
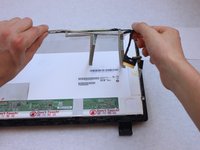
      • Follow the display cable back toward the hinge cover, carefully pulling it up from the routing channel as you go.

      • Don't pull hard on the cable. If you have trouble getting it to come out of the channel, try pulling or even pushing from a different angle.

      Ask FixBot

      Add Comment

    20. HP 17t-k000 Series Display Panel Replacement: step 20, image 1 of 1
      • Lift the display cable up and fold it out of the way.

      • If part of the cable is stuck to the display panel, slowly pull up on it to release the adhesive.

      • Be careful not to dislodge the circuit board next to the display panel while moving the display cable.

      • During reassembly, make sure that the small circuit board at the top of the display is properly seated on its two plastic pins.

      Ask FixBot

      Add Comment

    21. HP 17t-k000 Series Display Panel Replacement: step 21, image 1 of 2 HP 17t-k000 Series Display Panel Replacement: step 21, image 2 of 2
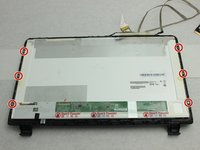
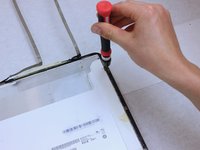
      • Remove the six 3 mm Phillips #00 screws from the backlight frame.

      Ask FixBot

      Add Comment

    22. HP 17t-k000 Series Display Panel Replacement: step 22, image 1 of 2 HP 17t-k000 Series Display Panel Replacement: step 22, image 2 of 2
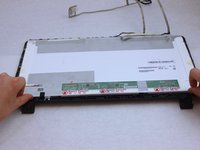
      • Lift the backlight panel out and replace it.

      Ask FixBot

      Add Comment

Conclusion

To reassemble your device, follow these instructions in reverse order.

Cancel: I did not complete this guide.

2 other people completed this guide.

0 Guide Comments

Add Comment

View Statistics:

Past 24 Hours: 4

Past 7 Days: 10

Past 30 Days: 51

All Time: 2,204