Introduction
The hard drive is one of the more common computer components to fail. The hard drive on a computer is responsible for everyday activities such as loading the OS or accessing apps. Replacing the hard drive also allows for optimization as there are many different hard drives available on the market. Hard drives are "plug and play" components which means that they can be removed and replaced very easily. The tricky part is getting to them inside the computer. The replacement hard drive should be left in the package until it is ready to be installed as any foreign material that gets on or in the hard drive may affect the performance of the component. Learn how to replace your hard drive using this guide for your HP laptop.
What you need
-
-
-
With the laptop upside down, remove the battery by hand and the twelve 7.0 mm screws that are holding the back case to the front. Use a JIS #0 screwdriver to remove the screws.
 Ask FixBot
-
-
-
Peel back the rubber footrests located next to the battery, on the left and right sides.
-
Remove the two 7.0 mm screws underneath the rubber feet using a JIS #0 screwdriver.
-
-
-
-
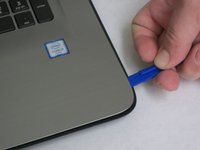
Flip the computer over and use a plastic opening tool to wedge between the back and front cases.
-
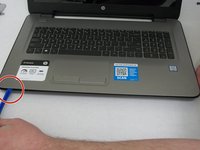
Trace the perimeter of the laptop. Make sure to keep the tool inserted between the front and back cases. You will hear popping sounds as the back case becomes disengaged from the front plate.
-
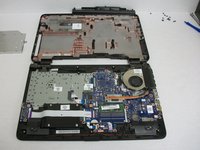
Flip the laptop over and lift the back case off. Now you have access to all of the internal hardware.
-
-
-
-
-
Locate the hard drive.
-
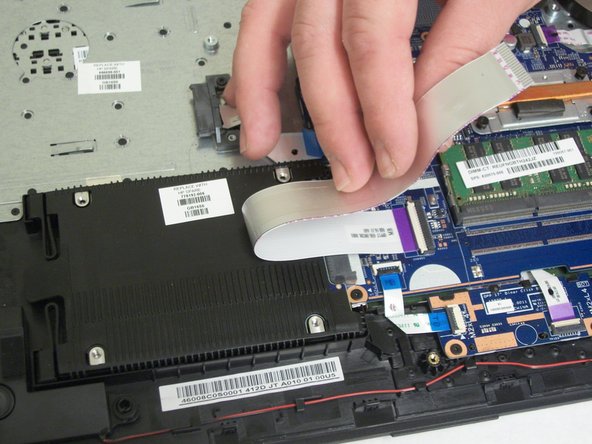
Using the purple hard plastic tab gently pull the cable tape tab out of the input, located on the left-hand side.
-
-
-
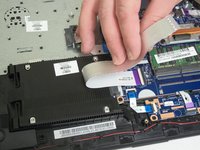
Carefully peel back the cable tape from the hard drive itself.
-
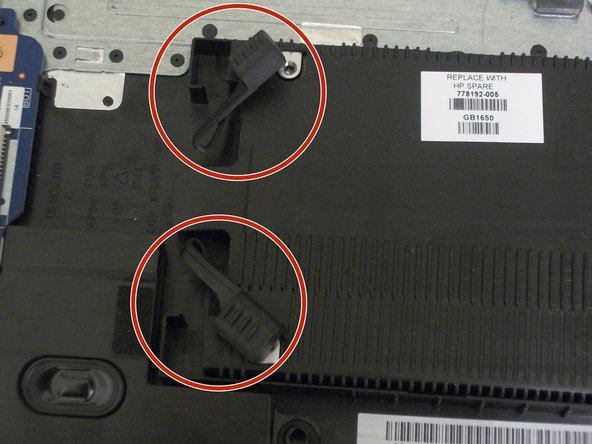
Pull the shock absorbers from the back of the hard drive casing.
-
-
-
Lift up the back of the hard drive module and gently pull it away from the connection point.
-
-




To reassemble your device, follow these instructions in reverse order.
Cancel: I did not complete this guide.
3 other people completed this guide.

Team

Washington State, Team S1-G1, Lobnitz Spring 2018 Member of Washington State, Team S1-G1, Lobnitz Spring 2018
WSU-LOBNITZ-S18S1G1
5 Members
60 Guides authored
