
HP 15-r137wm TouchSmart Keyboard Replacement

Ross B Jacques and one other contributor
Last updated on Dec 13, 2017
Views: 876
View statistics:
- Past 24 Hours:
- 2
- Past 7 Days:
- 21
- Past 30 Days:
- 88
- All Time:
- 876
Comments: 0
No one has left comments on this guide. Will you be first?
Go to guide commentsCompleted: 3 4
3 people have marked this guide "completed." Will you be next?
4 people have marked this guide "completed." Including you — great job!
Favorites: 0 1
No one has favorited (and subscribed to) this guide. Will you be the first?
1 person has favorited (and subscribed to) this guide — and that's you!
Introduction
Go to step 1 ↓You can use this guide to help you safely and effectively remove the keyboard from your HP 15-r137wm TouchSmart device. Be sure to follow all steps in order to ensure proper removal of components and connections. This guide is a prerequisite for all guides of this device following the removal of the keyboard, since it is required to remove the housing to access the components. The prerequisite guide of the front panel assembly is required for this guide.
What you need
Tools


-
-
-
Remove all ten (10) 5.5 mm Phillips #0 screws.
-
Remove the two (2) plastic tabs located at the rear of the panel. Locate the two (2) 7.5mm Phillips #0 screws underneath the pads and remove.
 Ask FixBot
-
-
Tool used on this step:Anti-Static Wrist Strap$7.95
-
Use a wide plastic opening tool to pry off the top casing.
-
Lift the cover off carefully as there are wires still attached to internal components.
-
-
-
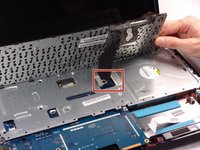
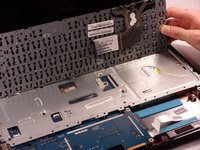
Move the keyboard slightly out of the way to locate the connection.
-
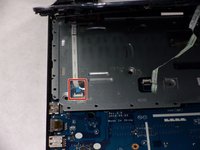
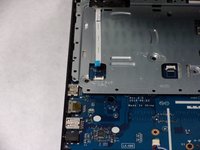
Disconnect the small wire protruding from the motherboard underneath the metal plate.
-
-
-
Locate the connection between the power button and the connecting cable.
-
Remove the cable from the motherboard carefully.
-
-
-
-
-
-
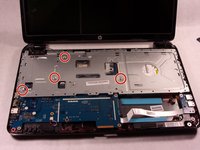
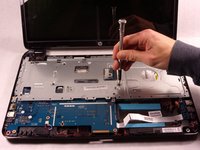
Remove the four (4) 2.5mm by 3.5mm Phillips #0 screws from the metal retaining plate.
-
Lift the metal retaining plate off and away from the device.
-






To reassemble your device, follow these instructions in reverse order.
Cancel: I did not complete this guide.
3 other people completed this guide.

Team

UMass Dartmouth, Team S4-G4, Julie Fall 2017 Member of UMass Dartmouth, Team S4-G4, Julie Fall 2017
UMASSD-JULIE-F17S4G4
3 Members
84 Guides authored
