Free Shipping on Domestic Orders $75+

HP 15-g029wm Screen Replacement

Views: 389

View statistics:

Past 24 Hours:
2
Past 7 Days:
17
Past 30 Days:
62
All Time:
389
Comments: 0

No one has left comments on this guide. Will you be first?

Go to guide comments
Completed: 0

No one has marked this guide "completed." Will you be the first?

Favorites: 0

No one has favorited (and subscribed to) this guide. Will you be the first?

Time Required: 20 - 30 minutes
Difficulty: Moderate
HP 15-g029wm Screen Replacement

Introduction

Go to step 1 ↓

This guide will walk you through the process of removing the screen on your HP 15-g029wm. If the screen is broken, cracked, or otherwise damaged, you may need to follow this guide to replace the screen.

What you need

Tools

    1. HP 15-g029wm Screen Replacement, Battery: step 1, image 1 of 1
      • Unplug any charging cord or accessories connected to the device before beginning.

      Ask FixBot

      Add Comment

    2. HP 15-g029wm Screen Replacement: step 2, image 1 of 1
      • Place the laptop bottom-side up on a secure, flat surface.

      Ask FixBot

      Add Comment

    3. HP 15-g029wm Screen Replacement: step 3, image 1 of 3 HP 15-g029wm Screen Replacement: step 3, image 2 of 3 HP 15-g029wm Screen Replacement: step 3, image 3 of 3
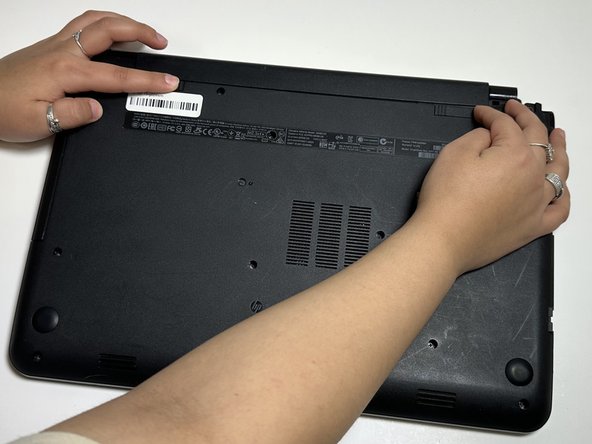
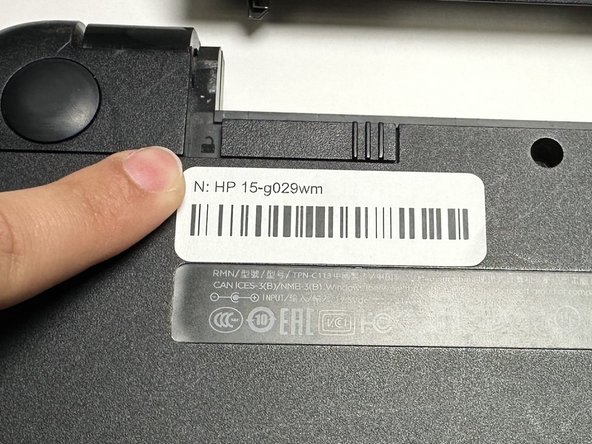
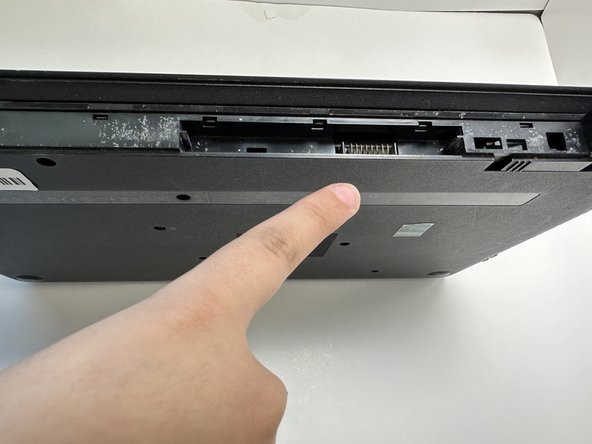
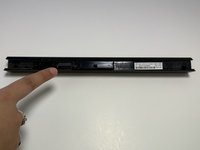
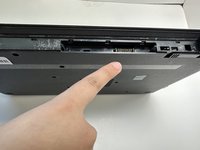
      • Slide each of the two switches that secure the battery to the left.

      • This will reveal an image of an unlocked lock.

      Ask FixBot

      Add Comment

    4. HP 15-g029wm Screen Replacement: step 4, image 1 of 3 HP 15-g029wm Screen Replacement: step 4, image 2 of 3 HP 15-g029wm Screen Replacement: step 4, image 3 of 3
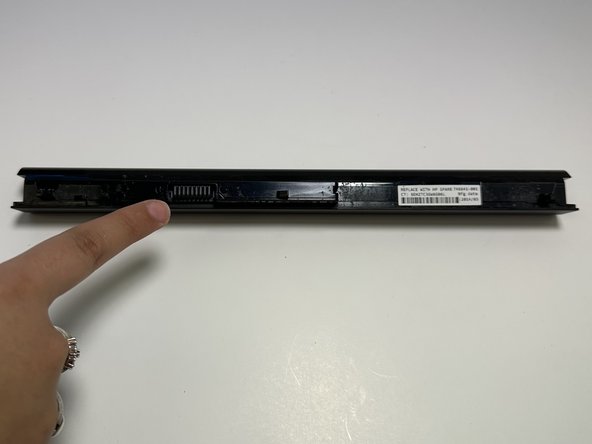
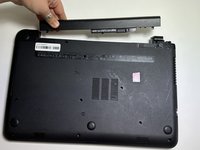
      • Use your hands to gently pull the disconnected battery out of the device.

      • When inserting the new battery, pay special attention to align the battery connections correctly.

      Ask FixBot

      Add Comment

    1. HP 15-g029wm Screen Replacement, Screen: step 5, image 1 of 1
      • Open the laptop lid.

      Ask FixBot

      Add Comment

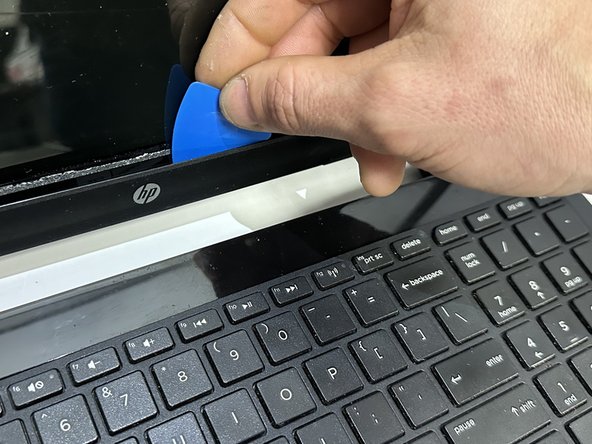
    2. HP 15-g029wm Screen Replacement: step 6, image 1 of 2 HP 15-g029wm Screen Replacement: step 6, image 2 of 2
      • Insert an opening pick beneath the display bezel.

      • While periodically prying, slide the opening pick around the perimeter of the bezel to sever the adhesive.

      Ask FixBot

      Add Comment

    3. HP 15-g029wm Screen Replacement: step 7, image 1 of 1
      • Once the majority of the adhesive is severed, use an opening pick or your hands to fully remove the bezel.

      Ask FixBot

      Add Comment

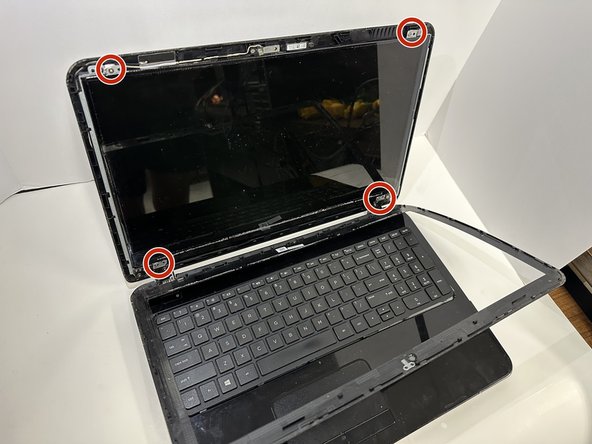
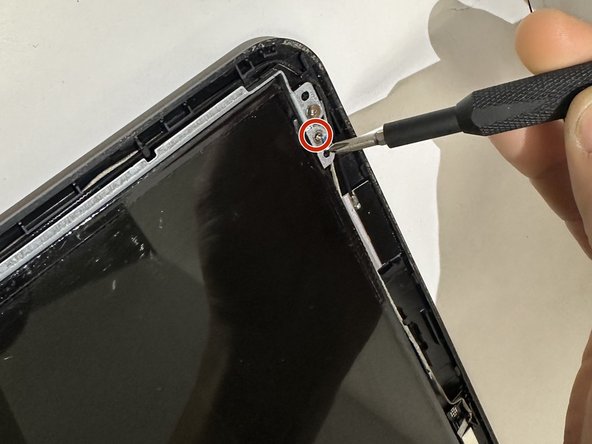
    4. HP 15-g029wm Screen Replacement: step 8, image 1 of 2 HP 15-g029wm Screen Replacement: step 8, image 2 of 2
      • Use a Phillips screwdriver to remove the four 4 mm screws that secure the LCD panel.

      Ask FixBot

      Add Comment

    5. HP 15-g029wm Screen Replacement: step 9, image 1 of 1
      • Use your hands to carefully remove/lift the panel away from the device.

      • The screen is connected to the device by a cord-do NOT pull it completely away or you risk damaging the device.

      Ask FixBot

      Add Comment

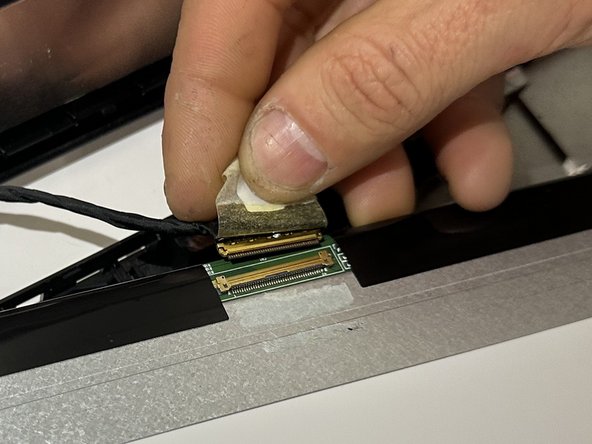
    6. HP 15-g029wm Screen Replacement: step 10, image 1 of 2 HP 15-g029wm Screen Replacement: step 10, image 2 of 2
      • Gently peel up the tape over the display cable.

      • If there is a hinge, flip it up.

      • Remove the display cable.

      Ask FixBot

      Add Comment

Conclusion

To reassemble your device, follow these instructions in reverse order.

Cancel: I did not complete this guide.

0 Guide Comments

Add Comment

View Statistics:

Past 24 Hours: 2

Past 7 Days: 17

Past 30 Days: 62

All Time: 389