Free Shipping on Domestic Orders $75+

HP 15-g029wm Fan Replacement

Views: 531

View statistics:

Past 24 Hours:
3
Past 7 Days:
16
Past 30 Days:
68
All Time:
531
Comments: 0

No one has left comments on this guide. Will you be first?

Go to guide comments
Completed: 0

No one has marked this guide "completed." Will you be the first?

Favorites: 0

No one has favorited (and subscribed to) this guide. Will you be the first?

Time Required: 15 minutes
Difficulty: Moderate
Featured Student Guide

This guide has been the hard work of our awesome students and is found to be exceptionally cool by the iFixit staff.

HP 15-g029wm Fan Replacement

Introduction

Go to step 1 ↓

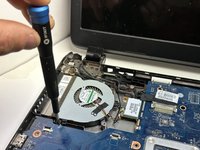
This is a guide on how to replace the cooling fan component in your HP 15-g029wm. This is necessary if you're HP 15-g029wm is overheating. There are 4 steps in this guide that describe how to open the HP 15-g029wm to access the components. Only follow up to step 13 if you only need to clear the fan of debris. Be careful not to damage any of the internal components.

What you need

Tools

    1. HP 15-g029wm Fan Replacement, Battery: step 1, image 1 of 1
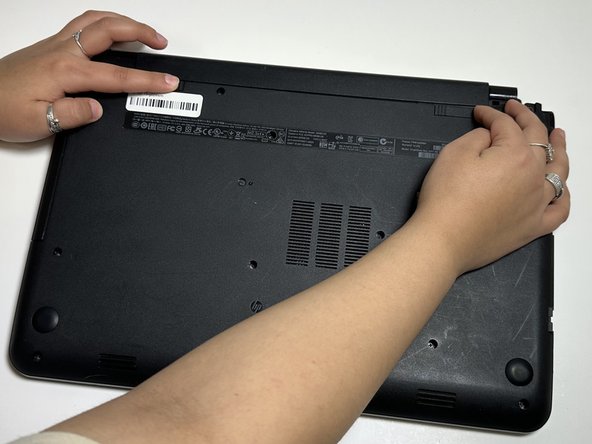
      • Unplug any charging cord or accessories connected to the device before beginning.

      Ask FixBot

      Add Comment

    2. HP 15-g029wm Fan Replacement: step 2, image 1 of 1
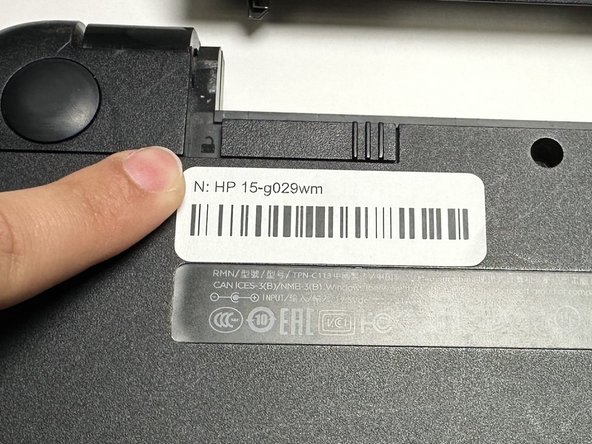
      • Place the laptop bottom-side up on a secure, flat surface.

      Ask FixBot

      Add Comment

    3. HP 15-g029wm Fan Replacement: step 3, image 1 of 3 HP 15-g029wm Fan Replacement: step 3, image 2 of 3 HP 15-g029wm Fan Replacement: step 3, image 3 of 3
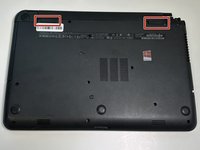
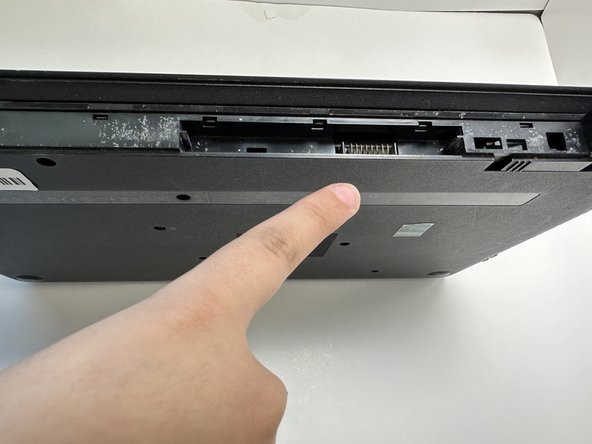
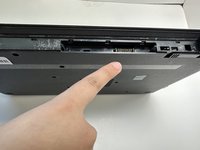
      • Slide each of the two switches that secure the battery to the left.

      • This will reveal an image of an unlocked lock.

      Ask FixBot

      Add Comment

    4. HP 15-g029wm Fan Replacement: step 4, image 1 of 3 HP 15-g029wm Fan Replacement: step 4, image 2 of 3 HP 15-g029wm Fan Replacement: step 4, image 3 of 3
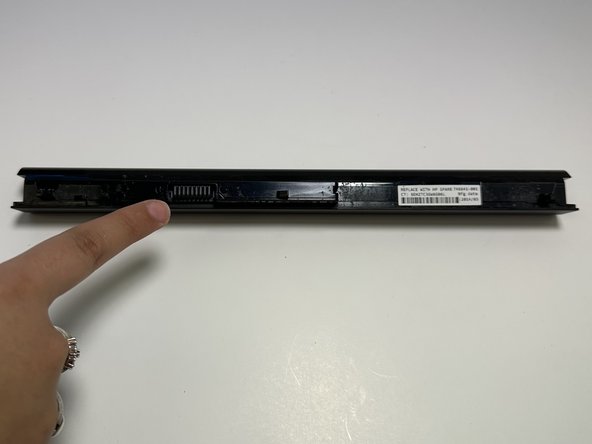
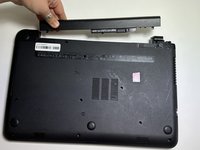
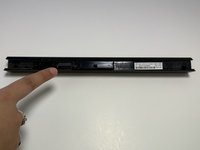
      • Use your hands to gently pull the disconnected battery out of the device.

      • When inserting the new battery, pay special attention to align the battery connections correctly.

      Ask FixBot

      Add Comment

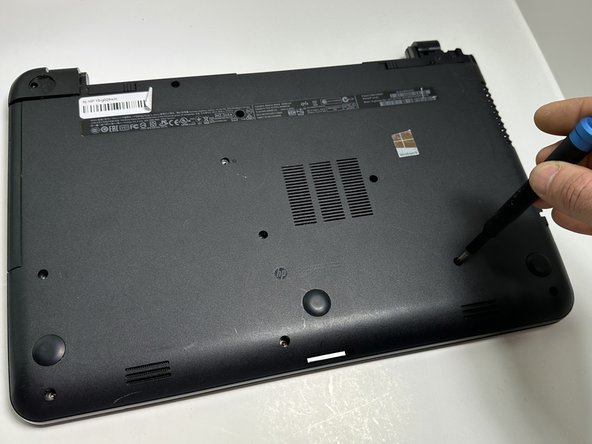
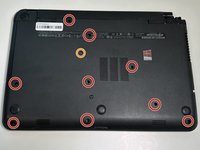
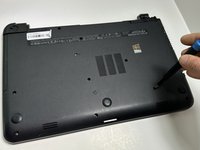
    1. HP 15-g029wm Fan Replacement, Upper Case: step 5, image 1 of 2 HP 15-g029wm Fan Replacement, Upper Case: step 5, image 2 of 2
      • Remove the following Phillips screws on the lower case:

      • Nine 5 mm

      • One 6 mm

      • This will allow the optical drive to separate from the chassis.

      Ask FixBot

      Add Comment

    2. HP 15-g029wm Fan Replacement: step 6, image 1 of 1
      • Slide the optical drive directly out of its slot.

      Ask FixBot

      Add Comment

    3. HP 15-g029wm Fan Replacement: step 7, image 1 of 1
      • Remove the two 2 mm Phillips screws on the lip of the optical drive slot.

      Ask FixBot

      Add Comment

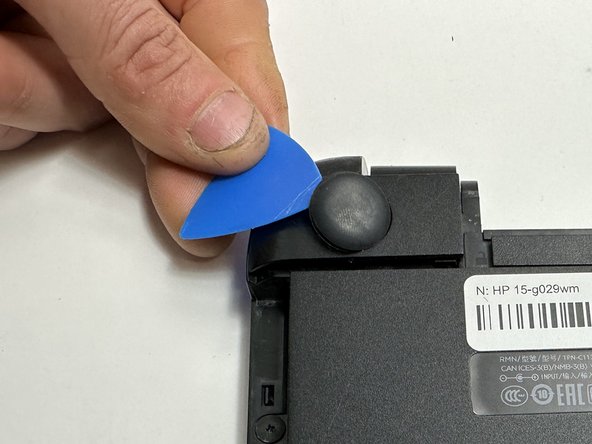
    4. HP 15-g029wm Fan Replacement: step 8, image 1 of 3 HP 15-g029wm Fan Replacement: step 8, image 2 of 3 HP 15-g029wm Fan Replacement: step 8, image 3 of 3
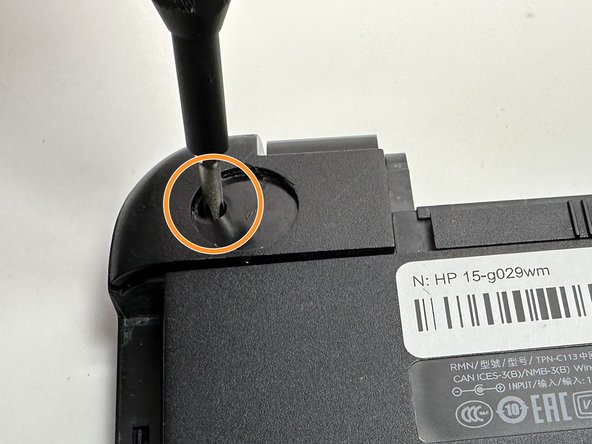
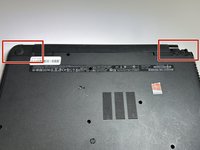
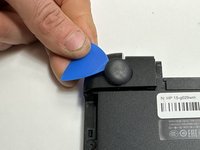
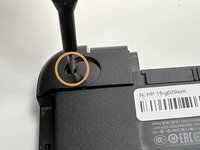
      • Use an opening pick to remove the two circular rubber feet near the laptop hinges.

      • Remove both of the 8 mm Phillips screws.

      • The screws were hidden by the rubber feet.

      Ask FixBot

      Add Comment

    5. HP 15-g029wm Fan Replacement: step 9, image 1 of 2 HP 15-g029wm Fan Replacement: step 9, image 2 of 2
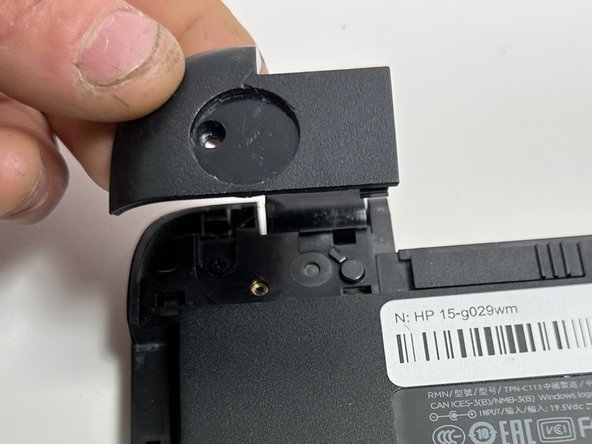
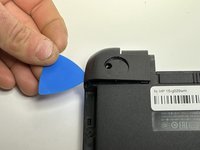
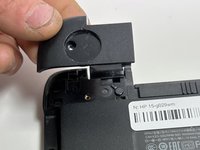
      • Use an opening pick to pry up and remove the left hinge cover.

      • Use an opening pick to pry up and remove the right hinge cover.

      Ask FixBot

      Add Comment

    6. HP 15-g029wm Fan Replacement: step 10, image 1 of 3 HP 15-g029wm Fan Replacement: step 10, image 2 of 3 HP 15-g029wm Fan Replacement: step 10, image 3 of 3
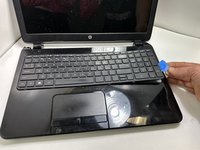
      • Flip the device face up and open the lid.

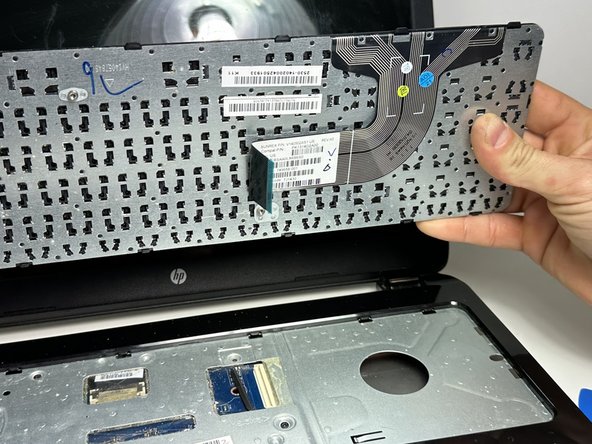
      • Insert an opening pick under the keyboard and pry around the perimeter of the keyboard until it fully releases.

      • Lift the keyboard slightly.

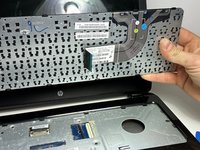
      • There is a ribbon cable connecting the keyboard to the device on the underside. Do NOT pull it away or you risk ripping the ribbon cable and causing damage.

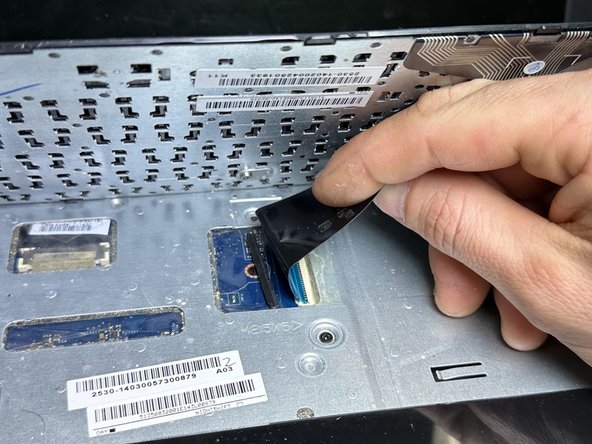
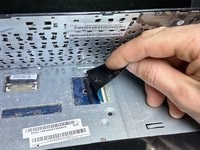
      • Use your fingers or an opening pick to unlock the ZIF locking flap that secures the keyboard ribbon cable.

      • Disconnect the keyboard ribbon cable.

      • Lift the keyboard off.

      Ask FixBot

      Add Comment

    7. HP 15-g029wm Fan Replacement: step 11, image 1 of 3 HP 15-g029wm Fan Replacement: step 11, image 2 of 3 HP 15-g029wm Fan Replacement: step 11, image 3 of 3
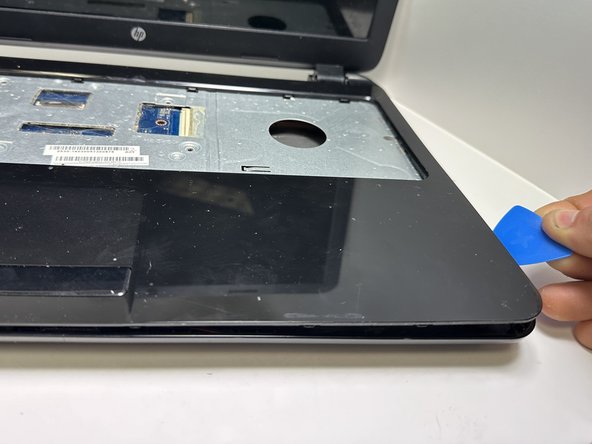
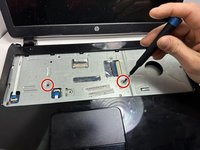
      • Remove two 5 mm screws using a Phillips screwdriver.

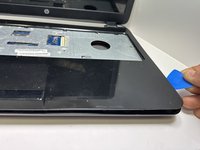
      • Insert an opening pick in the seam between the top case and chassis.

      • Slide the opening pick around the edge of the device to separate the top case from the chassis.

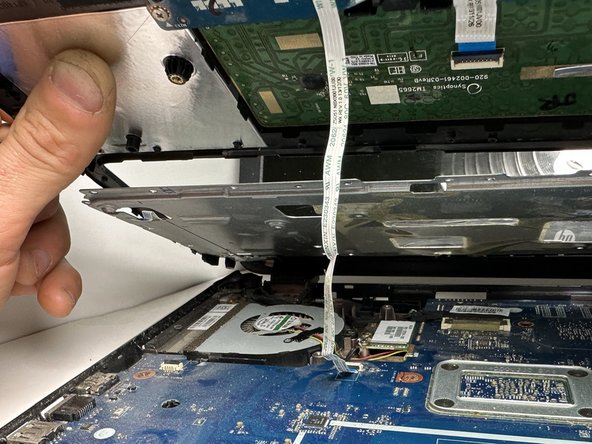
      • Slightly lift the top case up and away from the chassis.

      • There is a ribbon cable connecting the top plate to the device. Handle with care, and do NOT yank on the ribbon cable to prevent damage.

      Ask FixBot

      Add Comment

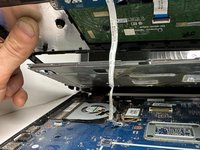
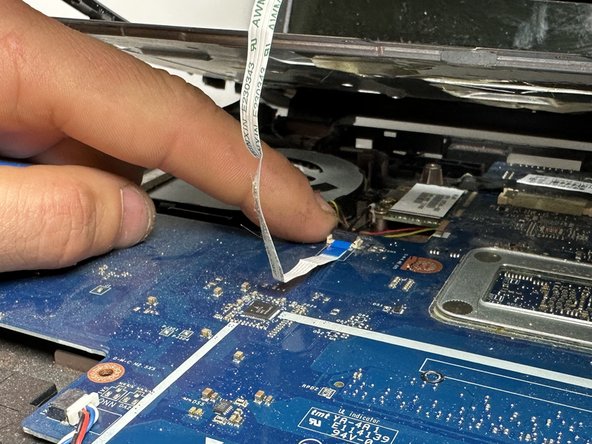
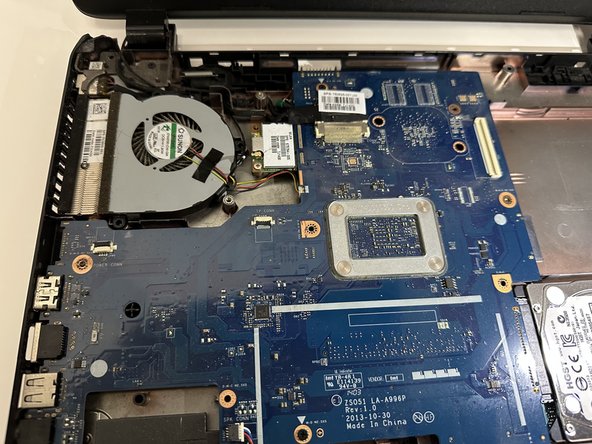
    8. HP 15-g029wm Fan Replacement: step 12, image 1 of 3 HP 15-g029wm Fan Replacement: step 12, image 2 of 3 HP 15-g029wm Fan Replacement: step 12, image 3 of 3
      • Use your fingers or an opening pick to flip up the black ZIF locking flap.

      • Disconnect the ribbon cable.

      • Lift off the top case.

      Ask FixBot

      Add Comment

    1. HP 15-g029wm Fan Replacement, Fan: step 13, image 1 of 2 HP 15-g029wm Fan Replacement, Fan: step 13, image 2 of 2
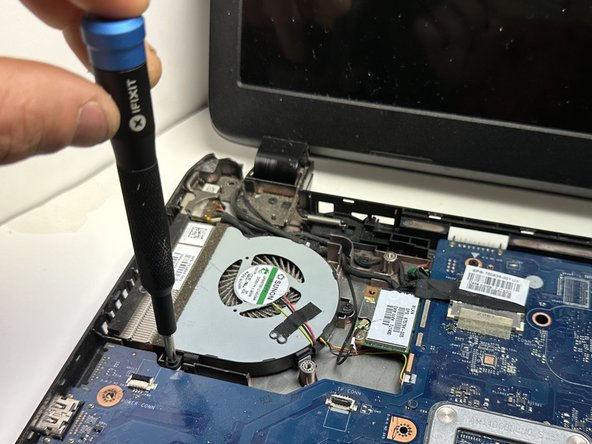
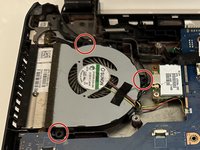
      • Use a Phillips screwdriver to remove the three 5 mm screws that secure the fan.

      Ask FixBot

      Add Comment

    2. HP 15-g029wm Fan Replacement: step 14, image 1 of 2 HP 15-g029wm Fan Replacement: step 14, image 2 of 2
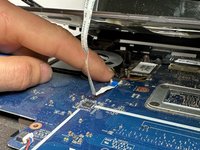
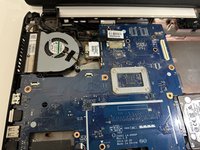
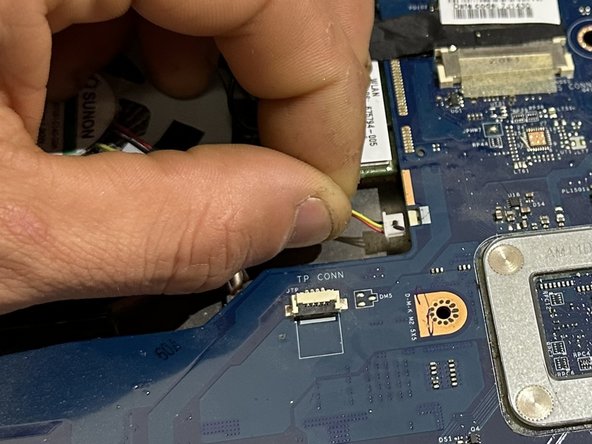
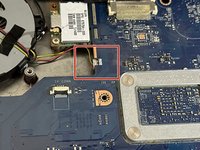
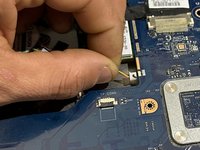
      • Gently "walk" the fan connector directly out of its motherboard socket.

      • Do not pull on the wires.

      Ask FixBot

      Add Comment

    3. HP 15-g029wm Fan Replacement: step 15, image 1 of 1
      • Lift the fan up and out of the chassis.

      Ask FixBot

      Add Comment

Conclusion

To reassemble your device, follow these instructions in reverse order.

Cancel: I did not complete this guide.

0 Guide Comments

Add Comment

View Statistics:

Past 24 Hours: 3

Past 7 Days: 16

Past 30 Days: 68

All Time: 531