Introduction
This guide demonstrates how to safely replace the lower case of the HP 15-ef1041nr laptop to access its internal components. Removing the back panel is the first step for many repairs and upgrades, including battery replacement, SSD upgrades, RAM installation, and general internal maintenance. Before beginning, make sure the laptop is completely powered off and disconnected from any external power sources. It is also recommended to work on a clean, static-free surface and use proper tools to avoid damaging the clips or internal hardware. This guide is intended for beginners and assumes no prior disassembly experience. Follow each step carefully to prevent damage to the back cover or internal components.
What you need
-
-
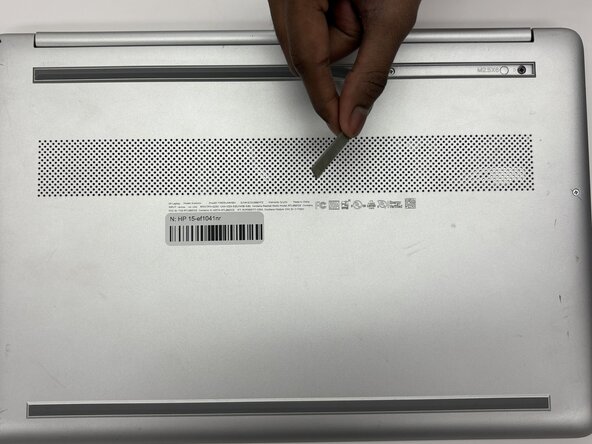
Use an opening tool to remove the two rubber feet on the lower case.
-
Place the rubber strips off to the side with the stickey side up.
 Ask FixBot
-
-
-
-
Use a Phillips #1 screwdriver to remove the following screws securing the lower case:
-
Six 2 mm x 6mm screws
-
Two 2.5 mm x 6 mm screws
-
-
-
Insert an iFixit opening tool into the seam betwen the keyboard area and bottom cover.
-
Using another iFixit opening tool, slide along the seam to unhook the clips.
-
Remove the lower case.
-


Follow this guide in reverse to to reassemble the lower case.
Cancel: I did not complete this guide.
One other person completed this guide.
Team

Purdue University Northwest, Team 8-12, Dieterle Spring 2026 Member of Purdue University Northwest, Team 8-12, Dieterle Spring 2026
PNW-DIETERLE-S26S8G12
4 Members
6 Guides authored