Free Shipping on Domestic Orders $75+

HP 15-dy2702dx Battery Replacement

What you need

    1. HP 15-dy2702dx Battery Replacement, Lower Case: step 1, image 1 of 1
      • Remove both of the rubber strips to uncover the hidden screws.

      • You can use a prying tool to help lift an end.

      Ask FixBot

      Add Comment

    2. HP 15-dy2702dx Battery Replacement: step 2, image 1 of 1
      • Unscrew all 8 Phillips #1 screws on the bottom panel:

      • Two M2.5x6

      • Six M2x6

      Ask FixBot

      Add Comment

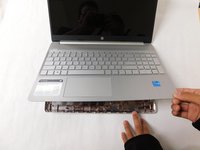
    3. HP 15-dy2702dx Battery Replacement: step 3, image 1 of 2 HP 15-dy2702dx Battery Replacement: step 3, image 2 of 2
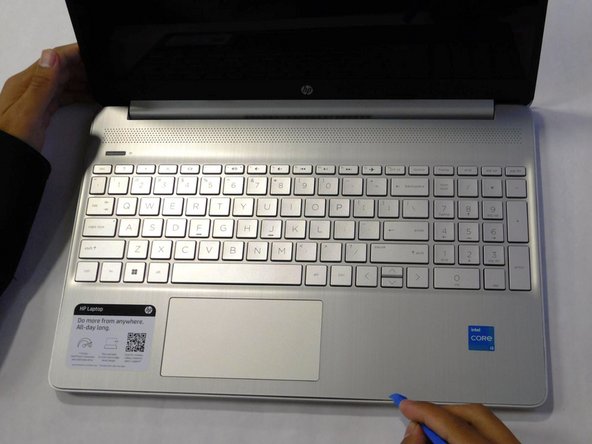
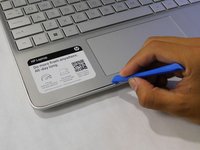
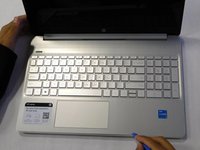
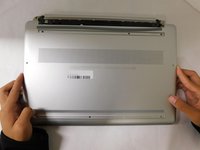
      • Flip the laptop over and open the lid.

      • Separate the bottom panel from the main body by using the iFixit opening tool.

      • Ensure that the bottom panel is completely separated along the edges.

      Ask FixBot

      Add Comment

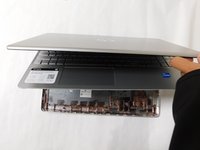
    4. HP 15-dy2702dx Battery Replacement: step 4, image 1 of 2 HP 15-dy2702dx Battery Replacement: step 4, image 2 of 2
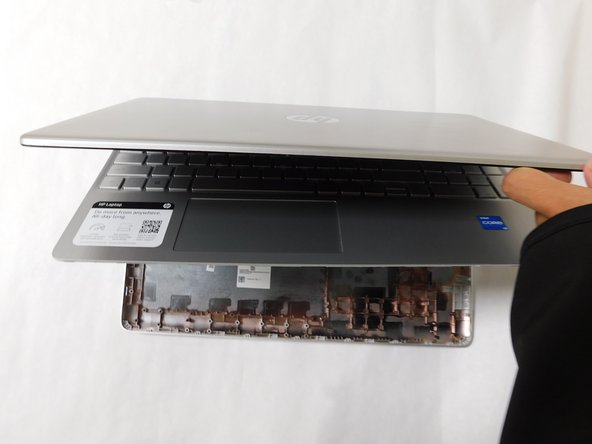
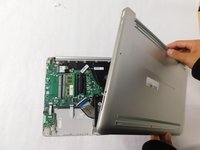
      • If you can lift the laptop like shown in the first picture, the bottom panel is nearly separated.

      • Close the laptop to allow the back edges to fully separate

      Ask FixBot

      Add Comment

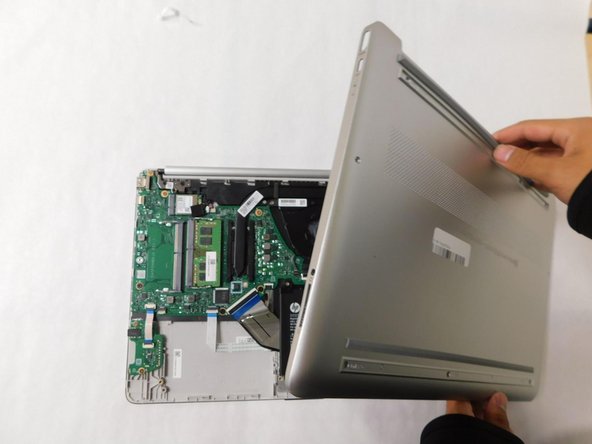
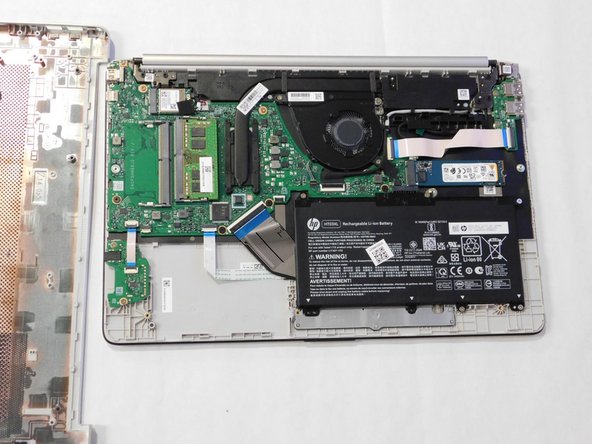
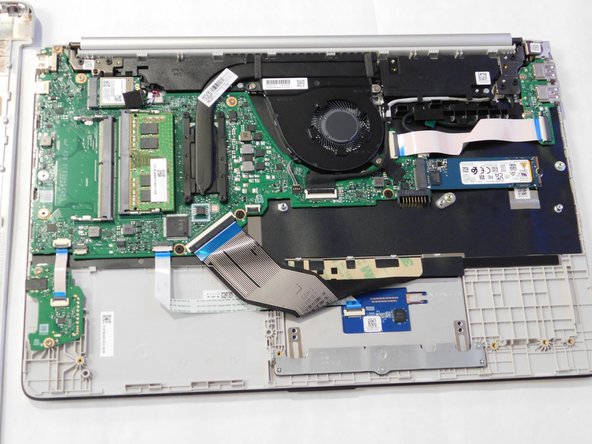
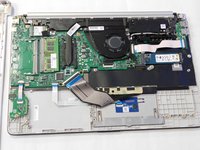
    5. HP 15-dy2702dx Battery Replacement: step 5, image 1 of 3 HP 15-dy2702dx Battery Replacement: step 5, image 2 of 3 HP 15-dy2702dx Battery Replacement: step 5, image 3 of 3
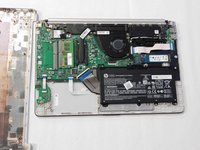
      • Flip the laptop over and carefully remove the lower case.

      Ask FixBot

      Add Comment

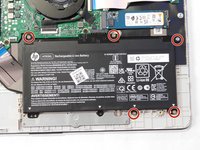
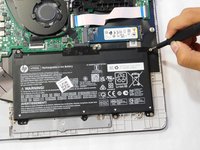
    1. HP 15-dy2702dx Battery Replacement, Battery: step 6, image 1 of 2 HP 15-dy2702dx Battery Replacement, Battery: step 6, image 2 of 2
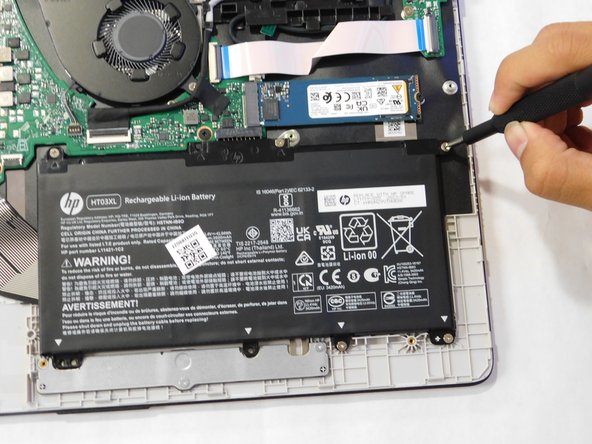
      • Remove the five M2x6 screws that secure the battery with a Phillips #1 screwdriver.

      Ask FixBot

      Add Comment

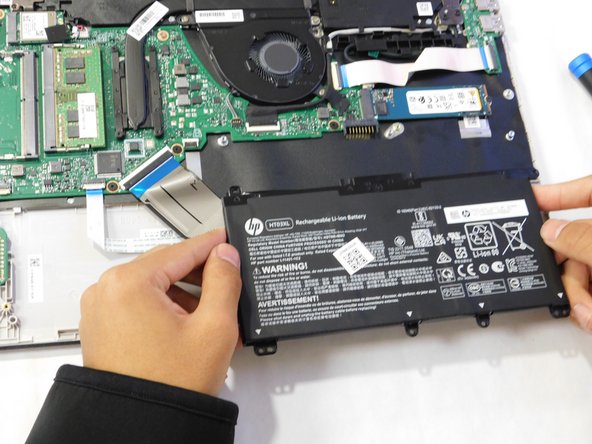
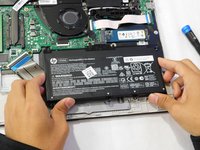
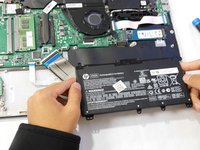
    2. HP 15-dy2702dx Battery Replacement: step 7, image 1 of 3 HP 15-dy2702dx Battery Replacement: step 7, image 2 of 3 HP 15-dy2702dx Battery Replacement: step 7, image 3 of 3
      • Grab the sides of the battery and gently pull the battery until it disconnects from the connector on motherboard.

      • Lift the battery up and out.

      Ask FixBot

      Add Comment

Conclusion

To reassemble your device, follow these instructions in reverse order.

Cancel: I did not complete this guide.

One other person completed this guide.

September Oo

Member since: 09/07/23

418 Reputation

4 Guides authored

Team

Gateway, Team 1-4, Pee Fall 2023 Member of Gateway, Team 1-4, Pee Fall 2023

GCC-PEE-F23S1G4

4 Members

96 Guides authored

0 Guide Comments

Add Comment

View Statistics:

Past 24 Hours: 8

Past 7 Days: 18

Past 30 Days: 90

All Time: 2,464