
HP 15-dy2024nr Battery Replacement

Konnor Young and 4 other contributors
Last updated on Apr 5, 2024
Views: 2.2K
View statistics:
- Past 24 Hours:
- 2
- Past 7 Days:
- 16
- Past 30 Days:
- 85
- All Time:
- 2,216
Comments: 0
No one has left comments on this guide. Will you be first?
Go to guide commentsCompleted: 2 3
2 people have marked this guide "completed." Will you be next?
3 people have marked this guide "completed." Including you — great job!
Favorites: 1 2
1 person has favorited (and subscribed to) this guide. Will you be next?
2 people have favorited (and subscribed to) this guide — including you!
Introduction
Go to step 1 ↓If your HP 15-dy2024nr is not charging or not holding a charge, you may need to replace the battery. This guide will help you remove the old battery. To do this you'll first need to remove the back cover.
If the battery is swollen take extra precautions to safely remove and dispose of it. As with all parts, be sure the laptop is powered off before removing the battery.
What you need
Fix Kit
This kit contains all the parts and tools needed to complete this guide.

Parts

Tools


-
-
-
Use a spudger to peel one corner of each of the rubber feet from the bottom of the laptop.
-
Gently peel the feet from the laptop using the spudger revealing the screws underneath.
 Ask FixBot
-
-
-
Use a Phillips #1 screwdriver to remove:
-
Two 2.5mm x 6mm screws
-
Six 2mm x 6mm screws
-
-
-
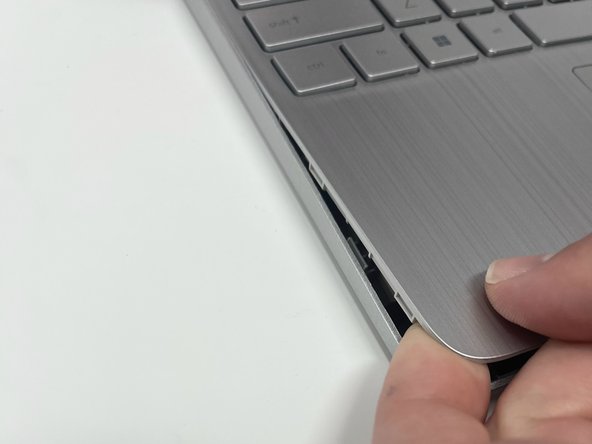
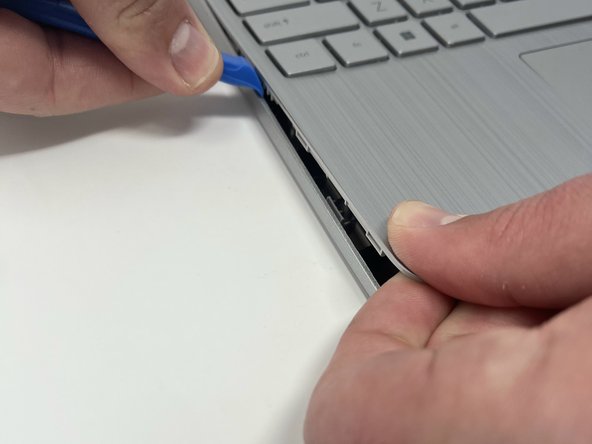
Insert an iFixit opening tool into the seam between the keyboard area and bottom cover.
-
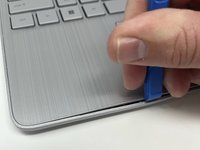
Using another iFixit opening tool, slide along the seam to unhook the clips.
-
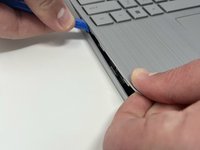
When the front of the laptop is open, you can use your finger to hold a corner open then slide an iFixit opening tool along the seam toward the back corner.
-
After the clips have been released, flip the laptop over and lift the cover.
-
-
-
-
-
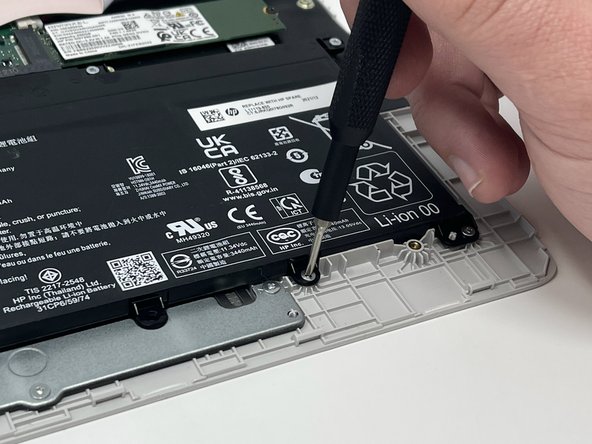
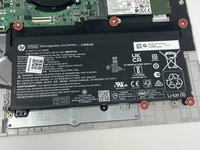
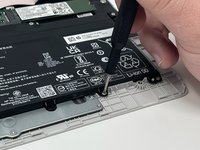
Remove five 2.0mm x 3.0mm screws using a Phillips #00 screwdriver.
-
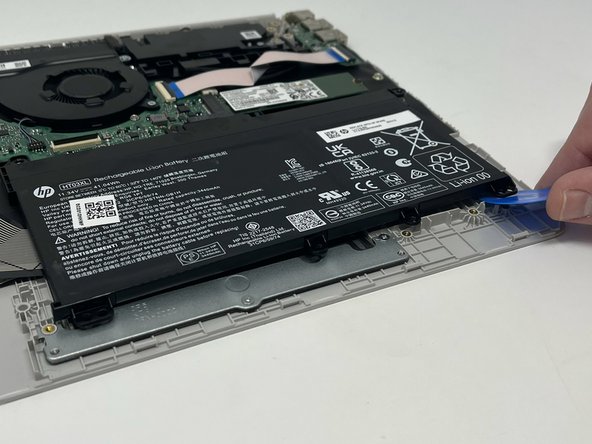
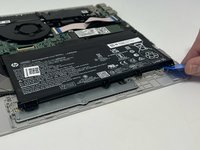
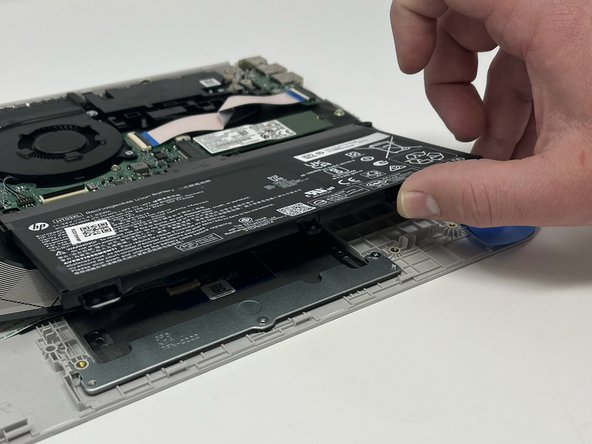
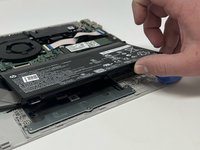
Use the iFixit opening picks to lift the battery away from the laptop.
-
-
-
-
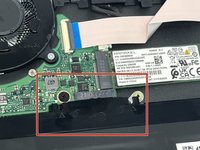
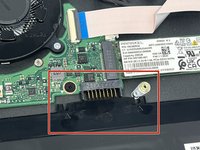
Unplug the battery from the motherboard.
-
Lift the battery away from the laptop and remove.
-
-






To reassemble your device, follow these instructions in reverse order.
Cancel: I did not complete this guide.
2 other people completed this guide.

Team

Utah Tech University, Team 1-4, McMurrin Fall 2022 Member of Utah Tech University, Team 1-4, McMurrin Fall 2022
UTAHTECH-MCMURRIN-F22S1G4
3 Members
72 Guides authored
