Free Shipping on Domestic Orders $75+

HP 15-dw0037wm Speaker Replacement Guide

What you need

    1. HP 15-dw0037wm Speaker Replacement Guide, Lower Case: step 1, image 1 of 2 HP 15-dw0037wm Speaker Replacement Guide, Lower Case: step 1, image 2 of 2
      • Before you begin, discharge your laptop battery below 25%. A charged lithium-ion battery can catch fire and/or explode if accidentally punctured.

      • Power off your laptop and disconnect the charger and any peripheries before beginning disassembly.

      • Set the laptop down with the lower case facing up.

      • Lift a corner of the lower silicone foot and peel it completely off.

      • Repeat for the upper silicone foot.

      Ask FixBot

      Add Comment

    2. HP 15-dw0037wm Speaker Replacement Guide: step 2, image 1 of 2 HP 15-dw0037wm Speaker Replacement Guide: step 2, image 2 of 2
      • Use a Phillips screwdriver to remove the five 8 mm screws.

      • Remove the two 5 mm Phillips screws.

      Ask FixBot

      Add Comment

    3. HP 15-dw0037wm Speaker Replacement Guide: step 3, image 1 of 3 HP 15-dw0037wm Speaker Replacement Guide: step 3, image 2 of 3 HP 15-dw0037wm Speaker Replacement Guide: step 3, image 3 of 3
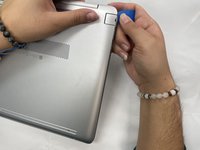
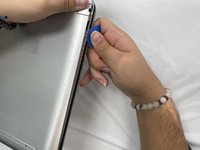
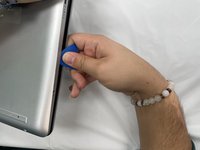
      • Insert an opening pick into the gap between the lower case and chassis.

      • Starting from a corner is recommended.

      • Slide the pick around the entire perimeter of the device until the lower case fully releases.

      • Remove the lower case.

      Ask FixBot

      Add Comment

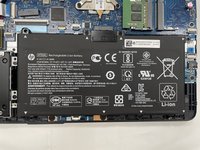
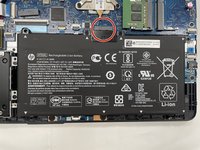
    1. HP 15-dw0037wm Speaker Replacement Guide, Battery: step 4, image 1 of 2 HP 15-dw0037wm Speaker Replacement Guide, Battery: step 4, image 2 of 2
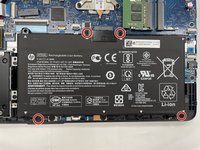
      • Use a Phillips screwdriver to remove the the four 4 mm screws that secure the battery.

      Ask FixBot

      Add Comment

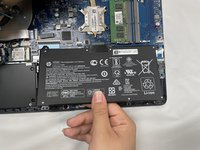
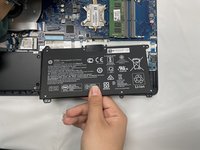
    2. HP 15-dw0037wm Speaker Replacement Guide: step 5, image 1 of 3 HP 15-dw0037wm Speaker Replacement Guide: step 5, image 2 of 3 HP 15-dw0037wm Speaker Replacement Guide: step 5, image 3 of 3
      • Lift the battery out slowly to disconnect it from the socket that connects it to the motherboard.

      • Removing the battery quickly can damage the socket that the motherboard is connected to.

      Ask FixBot

      Add Comment

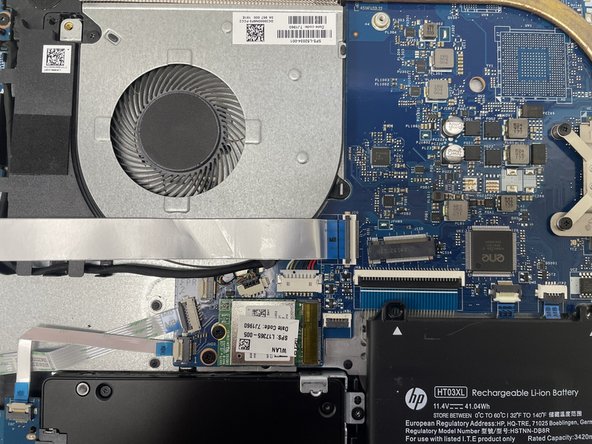
    1. HP 15-dw0037wm Speaker Replacement Guide, Fan: step 6, image 1 of 3 HP 15-dw0037wm Speaker Replacement Guide, Fan: step 6, image 2 of 3 HP 15-dw0037wm Speaker Replacement Guide, Fan: step 6, image 3 of 3
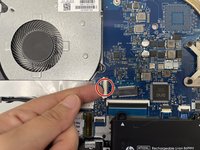
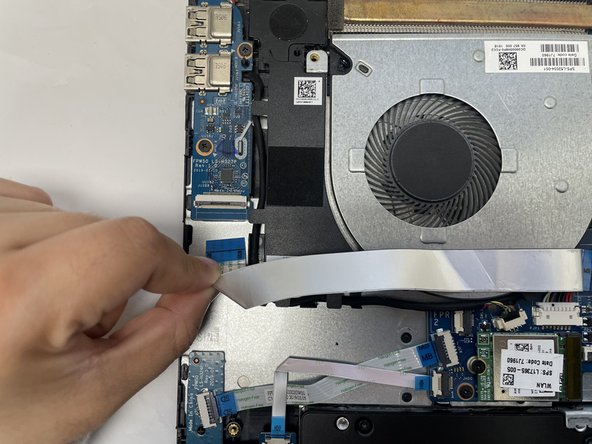
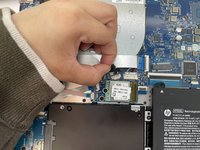
      • Use your fingernail or a spudger to gently lift the black ZIF locking flap that secures the ribbon cable.

      • Repeat the previous bullet on the other end of the ribbon cable.

      Ask FixBot

      Add Comment

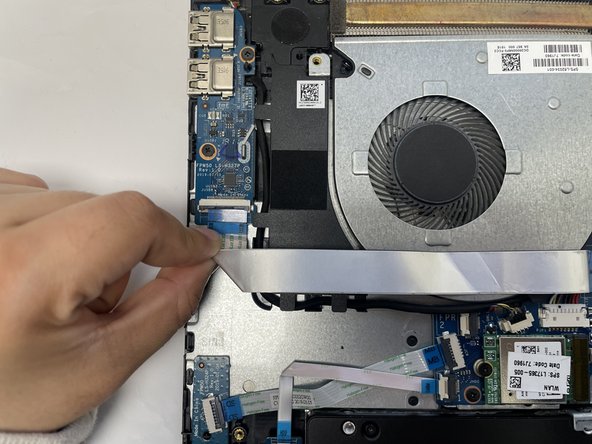
    2. HP 15-dw0037wm Speaker Replacement Guide: step 7, image 1 of 2 HP 15-dw0037wm Speaker Replacement Guide: step 7, image 2 of 2
      • Slide the ribbon cable out from the socket gently.

      • Repeat on the other end of the ribbon cable.

      Ask FixBot

      Add Comment

    3. HP 15-dw0037wm Speaker Replacement Guide: step 8, image 1 of 3 HP 15-dw0037wm Speaker Replacement Guide: step 8, image 2 of 3 HP 15-dw0037wm Speaker Replacement Guide: step 8, image 3 of 3
      • Gently using your fingernails to push the fan connector out of its motherboard socket.

      Ask FixBot

      Add Comment

    4. HP 15-dw0037wm Speaker Replacement Guide: step 9, image 1 of 1
      • Remove the one 4 mm screw securing the fan with a Phillips #1 screwdriver.

      Ask FixBot

      Add Comment

    5. HP 15-dw0037wm Speaker Replacement Guide: step 10, image 1 of 3 HP 15-dw0037wm Speaker Replacement Guide: step 10, image 2 of 3 HP 15-dw0037wm Speaker Replacement Guide: step 10, image 3 of 3
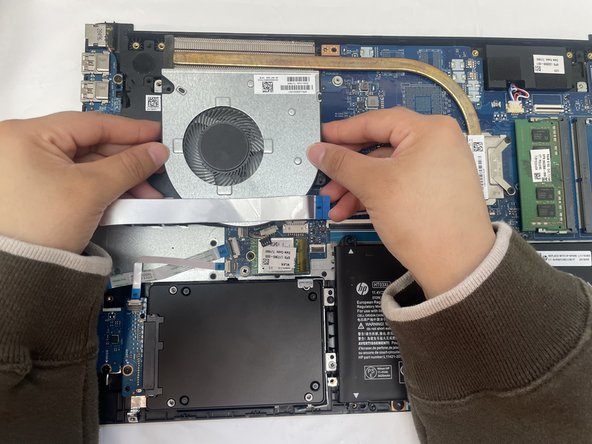
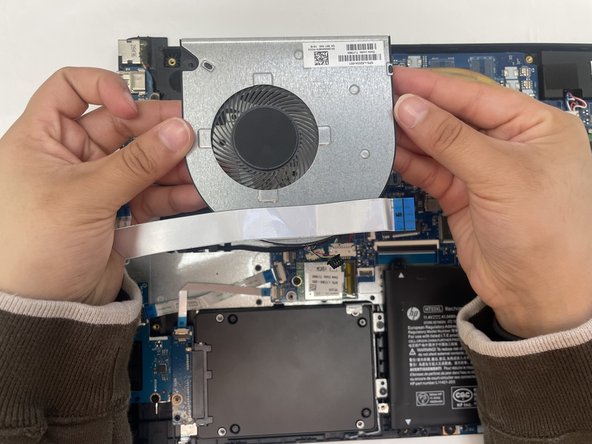
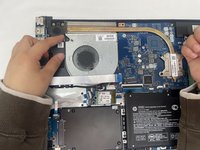
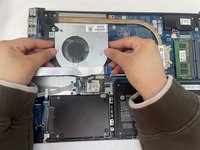
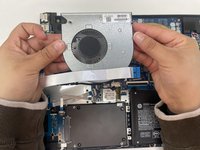
      • Grip and lift the fan up and out of the chassis.

      Ask FixBot

      Add Comment

    1. HP 15-dw0037wm Speaker Replacement Guide, Heatsink: step 11, image 1 of 2 HP 15-dw0037wm Speaker Replacement Guide, Heatsink: step 11, image 2 of 2
      • Use a Phillips screwdriver to remove the four screws that secure the heatsink to the CPU and motherboard, then carefully remove the heatsink.

      Ask FixBot

      Add Comment

    2. HP 15-dw0037wm Speaker Replacement Guide: step 12, image 1 of 1
      • Now that the heatsink has been removed, use rubbing alcohol and a lint-free cloth to gently clean the old thermal paste before applying thermal paste to the replacement heat sink.

      • Check out the official thermal paste replacement guide for more information.

      Ask FixBot

      Add Comment

    1. HP 15-dw0037wm Speaker Replacement Guide, Speaker: step 13, image 1 of 3 HP 15-dw0037wm Speaker Replacement Guide, Speaker: step 13, image 2 of 3 HP 15-dw0037wm Speaker Replacement Guide, Speaker: step 13, image 3 of 3
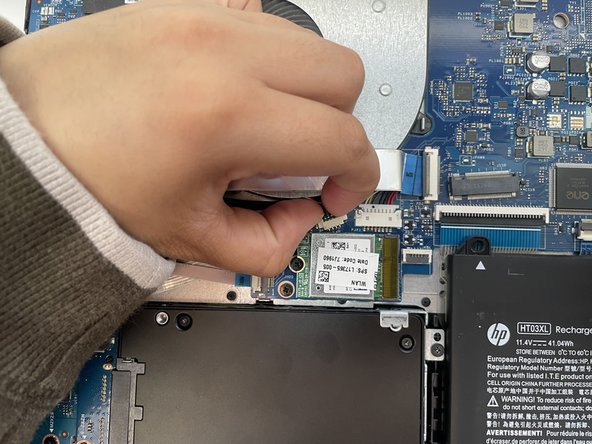
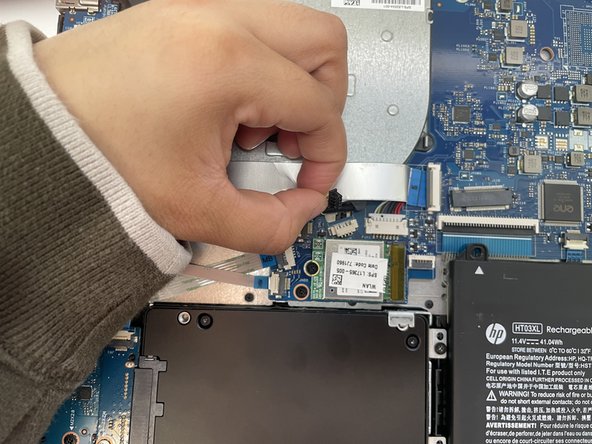
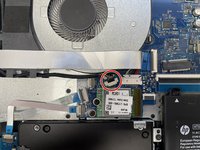
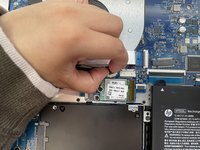
      • Use an opening tool to pry up and disconnect the two wireless card coaxial connectors.

      Ask FixBot

      Add Comment

    2. HP 15-dw0037wm Speaker Replacement Guide: step 14, image 1 of 3 HP 15-dw0037wm Speaker Replacement Guide: step 14, image 2 of 3 HP 15-dw0037wm Speaker Replacement Guide: step 14, image 3 of 3
      • Remove the four Phillips screws securing both display hinges.

      • Use an opening tool to lift the left hinge vertically.

      Ask FixBot

      Add Comment

    3. HP 15-dw0037wm Speaker Replacement Guide: step 15, image 1 of 3 HP 15-dw0037wm Speaker Replacement Guide: step 15, image 2 of 3 HP 15-dw0037wm Speaker Replacement Guide: step 15, image 3 of 3
      • Use an opening tool to lift the right hinge vertically.

      Ask FixBot

      Add Comment

    4. HP 15-dw0037wm Speaker Replacement Guide: step 16, image 1 of 3 HP 15-dw0037wm Speaker Replacement Guide: step 16, image 2 of 3 HP 15-dw0037wm Speaker Replacement Guide: step 16, image 3 of 3
      • Identify the four ZIF ribbon cables on the motherboard.

      • Use your fingernail to lift each locking tab gently.

      • Pull each ribbon cable straight out, keeping it parallel to the board.

      • Do not twist or bend the ribbons sharply, as they can tear easily.

      Ask FixBot

      Add Comment

    5. HP 15-dw0037wm Speaker Replacement Guide: step 17, image 1 of 3 HP 15-dw0037wm Speaker Replacement Guide: step 17, image 2 of 3 HP 15-dw0037wm Speaker Replacement Guide: step 17, image 3 of 3
      • Flip the black locking flap on the ZIF connector and disconnect the cable.

      • Disconnect the speaker connector.

      • Ensure all motherboard connections are disconnected before continuing.

      Ask FixBot

      Add Comment

    6. HP 15-dw0037wm Speaker Replacement Guide: step 18, image 1 of 3 HP 15-dw0037wm Speaker Replacement Guide: step 18, image 2 of 3 HP 15-dw0037wm Speaker Replacement Guide: step 18, image 3 of 3
      • Remove the three Phillips screws securing the motherboard to the chassis.

      • Gently lift one corner of the board and slide it out of position, being mindful of any remaining cables underneath.

      • Handle the board only by it's edges to prevent static damage.

      Ask FixBot

      Add Comment

    7. HP 15-dw0037wm Speaker Replacement Guide: step 19, image 1 of 1
      • Remove the motherboard.

      Ask FixBot

      Add Comment

    8. HP 15-dw0037wm Speaker Replacement Guide: step 20, image 1 of 3 HP 15-dw0037wm Speaker Replacement Guide: step 20, image 2 of 3 HP 15-dw0037wm Speaker Replacement Guide: step 20, image 3 of 3
      • Remove the two screws securing the daughterboard to the chassis.

      • Use an opening tool to lift up the board gently.

      • Remove the board.

      Ask FixBot

      Add Comment

    9. HP 15-dw0037wm Speaker Replacement Guide: step 21, image 1 of 2 HP 15-dw0037wm Speaker Replacement Guide: step 21, image 2 of 2
      • Ensure the speaker cable is fully untangled from the frame and clips.

      • Confirm that the cable path is fully accessible before removing the speakers.

      Ask FixBot

      Add Comment

    10. HP 15-dw0037wm Speaker Replacement Guide: step 22, image 1 of 2 HP 15-dw0037wm Speaker Replacement Guide: step 22, image 2 of 2
      • Gently lift both sides to completely free the speakers.

      • Avoid using the wire as leverage because it can easily detach from the speaker housing.

      Ask FixBot

      Add Comment

    11. HP 15-dw0037wm Speaker Replacement Guide: step 23, image 1 of 2 HP 15-dw0037wm Speaker Replacement Guide: step 23, image 2 of 2
      • Position the new speakers in the same orientation as the original.

      • Align them securely in their compartments.

      • Route the connecting cable along the same path, pressing it into the retaining clips.

      Ask FixBot

      Add Comment

Conclusion

To reassemble your device, follow the above steps in reverse order.
Take your e-waste to an R2 or e-Stewards certified recycler.
Repair didn’t go as planned? Try some basic troubleshooting or ask our Answers community for help.

Cancel: I did not complete this guide.

Harry Nguyen

Member since: 10/21/25

193 Reputation

1 Guide authored

Team

UW Tacoma, Team E-3, Rose Fall 2025 Member of UW Tacoma, Team E-3, Rose Fall 2025

UWT-ROSE-F25SEG3

4 Members

36 Guides authored

0 Guide Comments

Add Comment

View Statistics:

Past 24 Hours: 1

Past 7 Days: 13

Past 30 Days: 34

All Time: 167