
HP 15-dw0037wm SD Card Reader Replacement

Alexander Andrews and one other contributor
Last updated on Jan 8, 2026
Views: 305
View statistics:
- Past 24 Hours:
- 1
- Past 7 Days:
- 11
- Past 30 Days:
- 75
- All Time:
- 305
Comments: 0
No one has left comments on this guide. Will you be first?
Go to guide commentsCompleted: 0 1
No one has marked this guide "completed." Will you be the first?
1 person has marked this guide "completed." It's you — great job!
Favorites: 0 1
No one has favorited (and subscribed to) this guide. Will you be the first?
1 person has favorited (and subscribed to) this guide — and that's you!
Introduction
Go to step 1 ↓The SD slot on a laptop lets you read and transfer files from SD memory cards, like photos or videos from a camera. They are also useful for providing extra storage. If your laptop suddenly stops recognizing any cards, the SD slot might be damaged. This guide will show you how to remove and replace it.
What you need
Tools


-
-
-
Power off your laptop and disconnect the charger and any peripheries before beginning disassembly.
-
Set the laptop down with the lower case facing up.
-
Lift a corner of the lower silicone foot and peel it completely off.
-
Repeat for the upper silicone foot.
 Ask FixBot
-
-
-
Use a Phillips screwdriver to remove the five 8 mm screws.
-
Remove the two 5 mm Phillips screws.
-
-
-
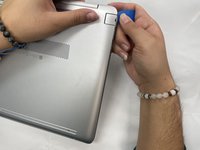
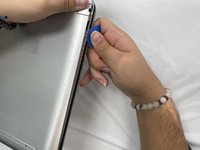
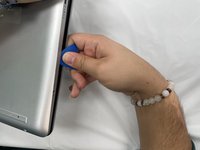
Insert an opening pick into the gap between the lower case and chassis.
-
Slide the pick around the entire perimeter of the device until the lower case fully releases.
-
Remove the lower case.
-
-
-
-
-
-
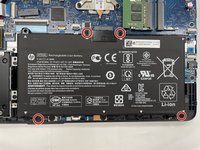
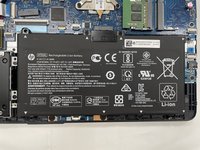
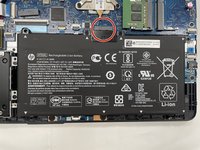
Use a Phillips screwdriver to remove the the four 4 mm screws that secure the battery.
-
-
-
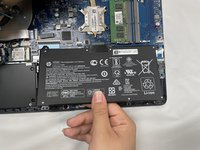
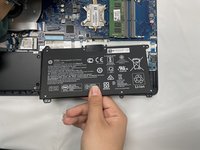
Lift the battery out slowly to disconnect it from the socket that connects it to the motherboard.
-
-
-
-
-
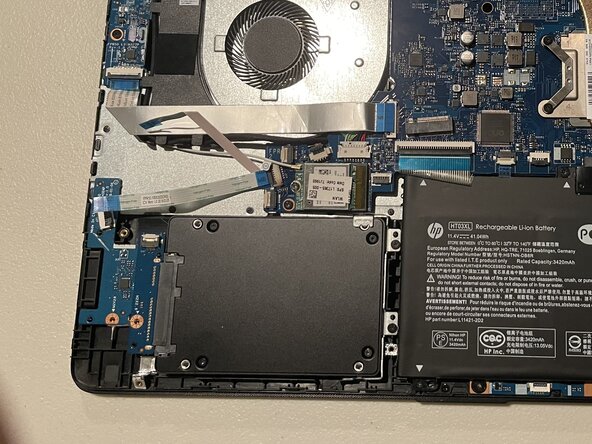
Flip up the locking flaps securing the HDD and SD reader ribbon cables to the respective boards.
-
Disconnect the two ribbon cables.
-
With a Phillips #0 screwdriver, remove the two 3 mm-long screws that secure the two boards.
-
-









To reassemble your device, follow the above steps in reverse order.
Take your e-waste to an R2 or e-Stewards certified recycler.
Repair didn’t go as planned? Try some basic troubleshooting or ask our Answers community for help.

Team

UW Tacoma, Team E-3, Rose Fall 2025 Member of UW Tacoma, Team E-3, Rose Fall 2025
UWT-ROSE-F25SEG3
4 Members
36 Guides authored
