Introduction
Have you noticed that your HP 15-dw0037wm is suddenly out of storage, making weird noises and or you're receiving a lot of error messages? It's possible that your laptop's hard drive (HDD) needs to be replaced. Your hard drive is responsible for data storage for things like applications, music, documents, etc. If your laptop is overheating or getting corrupted files then you likely need to replace the hard drive. Before replacing the hard drive make sure to back up your data.
What you need
-
-
-
Power off your laptop and disconnect the charger and any peripheries before beginning disassembly.
-
Set the laptop down with the lower case facing up.
-
Lift a corner of the lower silicone foot and peel it completely off.
-
Repeat for the upper silicone foot.
 Ask FixBot
-
-
-
Use a Phillips screwdriver to remove the five 8 mm screws.
-
Remove the two 5 mm Phillips screws.
-
-
-
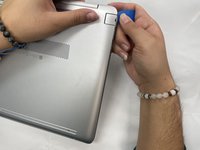
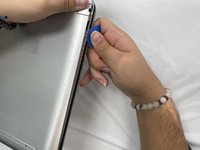
Insert an opening pick into the gap between the lower case and chassis.
-
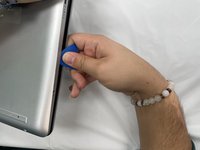
Slide the pick around the entire perimeter of the device until the lower case fully releases.
-
Remove the lower case.
-
-
-
-
-
-
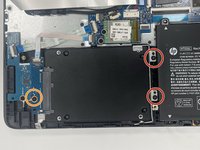
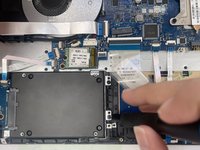
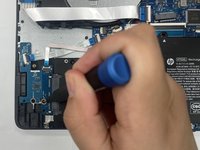
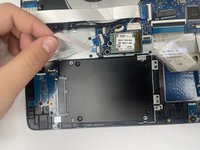
Remove the two 4 mm Phillips screws on the metal bracket.
-
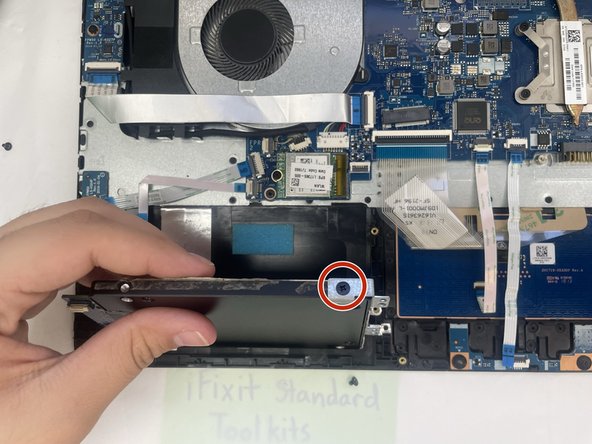
Remove the one 4 mm Phillips screw that secures the board attached to the hard drive.
-
-
-
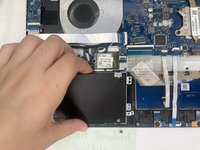
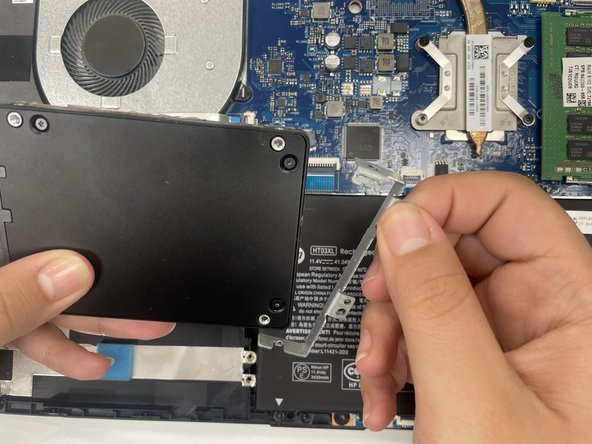
Lift up the hard drive.
-
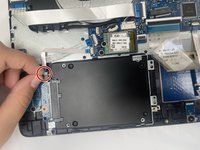
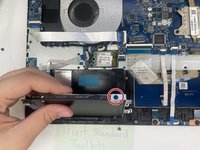
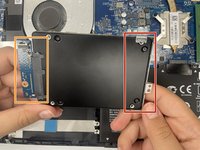
Remove the single 4 mm screw that secures the metal bracket to the hard drive.
-
-
-
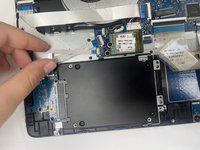
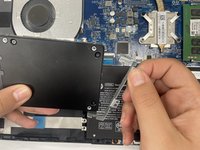
Pull the metal bracket down slightly and pull to the side.
-
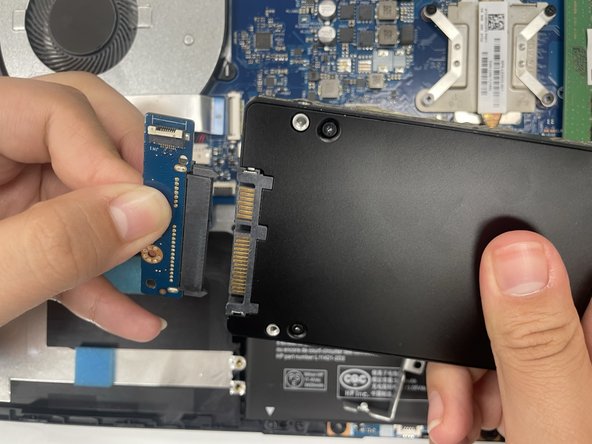
Gently grab the board and pull it to the side.
-
-








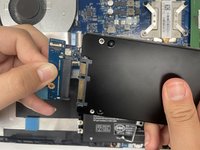
To reassemble your device, follow these instructions in reverse order.

Team

University of North Texas, Team 1-5, Kilpatrick Fall 2024 Member of University of North Texas, Team 1-5, Kilpatrick Fall 2024
UNT-KILPATRICK-F24S1G5
2 Members
60 Guides authored
