
HP 15-dw0037wm Display Assembly Replacement

Emily Davila and one other contributor
Last updated on Dec 19, 2024
Views: 679
View statistics:
- Past 24 Hours:
- 3
- Past 7 Days:
- 20
- Past 30 Days:
- 94
- All Time:
- 679
Comments: 0
No one has left comments on this guide. Will you be first?
Go to guide commentsCompleted: 1 2
1 person has marked this guide "completed." Will you be next?
2 people have marked this guide "completed." Including you — great job!
Favorites: 0 1
No one has favorited (and subscribed to) this guide. Will you be the first?
1 person has favorited (and subscribed to) this guide — and that's you!
Introduction
Go to step 1 ↓Is your HP 15-dw0037wm not closing properly or making squeaky and weird noises? It's likely that your laptop's hinges are malfunctioning. The hinges are vital to giving you the proper viewing angle and in ensuring the safety of your screen. If your laptop gets stuck while closing or is making concerning noises then it's likely you need to change your device's hinges.
What you need
Tools


-
-
-
Power off your laptop and disconnect the charger and any peripheries before beginning disassembly.
-
Set the laptop down with the lower case facing up.
-
Lift a corner of the lower silicone foot and peel it completely off.
-
Repeat for the upper silicone foot.
 Ask FixBot
-
-
-
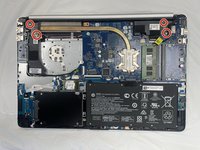
Use a Phillips screwdriver to remove the five 8 mm screws.
-
Remove the two 5 mm Phillips screws.
-
-
-
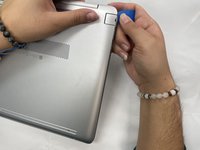
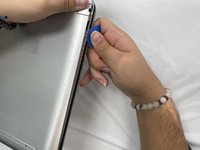
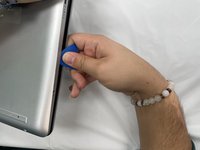
Insert an opening pick into the gap between the lower case and chassis.
-
Slide the pick around the entire perimeter of the device until the lower case fully releases.
-
Remove the lower case.
-
-
-
-
-
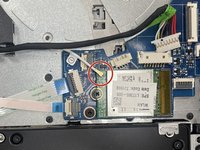
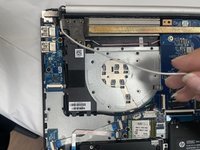
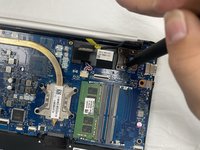
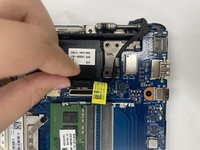
Detach the coaxial connector by grabbing it securely from the gold colored metal section and gently lifting upwards.
-
-
-
-
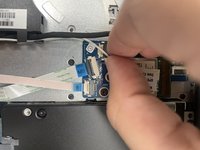
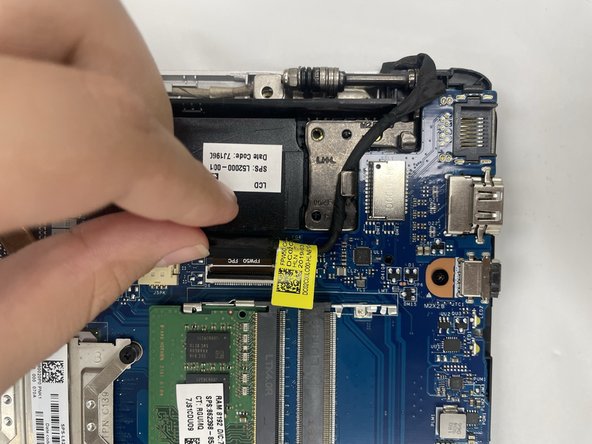
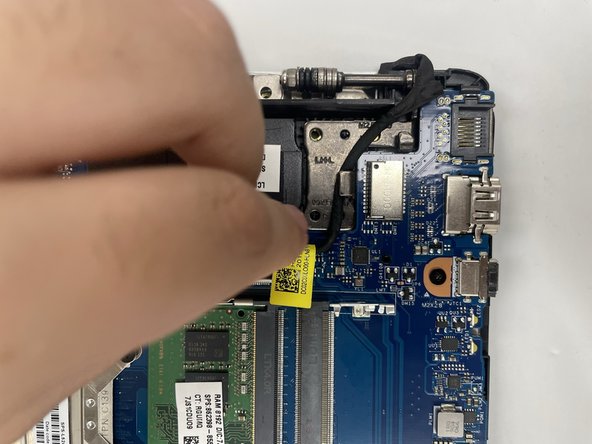
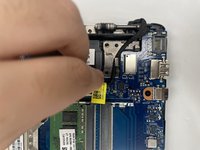
Flip up the black locking flap on the ZIF connector.
-
Disconnect the display cable.
-
-
-
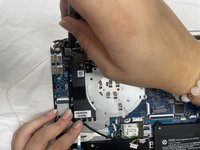
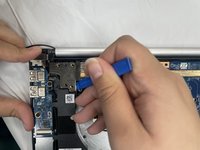
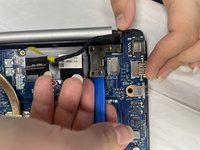
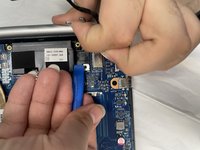
Use an opening tool to lift up the hinges.
-
Grab the hinge and pull it outwards.
-
Repeat onto the other hinge.
-
-
-
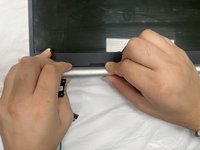
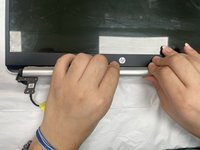
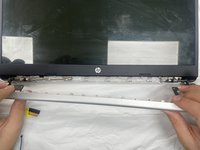
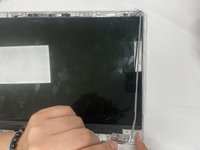
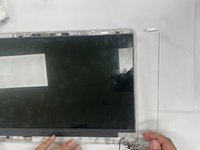
Gently grab the plastic cover and use both hands to lift it slowly from one side to the other.
-
Lift up the plastic cover to fully detach it.
-
-
-
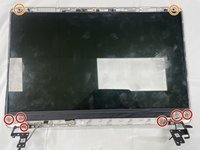
Remove the six silver 4 mm Phillips screws that secure the hinges to the screen.
-
Remove the two black 4 mm Phillips screws.
-
-
-
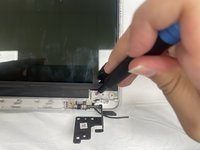
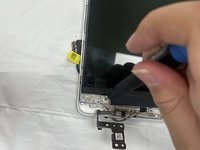
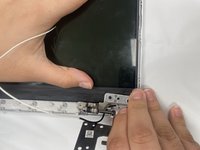
Lift up the hinge from the lower half and gradually separate it from the screen.
-
Repeat on the other side.
-
-















To reassemble your device, follow these instructions in reverse order.
Cancel: I did not complete this guide.
One other person completed this guide.

Team

University of North Texas, Team 1-5, Kilpatrick Fall 2024 Member of University of North Texas, Team 1-5, Kilpatrick Fall 2024
UNT-KILPATRICK-F24S1G5
2 Members
60 Guides authored
