
HP 15-bs168cl Hard Drive Replacement

Ian Gascon and 4 other contributors
Last updated on Mar 4, 2024
Views: 2K
View statistics:
- Past 24 Hours:
- 2
- Past 7 Days:
- 19
- Past 30 Days:
- 56
- All Time:
- 2,048
Comments: 1
1 guide comment.
Go to guide commentsCompleted: 6 7
6 people have marked this guide "completed." Will you be next?
7 people have marked this guide "completed." Including you — great job!
Favorites: 0 1
No one has favorited (and subscribed to) this guide. Will you be the first?
1 person has favorited (and subscribed to) this guide — and that's you!
Introduction
Go to step 1 ↓Here is a step by step way to remove and replace your hard drive for the HP 15-bs168cl. Signs of hard drive failure include experiencing frequent but irregular crashes, files and folders disappearing, really long wait times to access folders and files, or your hard drive is noisy and begins to click. You can troubleshoot your hard drive by following the steps here before trying to replace it.
What you need
Fix Kit
This kit contains all the parts and tools needed to complete this guide.

Parts


Tools


-
-
-
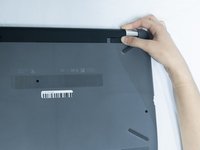
Slide the Battery lock slider to the right until you see the “Unlocked” lock symbol.
-
-
-
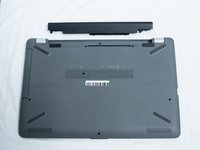
Slide the Battery release slider towards the battery while pulling the battery out.
-
-
-
-
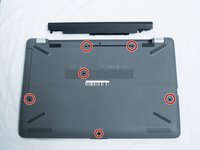
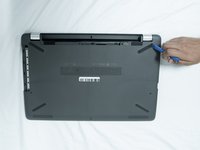
Use a Phillips #1 screwdriver to remove the six 10.5 mm screws visible on the bottom of the laptop.
-
-
-
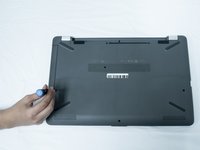
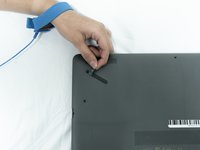
Carefully peel the four rubber feet off the bottom to reveal the four hidden screws.
-
Use a Phillips #1 screwdriver to remove the four 10.5 mm screws.
-
-
-
Tool used on this step:Plastic Cards$2.99
-
Flip the laptop over and open the screen.
-
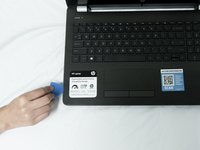
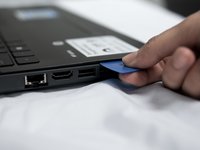
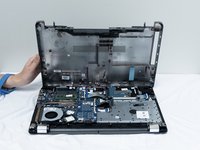
Carefully use a flat plastic card to separate the bottom plastic shell from the main body of the computer. Slowly slide the plastic card around the computer in between the two halves of its casing.
-
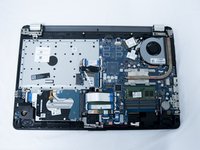
Flip the computer back over and remove the bottom plastic shell.
-
-
-
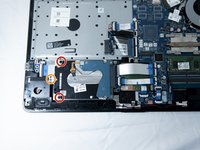
Use a Phillips #1 screwdriver to remove the two 3.4 mm screws on the sides.
-
Use a Phillips #0 screwdriver to remove the one 3.3 mm screw at the bottom of the bracket.
-
-
-
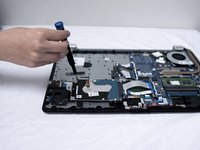
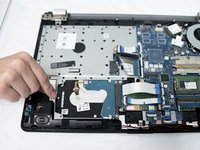
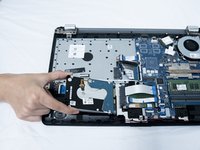
Remove the metal bracket holding the hard drive in place.
-
Carefully lift up the hard drive and slide it out of its connector.
-
-


 Ask FixBot












To reassemble your device, follow these instructions in reverse order.
Cancel: I did not complete this guide.
6 other people completed this guide.

Team

UC Santa Barbara, Team S3-G3, Nowak Fall 2019 Member of UC Santa Barbara, Team S3-G3, Nowak Fall 2019
UCSB-NOWAK-F19S3G3
3 Members
72 Guides authored
1 Guide Comment
Thanks, I would have missed the screws under the rubber feet!
