Introduction
Before replacing the fan on your laptop, follow this troubleshooting guide to make sure it is a hardware issue with your fan. If your fan is making a lot of noise/sounds like it is rattling or your computer is constantly getting very hot, follow this guide to properly remove and replace your fan.
What you need
-
-
-
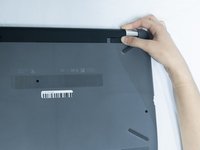
Slide the Battery lock slider to the right until you see the “Unlocked” lock symbol.
-
-
-
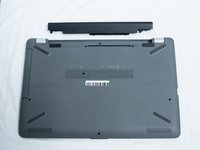
Slide the Battery release slider towards the battery while pulling the battery out.
-
-
-
-
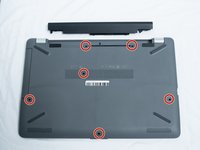
Use a Phillips #0 screwdriver to remove the six 10.5 mm screws visible on the bottom of the laptop.
-
-
-
-
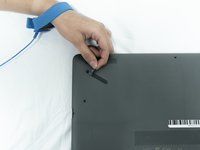
Carefully peel the four rubber feet off the bottom to reveal the four hidden screws.
-
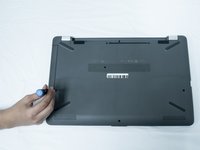
Use a Phillips #1 screwdriver to remove the four 10.5 mm screws.
-
-
Tool used on this step:Plastic Cards$2.99
-
Flip the laptop over and open the screen.
-
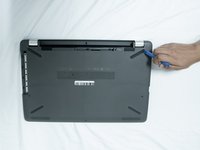
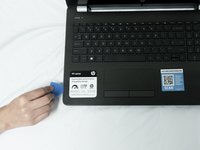
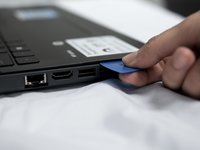
Carefully use a flat plastic card to separate the bottom plastic shell from the main body of the computer. Slowly slide the plastic card around the computer in between the two halves of its casing.
-
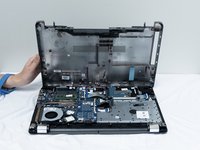
Flip the computer back over and remove the bottom plastic shell.
-
-
-
Using a Phillips #1 screwdriver remove the screw from the Wi-fi card.
-
Remove the card.
-
-
-
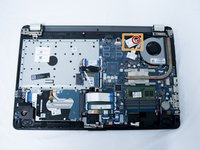
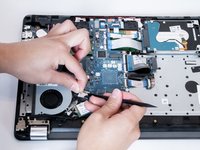
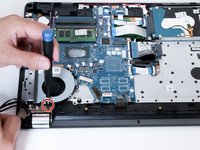
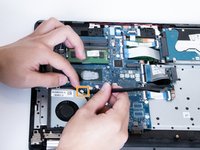
Pull all three cables to the side to reveal the 6.7 mm screw attached to the fan.
-
Remove the screw with a Phillips #0 screwdriver.
-
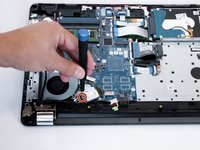
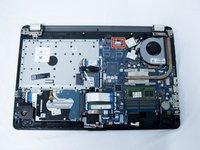
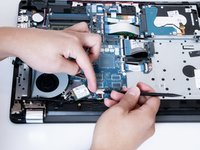
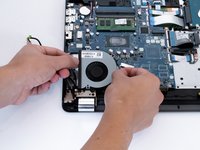
Unplug the fan connector.
-
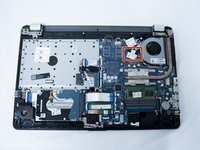
Pull out the fan carefully leaving the heatsink in place.
-
-


 Ask FixBot
















To reassemble your device, follow these instructions in reverse order.
Cancel: I did not complete this guide.
One other person completed this guide.

Team

UC Santa Barbara, Team S3-G3, Nowak Fall 2019 Member of UC Santa Barbara, Team S3-G3, Nowak Fall 2019
UCSB-NOWAK-F19S3G3
3 Members
72 Guides authored
