
HP 15-ay103dx Display Screen Hinges Replacement

Kody Franklin and 2 other contributors
Last updated on Jan 6, 2018
Views: 1.2K
View statistics:
- Past 24 Hours:
- 1
- Past 7 Days:
- 18
- Past 30 Days:
- 82
- All Time:
- 1,225
Comments: 1
1 comment on steps.
Completed: 1 2
1 person has marked this guide "completed." Will you be next?
2 people have marked this guide "completed." Including you — great job!
Favorites: 0 1
No one has favorited (and subscribed to) this guide. Will you be the first?
1 person has favorited (and subscribed to) this guide — and that's you!
Better Introduction
Improve this guide by completing or revising its introduction.
What you need
Tools

-
-
-
Slide the two battery lock latches on the back of the device to the “unlock” position.
 Ask FixBot
-
-
-
-
-
Using the PH1 phillips-head screwdriver, remove all the 5/16 in. screws from the back of the device.
-
-
-
Locate the optical disc drive and remove it from the device by sliding it straight of the device.
-
-
-
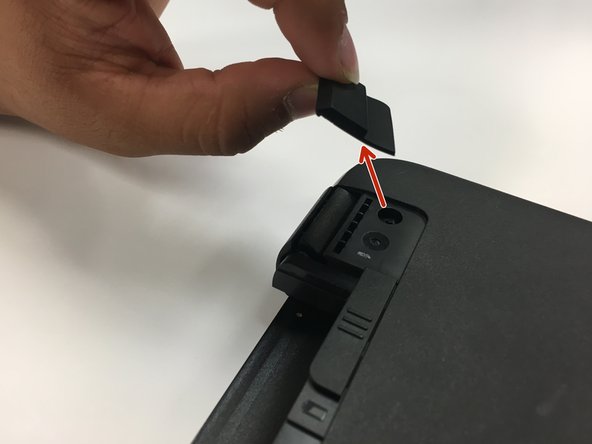
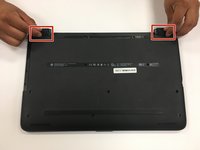
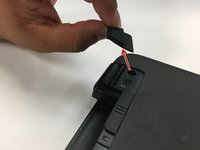
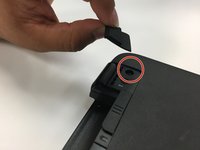
Covering the hinges of the device are rubber bumpers secured to the device using adhesive. Remove them carefully.
-
-
-
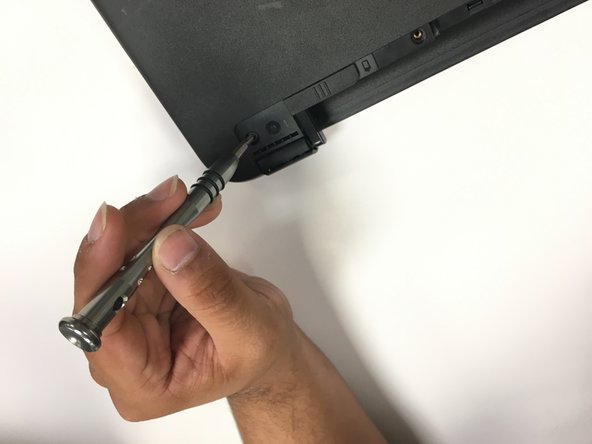
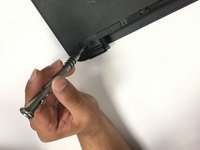
In the same spot you’ve just removed the bumpers from, you will find two 5/16 in. screws. Using the same Phillips-head screwdriver used in step 2, remove the screws
-
-
-
-
-
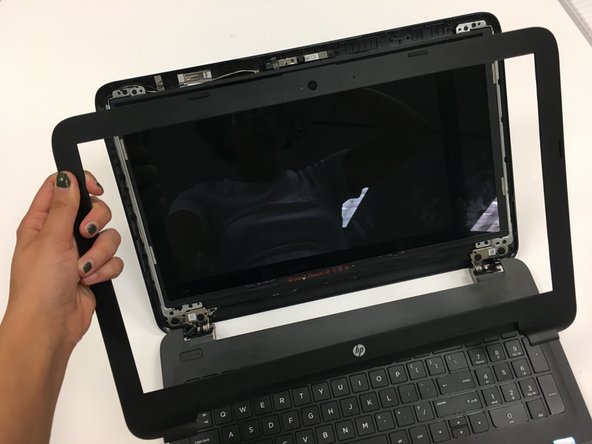
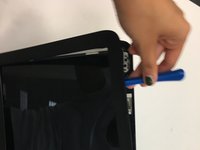
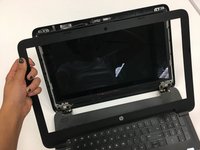
Use a spudger to carefully remove the border around the display screen.
-
-
-
-
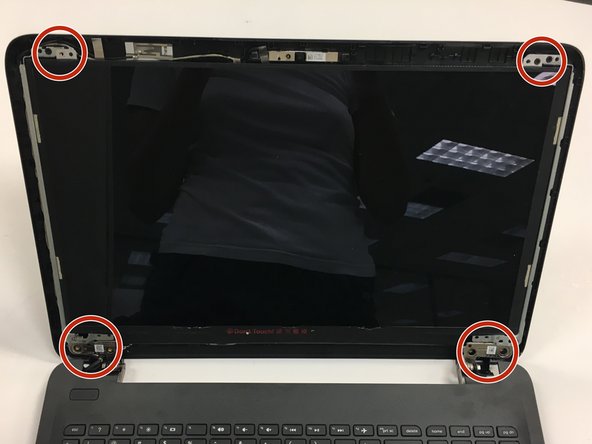
Remove the two 5/16 screws in the top corners and the four in the bottom corners.
-
-
-
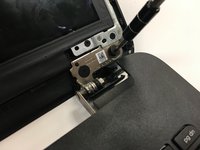
Carefully pull the screen from the hinges and lower it on to the table.
-
There will be wires running from the screen to the motherboard. You do not need to unplug these.
-
-








To reassemble your device, follow these instructions in reverse order.
Cancel: I did not complete this guide.
One other person completed this guide.

Team

University of North Texas, Team S3-G3, Thompson Fall 2017 Member of University of North Texas, Team S3-G3, Thompson Fall 2017
UNT-THOMPSON-F17S3G3
4 Members
72 Guides authored
