Introduction
This guide will show you how to replace the hard disk drive (HDD) of your HP 15-af123cl. This could be necessary if your computer fails to boot, or if your computer reports corrupted memory for your HDD.
The HP 15 series includes multiple model numbers and shares many attributes with the HP 255 G4 notebook—HP's support page for the af123cl includes a link to the HP 255 G4 repair guide.
Before beginning this repair, here are some preliminary steps that you should follow:
- Use electrostatic discharge (ESD) safe tools, including an ESD-band, to protect against damage to your computer.
- Back-up all the data on your HDD before replacing it. If you miss this step, you will lose any data that you have not backed-up.
- Before beginning, turn off your computer and disconnect all cables, including the power cable.
What you need
-
-
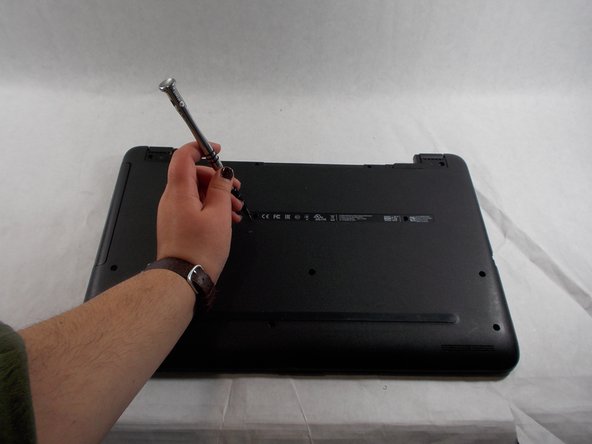
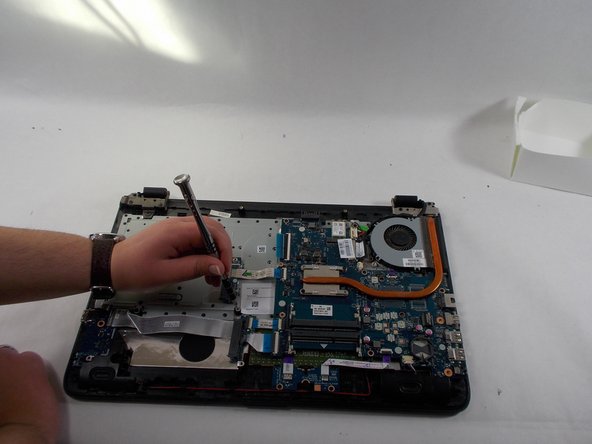
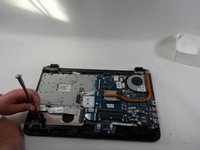
Remove the single screw that holds in the optical drive using a Phillips #00 screwdriver.
-
-
-
-
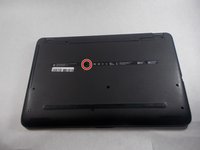
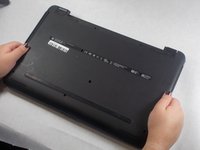
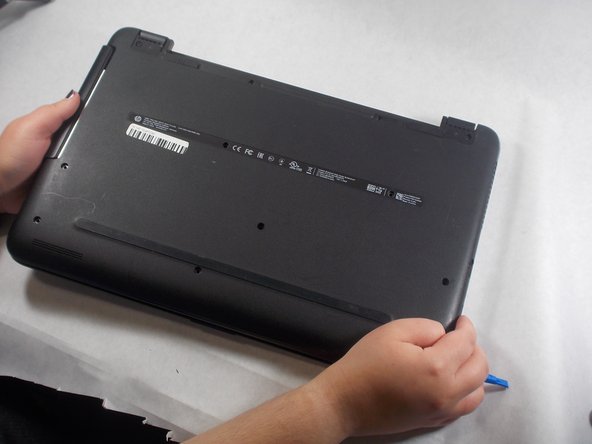
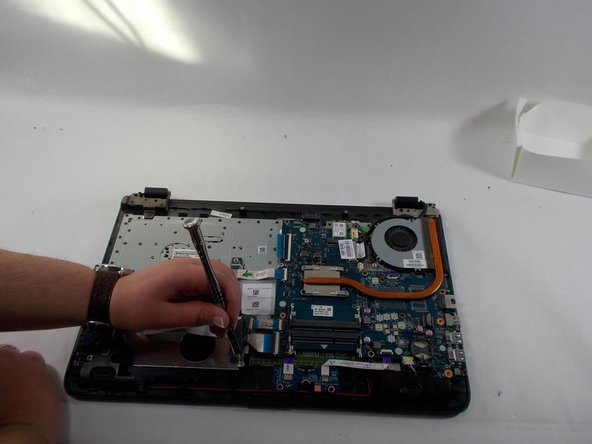
Remove the twelve screws from the bottom of the laptop using a Phillips #00 screwdriver.
-


To reassemble your device, follow these instructions in reverse order.
Attached Documents

Team

UMass Dartmouth, Team 2-5, Sinclaire Fall 2021 Member of UMass Dartmouth, Team 2-5, Sinclaire Fall 2021
UMASSD-SINCLAIRE-F21S2G5
3 Members
6 Guides authored