Free Shipping on Domestic Orders $75+

HP 15-AF131DX Trackpad Button Circuit Board Replacement

What you need

    1. HP 15-AF131DX Trackpad Button Circuit Board Replacement, Battery: step 1, image 1 of 2 HP 15-AF131DX Trackpad Button Circuit Board Replacement, Battery: step 1, image 2 of 2
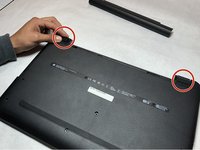
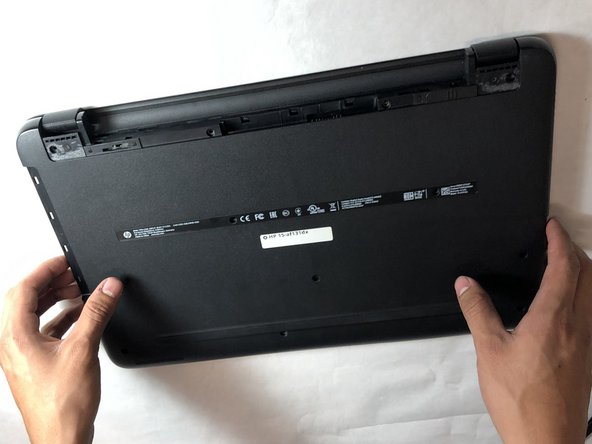
      • Turn the computer upside down on a level surface.

      • Slide the battery lock to unlock the battery.

      • Slide the battery release latch. The latch will click when the battery is released.

      • Lift the battery from the middle to remove it from the computer.

      • The latch will click again when a battery is reinstalled. Switch the battery lock back to locked after reinstalling a battery to keep it secure.

      Ask FixBot

      Add Comment

    1. HP 15-AF131DX Trackpad Button Circuit Board Replacement, Optical Drive: step 2, image 1 of 2 HP 15-AF131DX Trackpad Button Circuit Board Replacement, Optical Drive: step 2, image 2 of 2
      • Using a small Phillips screwdriver, remove the Phillips screw in the middle of the bottom of the computer.

      • Pull the CD/DVD drive outward to slide it away from the computer.

      Ask FixBot

      Add Comment

    2. HP 15-AF131DX Trackpad Button Circuit Board Replacement: step 3, image 1 of 1
      • To open the drive use an unbent paperclip and press it into the small hole until the disc tray releases.

      • Pull the disc tray out from the front until it is as far as it will go out of the optical drive.

      Ask FixBot

      Add Comment

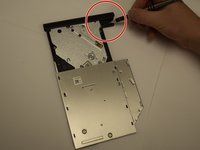
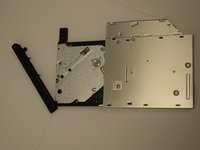
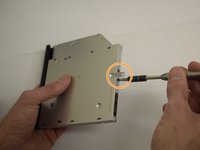
    3. HP 15-AF131DX Trackpad Button Circuit Board Replacement: step 4, image 1 of 3 HP 15-AF131DX Trackpad Button Circuit Board Replacement: step 4, image 2 of 3 HP 15-AF131DX Trackpad Button Circuit Board Replacement: step 4, image 3 of 3
      • To remove excess parts from the optical drive press down on the plastic tab behind the tray's bezel.

      • Gently pry the bezel from the face of the optical drive.

      • With a smaller phillips head screwdriver, remove the screws on the back of the drive, then remove the small metal bracket.

      Ask FixBot

      Add Comment

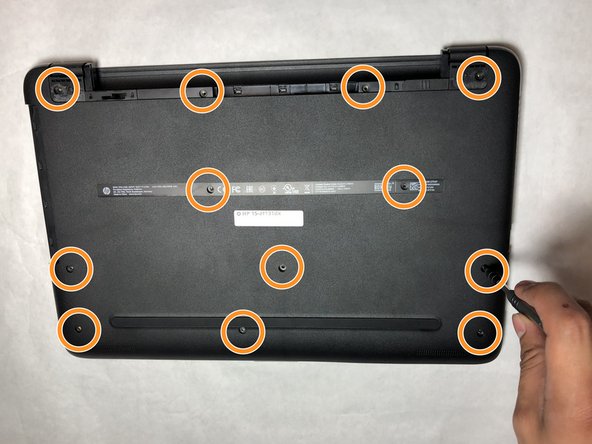
    1. HP 15-AF131DX Trackpad Button Circuit Board Replacement, Trackpad Button Circuit Board: step 5, image 1 of 2 HP 15-AF131DX Trackpad Button Circuit Board Replacement, Trackpad Button Circuit Board: step 5, image 2 of 2
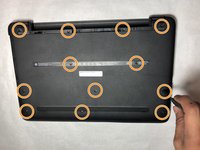
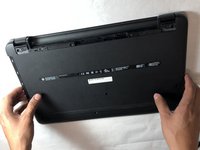
      • Remove two rubber feet by peeling them off.

      • Remove twelve Phillips head 8.8mm screws using the Phillips #0 Screwdriver.

      Ask FixBot

      Add Comment

    2. HP 15-AF131DX Trackpad Button Circuit Board Replacement: step 6, image 1 of 3 HP 15-AF131DX Trackpad Button Circuit Board Replacement: step 6, image 2 of 3 HP 15-AF131DX Trackpad Button Circuit Board Replacement: step 6, image 3 of 3
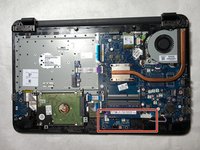
      • Remove the bottom of the plastic case using a blue plastic opening tool.

      • The Trackpad Button Circuit Board is found in the red box.

      Ask FixBot

      Add Comment

    3. HP 15-AF131DX Trackpad Button Circuit Board Replacement: step 7, image 1 of 2 HP 15-AF131DX Trackpad Button Circuit Board Replacement: step 7, image 2 of 2
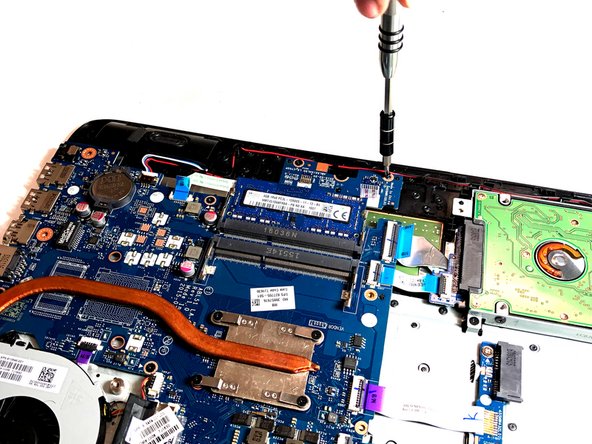
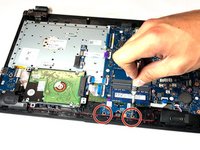
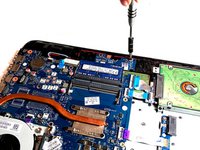
      • Remove the two 3.3mm Phillips-head screws that secure the trackpad circuit board to the top cover.

      Ask FixBot

      Add Comment

    4. HP 15-AF131DX Trackpad Button Circuit Board Replacement: step 8, image 1 of 2 HP 15-AF131DX Trackpad Button Circuit Board Replacement: step 8, image 2 of 2
      Tool used on this step:
      Tweezers
      $4.99
      Buy
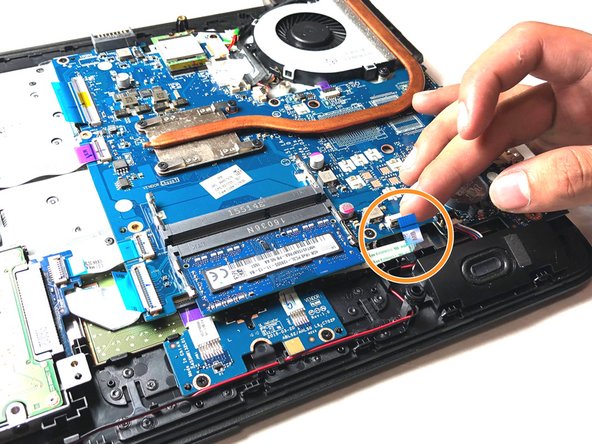
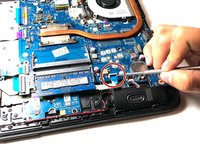
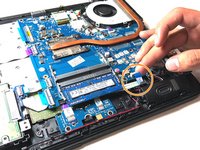
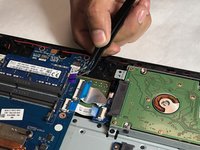
      • Lift the plastic wire lock bracket.

      • Pull on the blue tab to remove the wire using the tweezers tool to make sure there is no damage as you pull.

      Ask FixBot

      Add Comment

    5. HP 15-AF131DX Trackpad Button Circuit Board Replacement: step 9, image 1 of 2 HP 15-AF131DX Trackpad Button Circuit Board Replacement: step 9, image 2 of 2
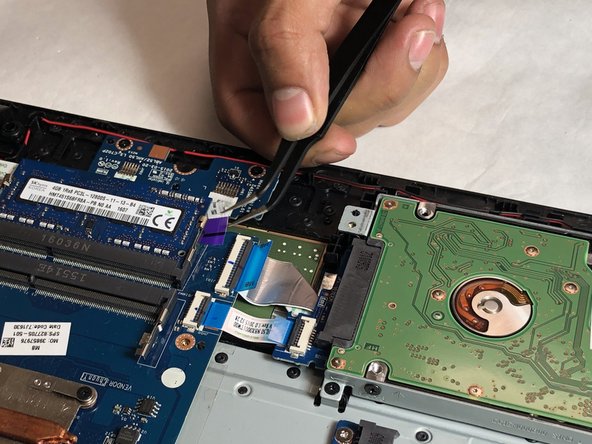
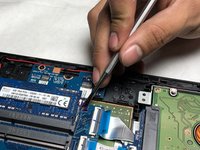
      • Lift the second plastic wire lock bracket.

      • Pull on the purple tab using tweezers to remove the wire.

      Ask FixBot

      Add Comment

    6. HP 15-AF131DX Trackpad Button Circuit Board Replacement: step 10, image 1 of 1
      • Lift and remove the trackpad button circuit board.

      Ask FixBot

      Add Comment

Conclusion

To reassemble your device, follow these instructions in reverse order.

Cancel: I did not complete this guide.

Adrianna

Member since: 11/01/18

133 Reputation

1 Guide authored

Team

IUPUI, Team S2-G2, Harley Fall 2018 Member of IUPUI, Team S2-G2, Harley Fall 2018

IUPUI-HARLEY-F18S2G2

3 Members

24 Guides authored

0 Guide Comments

Add Comment

View Statistics:

Past 24 Hours: 0

Past 7 Days: 1

Past 30 Days: 32

All Time: 687