
HP 14-dq5043cl SSD Replacement

Tristan Virgo and 3 other contributors
Last updated on Jun 2, 2025
Views: 498
View statistics:
- Past 24 Hours:
- 1
- Past 7 Days:
- 15
- Past 30 Days:
- 73
- All Time:
- 498
Comments: 0
No one has left comments on this guide. Will you be first?
Go to guide commentsCompleted: 0 1
No one has marked this guide "completed." Will you be the first?
1 person has marked this guide "completed." It's you — great job!
Favorites: 0 1
No one has favorited (and subscribed to) this guide. Will you be the first?
1 person has favorited (and subscribed to) this guide — and that's you!
Introduction
Go to step 1 ↓Is your device losing your data, struggling to boot past the home screen, or loading programs very slow. If that is the case, you may have a damaged SSD. This device's storage device is known as an SSD or Solid state drive. These type of storage devices are a bit newer than their older HDD or hard drive counter parts however that usually means they are simple to work with.
The SSD or solid state drive stores all your data on your device. Ensure you have properly exported any data you find important to you as once you replace this component all the information on the original one will be inaccessible.
When ready to begin follow the steps below.
What you need
Fix Kit
This kit contains all the parts and tools needed to complete this guide.

Parts

Tools
-
Spudger4.9


-
-
-
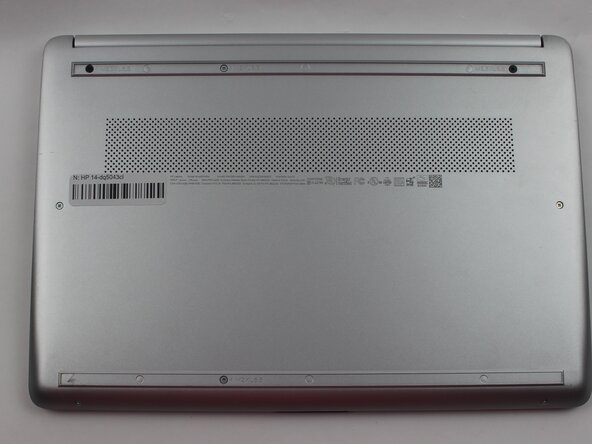
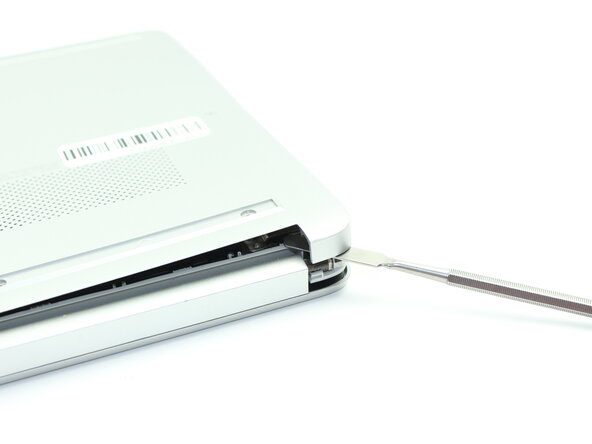
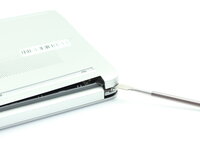
Insert a nylon spudger into the seam between the lower case and chassis.
-
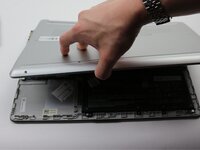
Pry around the entire perimeter until the lower case fully releases.
-
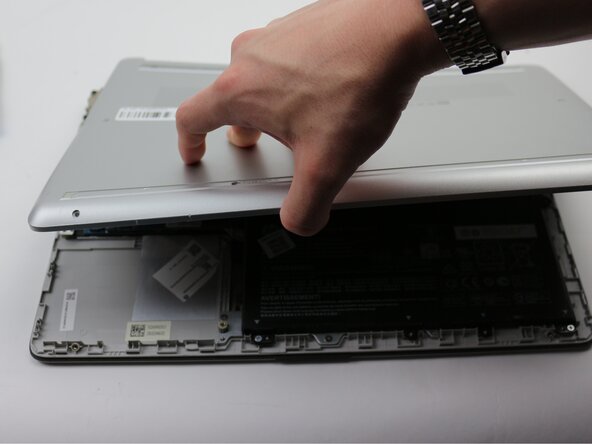
Remove the lower case.
-
-
-
-
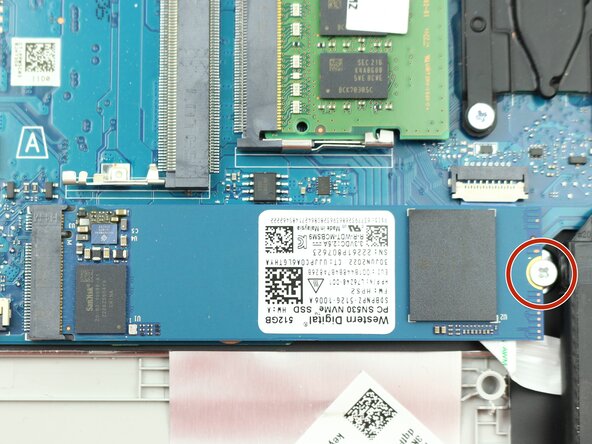
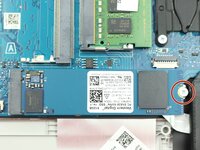
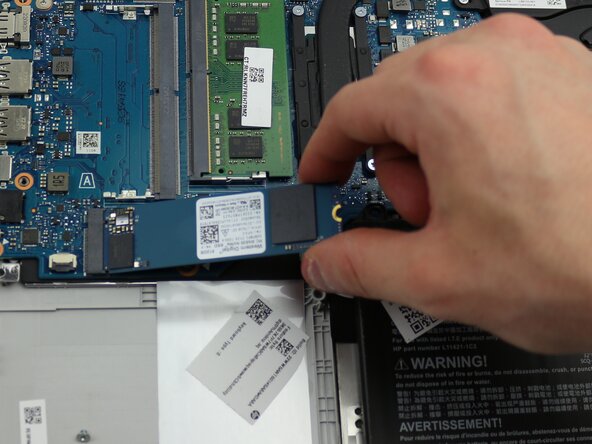
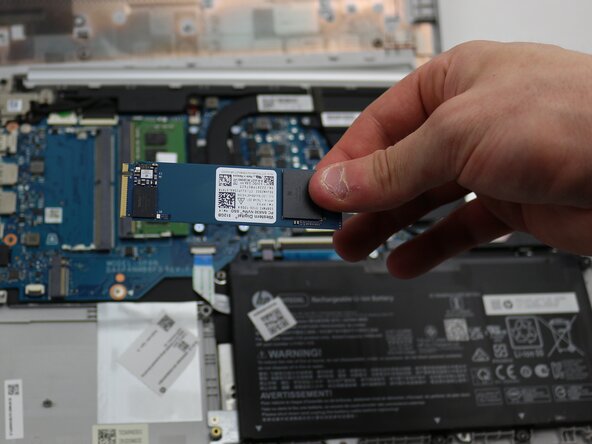
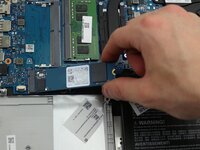
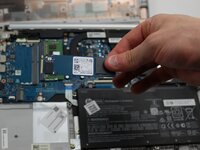
Remove the single screw that secures the SSD with a Phillips #1 screwdriver.
-
-
-



 Ask FixBot




To reassemble your device, follow the above steps in reverse order.
Take your e-waste to an R2 or e-Stewards certified recycler.
Repair didn’t go as planned? Try some basic troubleshooting or ask our Answers community for help.

Team

Sam Houston State, Team 17-2, Thornton Spring 2025 Member of Sam Houston State, Team 17-2, Thornton Spring 2025
SHSU-THORNTON-S25S17G2
3 Members
60 Guides authored
