Free Shipping on Domestic Orders $75+

HP 14-dq5043cl Lower Case Replacement

What you need

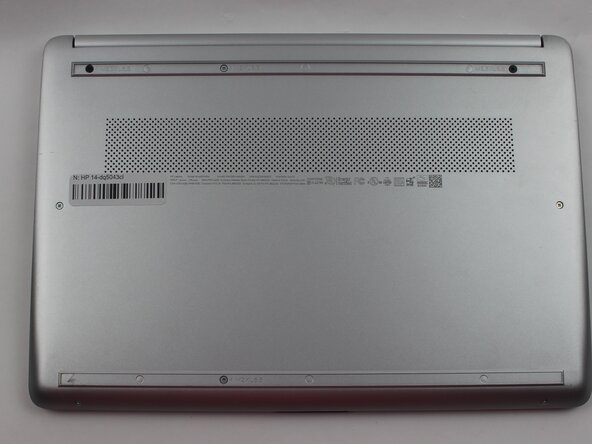
    1. HP 14-dq5043cl Lower Case Replacement, Lower Case: step 1, image 1 of 2 HP 14-dq5043cl Lower Case Replacement, Lower Case: step 1, image 2 of 2
      • For your safety, unplug all peripheries, discharge the battery below 25%, and power down your device before beginning disassembly.

      • Remove the two rubber feet on the lower case.

      • If you intend to reuse the rubber feet: Use a hairdryer or iOpener to lightly heat the feet to loosen the adhesive that secures them prior to removal. Take care not to stretch out the rubber.

      Ask FixBot

      Add Comment

    2. HP 14-dq5043cl Lower Case Replacement: step 2, image 1 of 1
      • Remove the six M2XL6 Phillips screws that secure the lower case.

      Ask FixBot

      Add Comment

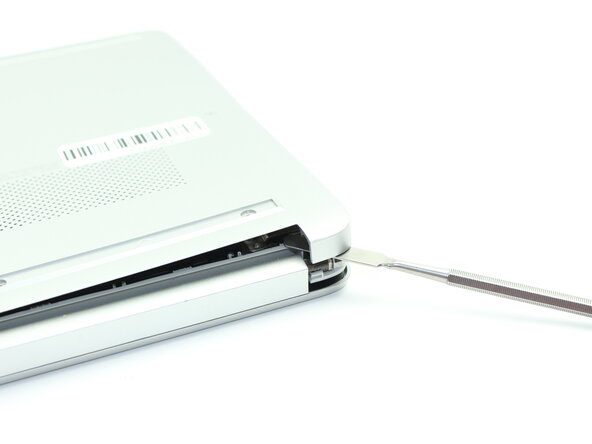
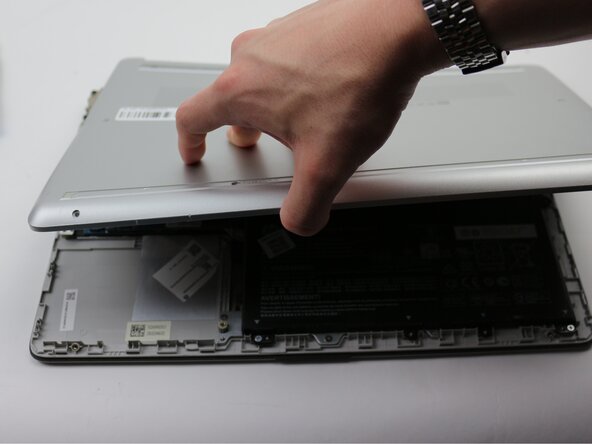
    3. HP 14-dq5043cl Lower Case Replacement: step 3, image 1 of 3 HP 14-dq5043cl Lower Case Replacement: step 3, image 2 of 3 HP 14-dq5043cl Lower Case Replacement: step 3, image 3 of 3
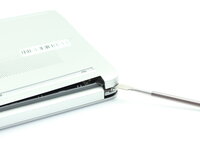
      • Insert a nylon spudger into the seam between the lower case and chassis.

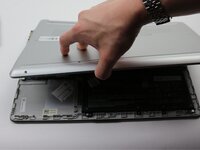
      • Pry around the entire perimeter until the lower case fully releases.

      • Remove the lower case.

      Ask FixBot

      Add Comment

Conclusion

To reassemble your device, follow the above steps in reverse order.
Repair didn’t go as planned? Try some basic troubleshooting or ask our Answers community for help.

Cancel: I did not complete this guide.

Connor Bassolino

Member since: 03/29/22

25,364 Reputation

125 Guides authored

0 Guide Comments

Add Comment

View Statistics:

Past 24 Hours: 2

Past 7 Days: 5

Past 30 Days: 31

All Time: 249