Introduction
Does your HP 14-dq5043cl struggle to power on, hold a charge for long periods of time, or die randomly? If that's the case, you may have a faulty battery that is in need of a replacement.
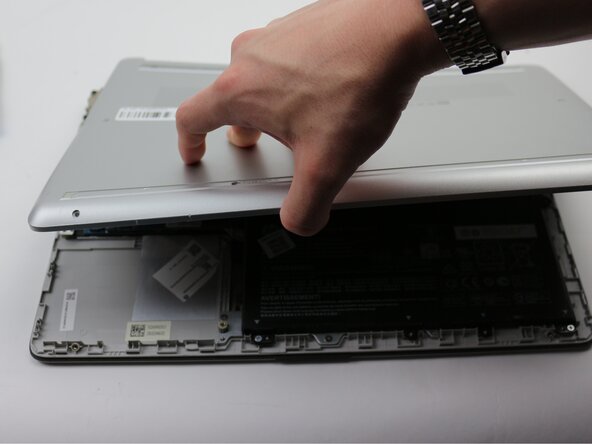
A laptop battery is one of the primary components responsible for providing power to the device. If compromised your device will not be operable. Our goal is to provide a comfortable and simple experience to replace this essential part.
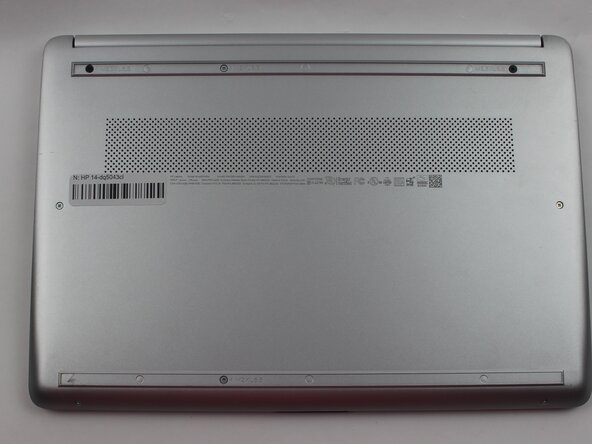
Before you begin make sure your device is powered off and not plugged in.
What you need


To reassemble your device, follow the above steps in reverse order.
For optimal performance, after completing this guide, calibrate your newly installed battery.
Take your e-waste to an R2 or e-Stewards certified recycler.
Repair didn’t go as planned? Try some basic troubleshooting or ask our Answers community for help.
Cancel: I did not complete this guide.
One other person completed this guide.
Team

Sam Houston State, Team 17-2, Thornton Spring 2025 Member of Sam Houston State, Team 17-2, Thornton Spring 2025
SHSU-THORNTON-S25S17G2
3 Members
5 Guides authored