Introduction
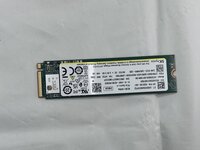
This guide walks you through removing and replacing the SSD (Solid State Drive) in the HP 14-dq5009nr. Whether you're upgrading to a larger capacity or replacing a faulty SSD, this guide ensures you can do it safely and effectively. An SSD (Solid State Drive) is a type of storage device used to store and access data. It plays a key role in how fast your device operates.
- Function:
- The SSD is the laptop’s primary storage component.
- It stores your operating system, programs, and files.
- Failure Symptoms:
- Slow boot-up
- Frequent crashes
- Error messages like “Boot Device Not Found”
- Laptop not recognizing internal storage
Before you begin this repair, power off and unplug your laptop.
What you need
-
-
-
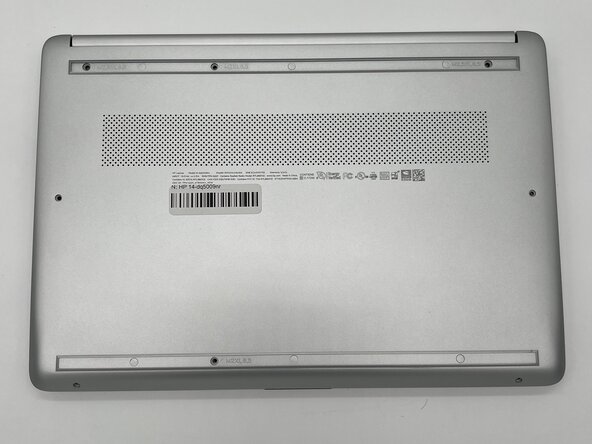
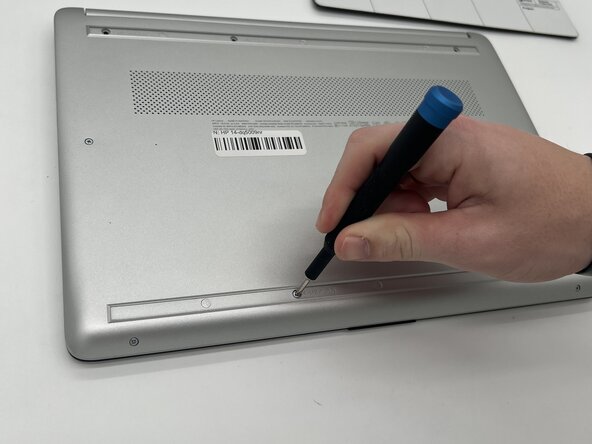
Use a Philips #0 screwdriver to remove the eight screws from the back case.
-
Six 7 mm-long screws
-
Two 4.8 mm-long screws
-
-
-
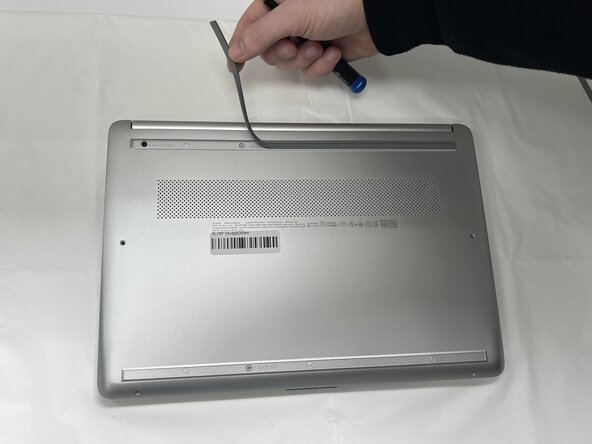
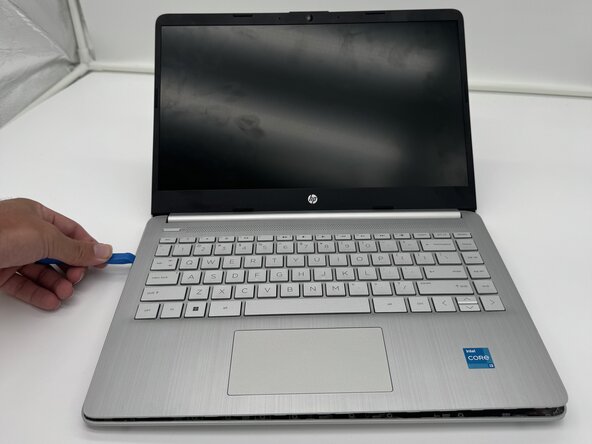
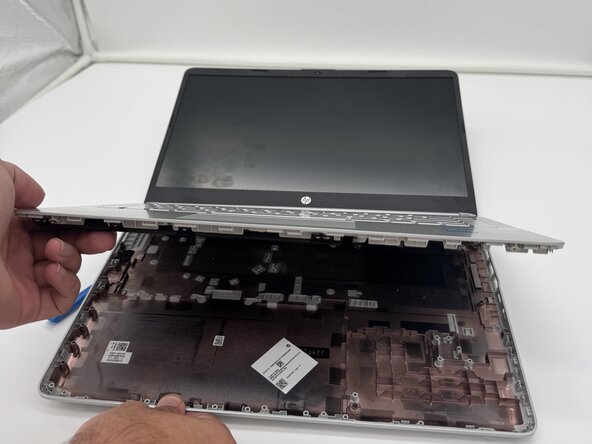
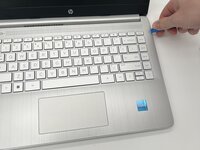
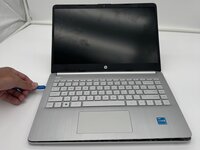
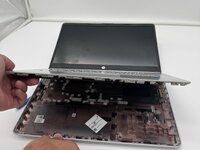
Use a plastic opening tool to separate the back case from the palmrest keyboard assembly. Gently pry the back cover from the device.
-
-
-
-
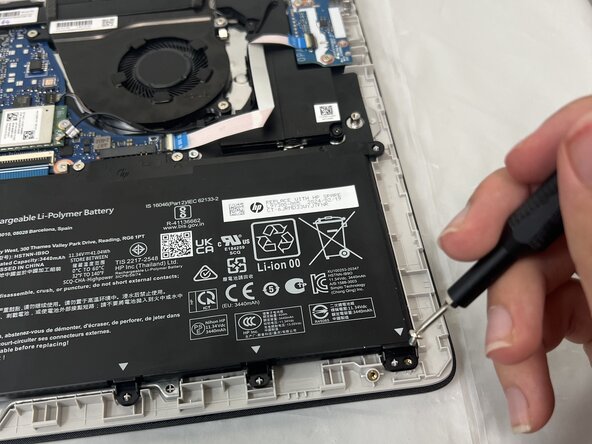
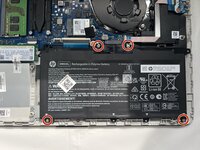
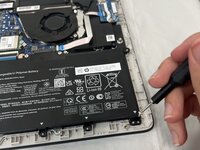
Use a Phillips #0 screwdriver to remove the four 3 mm screws that secure the battery to the chassis.
-
-
-
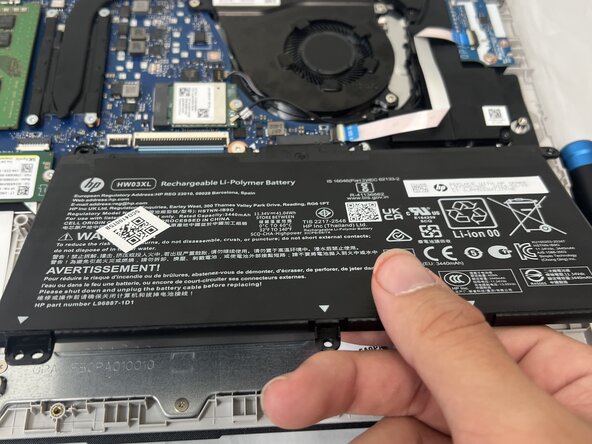
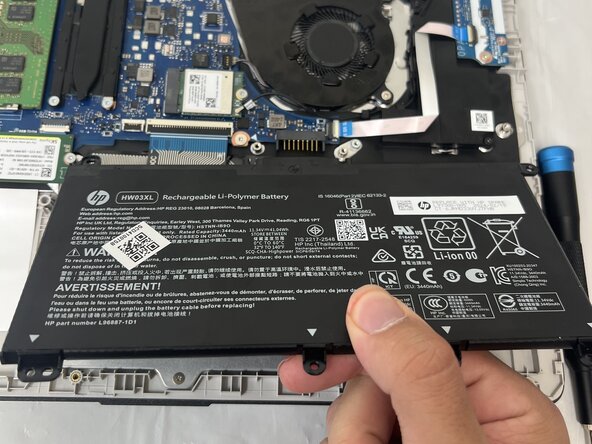
Angle the battery up slightly and gently pull it from the socket on the motherboard.
-
-
-
-
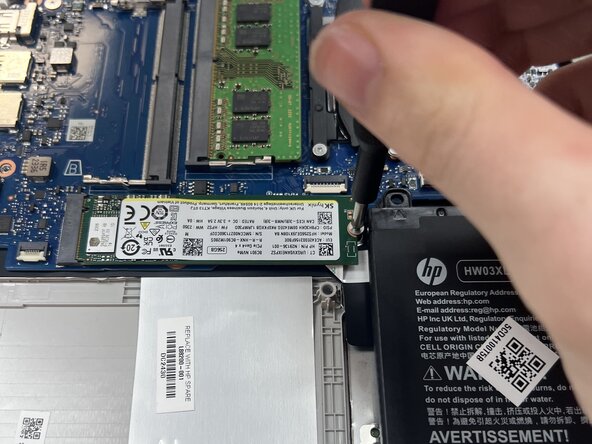
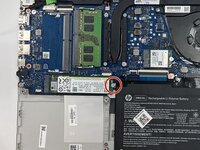
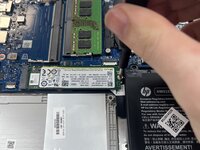
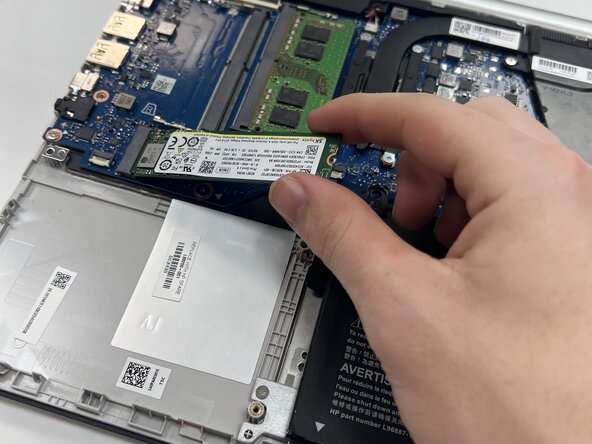
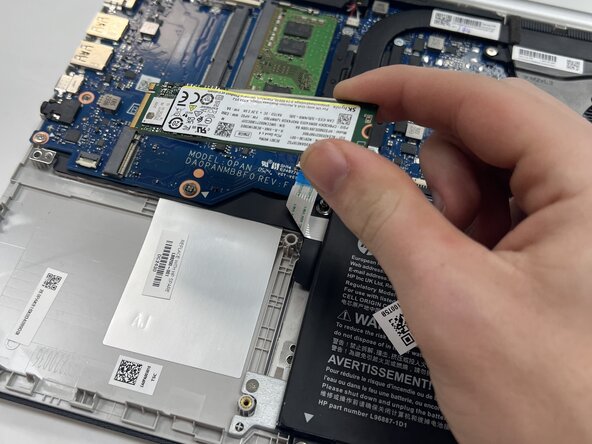
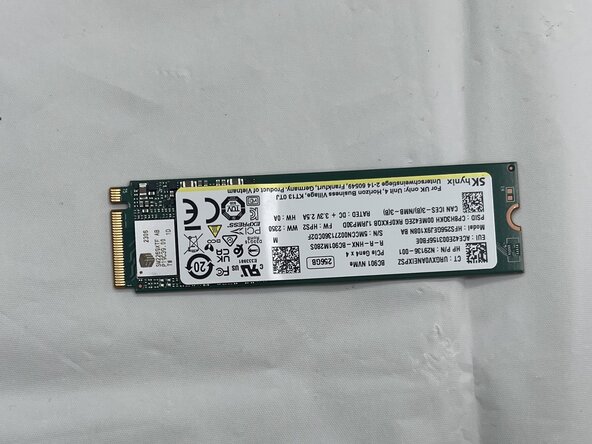
Use a Phillips #0 screwdriver to remove the single 3 mm screw that secures the SSD to the motherboard.
-
-



 Ask FixBot






To reassemble your device, follow these instructions in reverse order. Take your e-waste to an R2 or e-Stewards certified recycler.

Team

University of North Texas, Team 1-7, Kilpatrick Spring 2025 Member of University of North Texas, Team 1-7, Kilpatrick Spring 2025
UNT-KILPATRICK-S25S1G7
4 Members
60 Guides authored
