Introduction
Replacing the fan assembly (heat sink and fan) in your HP 14-dq5009nr laptop is an important repair that can help solve overheating or loud fan issues. The heat sink and fan work together to keep your computer’s internal parts cool, so when they stop working properly, your laptop may run hot or shut down unexpectedly.
With a few basic tools and careful steps, you can replace these parts yourself. This guide will show you how to safely remove the fan assembly, so you can install a new one. This will help your laptop run quieter, cooler, and more efficiently.
Before you begin the repair, make sure your laptop is powered off and disconnected from the charger and other peripheral devices.
When replacing or cleaning the fan assembly, replacing the thermal paste can help maintain proper heat transfer.
What you need
-
-
-
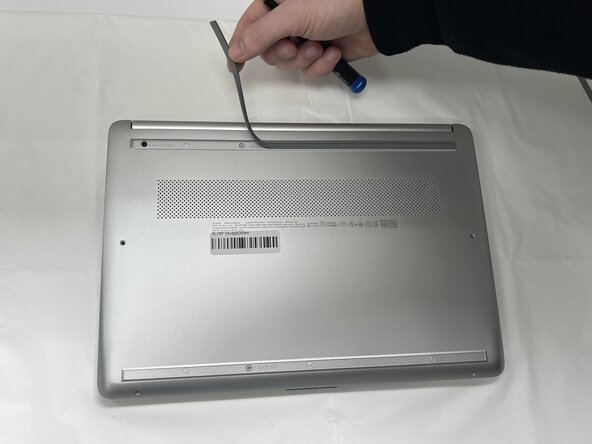
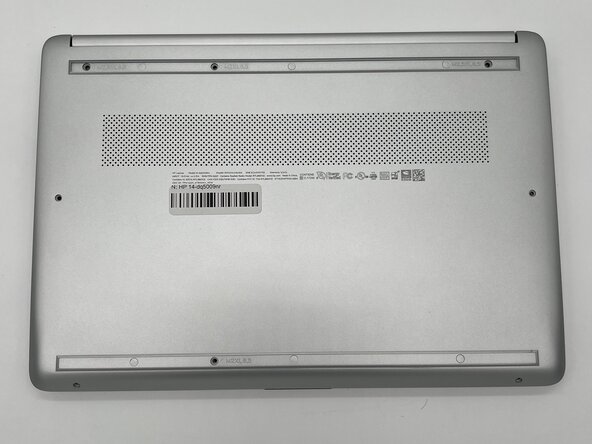
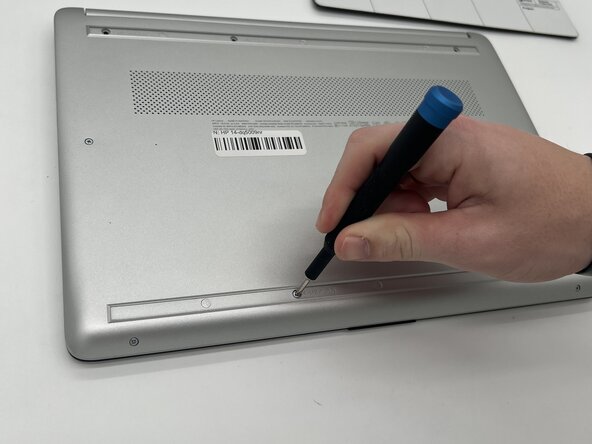
Use a Philips #0 screwdriver to remove the eight screws from the back case.
-
Six 7 mm-long screws
-
Two 4.8 mm-long screws
-
-
-
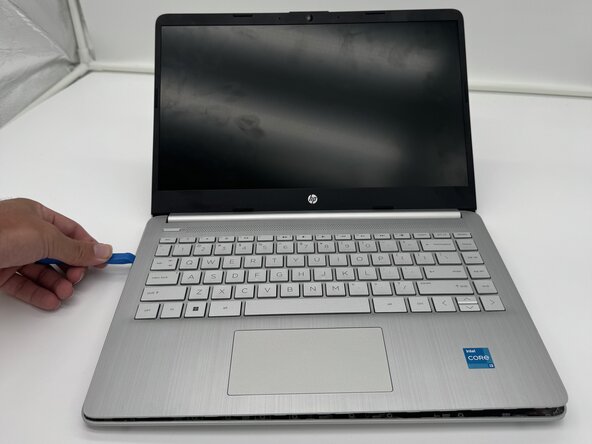
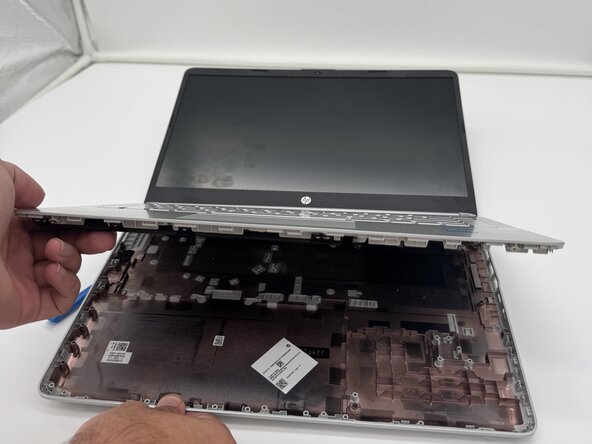
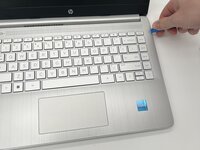
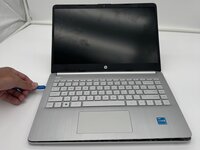
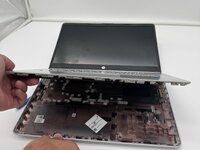
Use a plastic opening tool to separate the back case from the palmrest keyboard assembly. Gently pry the back cover from the device.
-
-
-
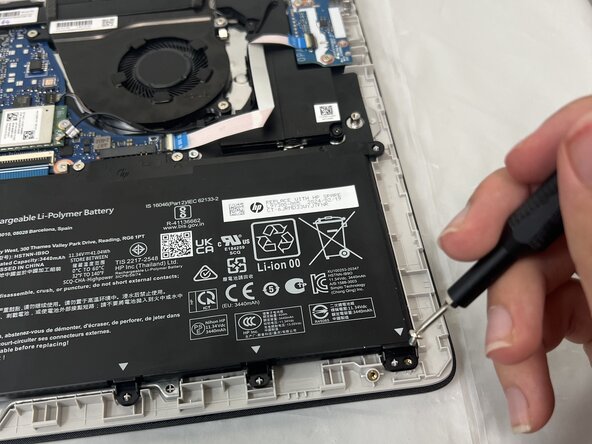
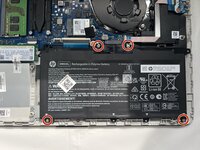
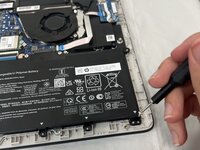
Use a Phillips #0 screwdriver to remove the four 3 mm screws that secure the battery to the chassis.
-
-
-
-
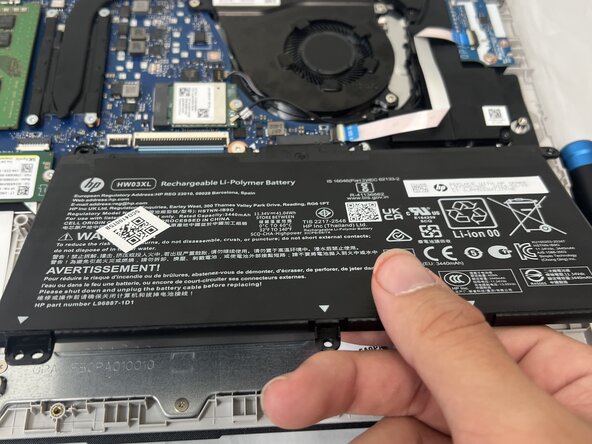
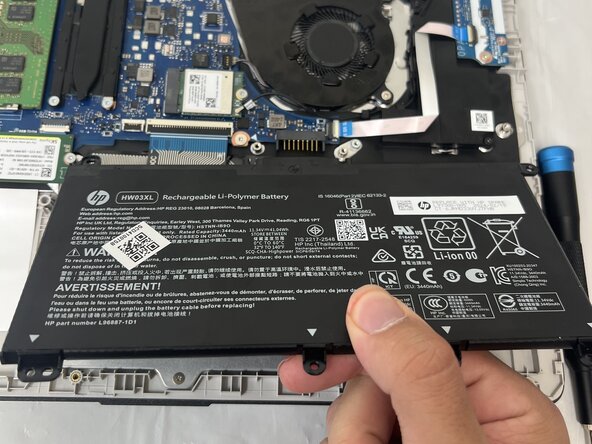
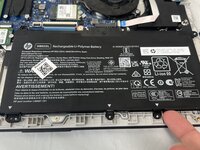
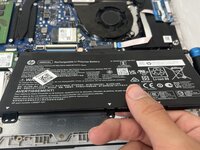
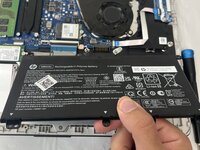
Angle the battery up slightly and gently pull it from the socket on the motherboard.
-
-
-
-
Use a Phillips #1 screwdriver to remove the four 2 mm screws that secure the heat sink.
-
Lift the heat sink by the neck to remove it.
-
-
-
Use an angled tweezer to lift the fan connector from the socket on the motherboard.
-
-



 Ask FixBot







To reassemble your device, follow these instructions in reverse order. Take your e-waste to an R2 or e-Stewards certified recycler.

Team

Austin Community College, Team 1-1, Tijerina Fall 2025 Member of Austin Community College, Team 1-1, Tijerina Fall 2025
AUSTINCC-TIJERINA-F25S1G1
4 Members
45 Guides authored
