Introduction
If you're having issues with your RAM like a blue screen of death, freezes, reboots, and corrupted files.
We will provide an efficient and easy way to replace your RAM.
For this guide, we will be using the iFixit Precision Bit Driver, 15 Philips Screwdriver Bit(1.4 mm), Anti-Static Wrist Strap
What you need
-
-
-
Turn the laptop upside down exposing the screws.
-
Gently remove the rubber grips to reveal the remaining screws.
-
Using a Phillips #1 screwdriver remove all eight screws.
 Ask FixBot
-
-
-
Turn the laptop back over and open the screen.
-
Insert an opening tool into the seam between the keyboard and the bottom panel.
-
Run the opening tool along the seam to separate the back panel from the keyboard.
-
-
-
-
After the bottom panel has been separated from the laptop, close the laptop.
-
Flip the laptop back over.
-
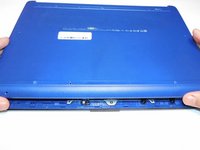
Carefully place hands on either side of the laptop's back panel.
-
Lift up to remove the panel.
-
-
-
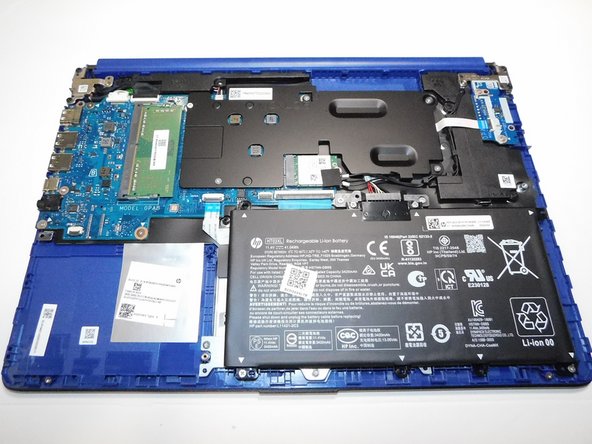
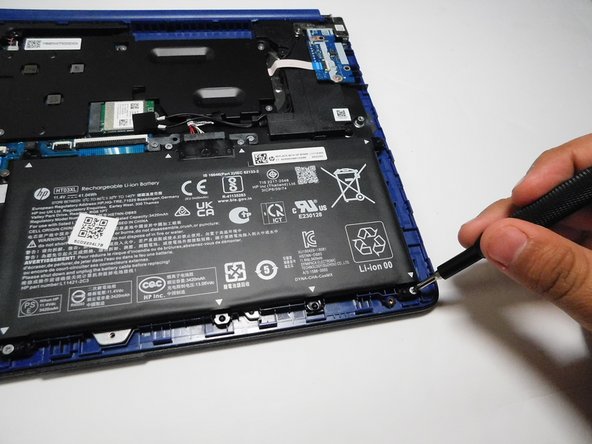
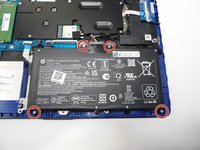
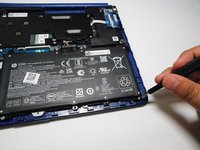
Using a Phillips #1 screwdriver remove the four 2.5 mm screws securing the battery in place.
-
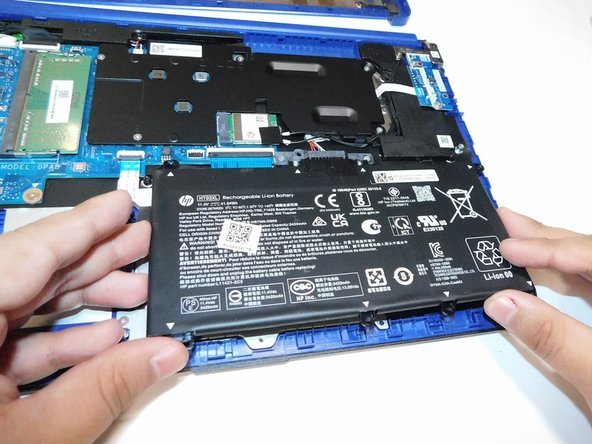
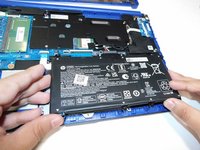
Remove the battery from the laptop by gently lifting up the bottom slightly.
-
Pull the battery toward you to remove.
-
-
-
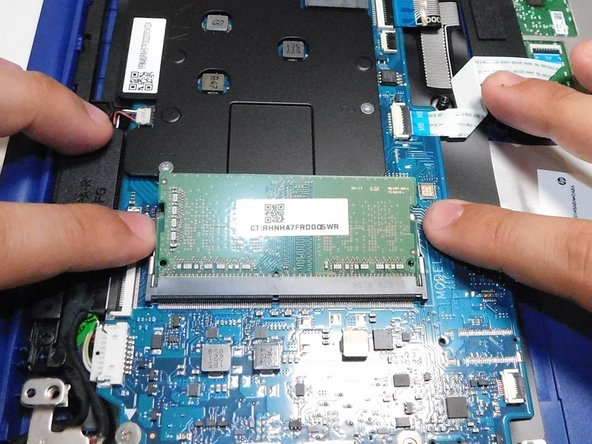
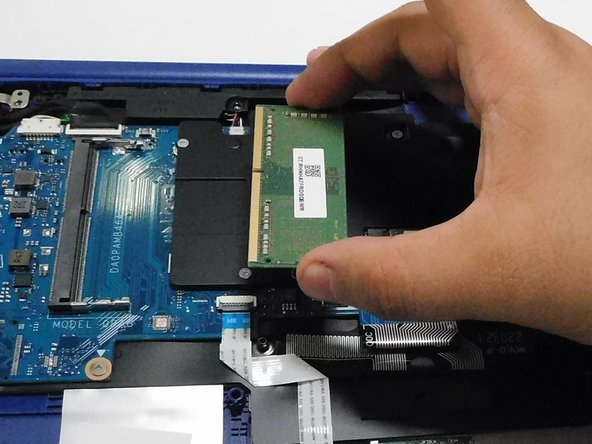
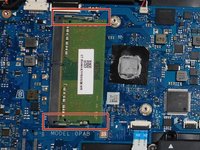
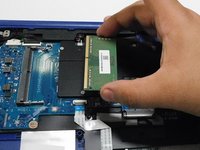
Release the metal clasps on the sides of the RAM module by gently pulling away.
-
The RAM will spring upward and remain at an angle.
-
Pull the module out at the same angle.
-
-




To reassemble your device, follow these instructions in reverse order.

Team

Gateway, Team 8-88, Gonzalez Spring 2024 Member of Gateway, Team 8-88, Gonzalez Spring 2024
GCC-GONZALEZ-S24S8G88
4 Members
48 Guides authored
