Introduction
This guide will show you how to replace or upgrade the RAM of your HP 14-dq0051dx laptop. Your laptop may demonstrate any number of symptoms if it's running out of memory, such as lagging speed, error messages, or in the worse case scenario, your operating system may crash.
For information on troubleshooting this issue, take a look at this page.
Before beginning this repair or upgrade, power off the laptop and unplug the AC adapter.
What you need
-
-
Turn the laptop upside down so the backside is facing up.
-
Use a Phillips #1 screwdriver to remove eight screws from the back case.
 Ask FixBot
-
-
-
Turn the laptop over and open the screen.
-
Insert the opening tool into the seam between the bottom panel and the keyboard.
-
Run the opening tool along the entire seam to separate the bottom panel.
-
-
-
-
Once the bottom panel is separated from the laptop, carefully close the laptop and turn it upside down.
-
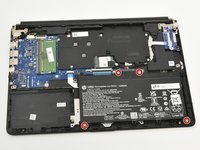
Place both your hands on opposite ends of the bottom panel, and lift up and remove the panel.
-
-
-
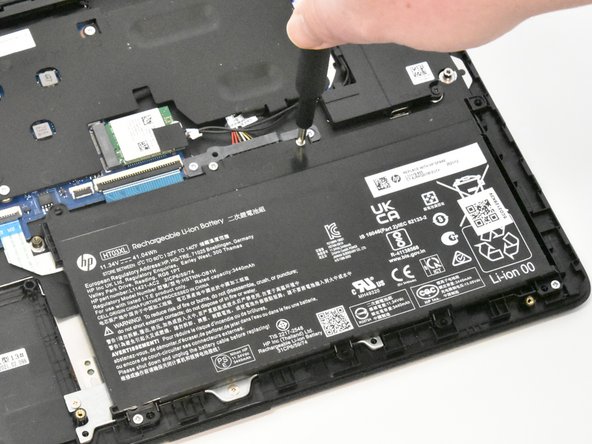
Use a Phillips #1 screwdriver to remove the four 2.5 mm screws that secure the battery.
-
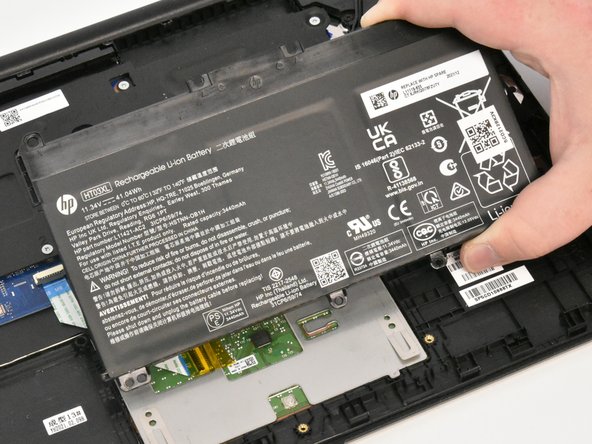
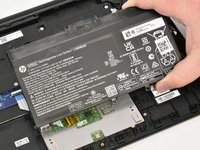
Remove the battery from the laptop.
-
-
-
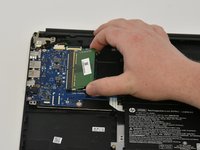
Using your fingers, pull the metal arms (located on both sides of the RAM stick) slightly away from it.
-


To reassemble your device, follow these instructions in reverse order.
Cancel: I did not complete this guide.
3 other people completed this guide.
Team

Linn Benton Community College, Team 1-5, Karnes Winter 2023 Member of Linn Benton Community College, Team 1-5, Karnes Winter 2023
LBCC-KARNES-W23S1G5
4 Members
5 Guides authored