Introduction
Use this guide to replace the keyboard of your HP 14-dq0051dx laptop. Replacing this component may be required if it is damaged or not functional.
However, note that keyboard replacements are more complicated than individual key or touchpad repairs which should be attempted first before replacing the whole keyboard.
Before beginning this repair, turn your laptop off and unplug from the AC adapter.
What you need
-
-
-
Turn the laptop upside down so the backside is facing up.
-
Use a Phillips #1 screwdriver to remove eight 2.5mm screws from the back case.
 Ask FixBot
-
-
-
Turn the laptop over and open the screen.
-
Insert the opening tool into the seam between the bottom panel and the keyboard.
-
Run the opening tool along the entire seam to separate the bottom panel.
-
-
-
Once the bottom panel is separated from the laptop, carefully close the laptop and turn it upside down.
-
Place both your hands on opposite ends of the bottom panel, and lift up and remove the panel.
-
-
-
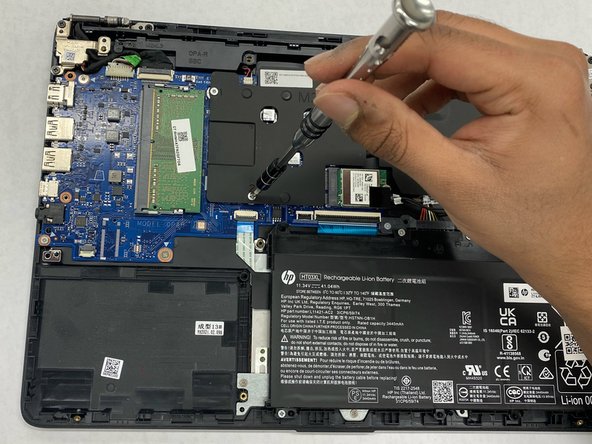
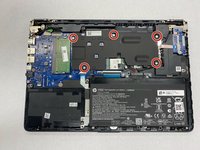
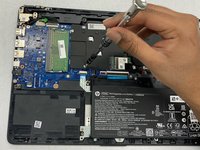
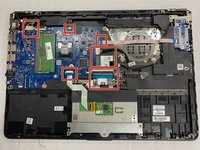
Use a Phillips #1 screwdriver to remove the five 2.5 mm screws that secure the motherboard cover.
-
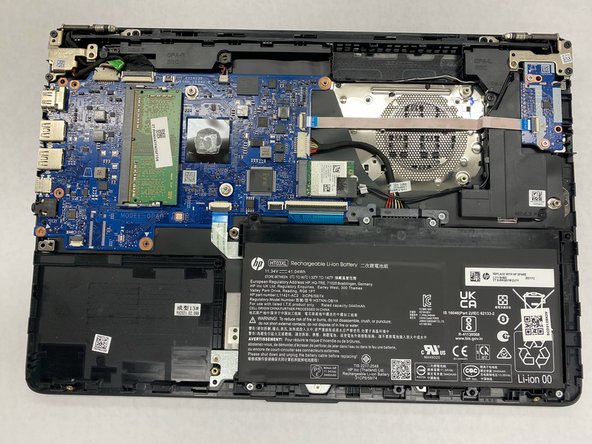
Remove the motherboard cover from the laptop.
-
-
-
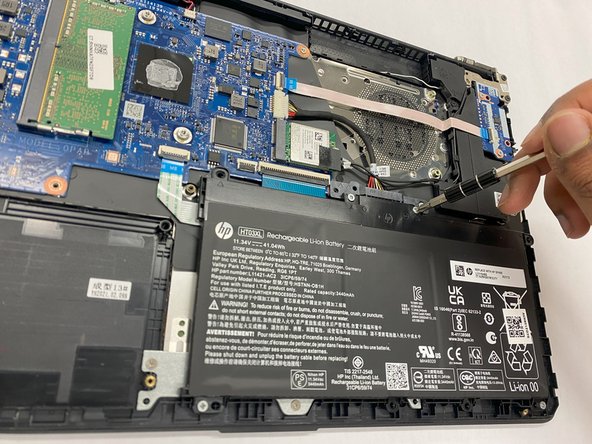
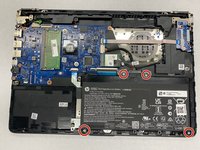
Use a Phillips #1 screwdriver to remove the four 2.5 mm screws that secure the battery.
-
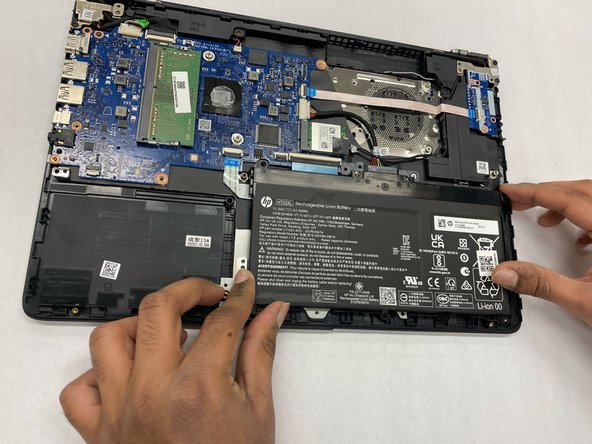
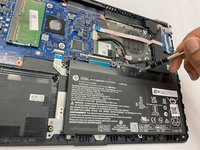
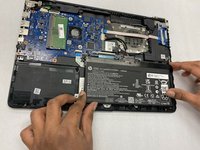
Remove the battery from the laptop.
-
-
-
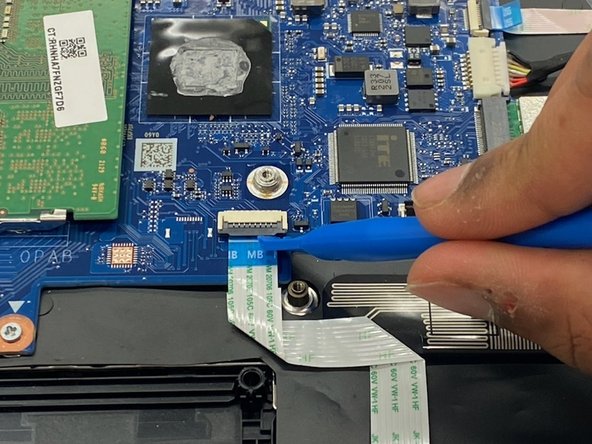
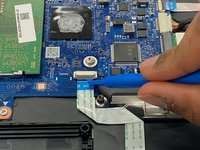
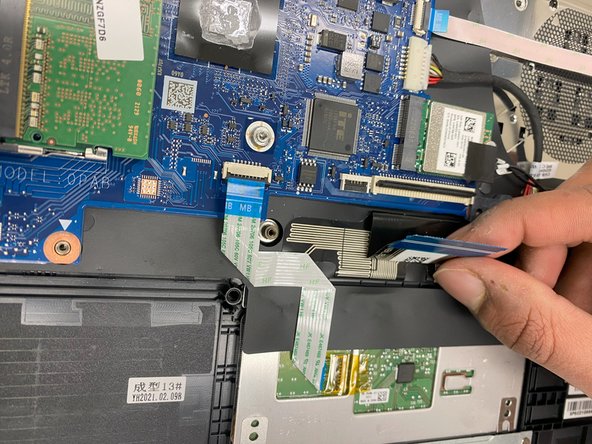
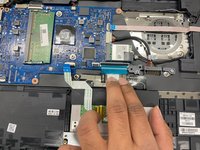
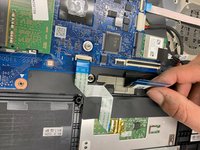
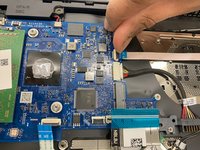
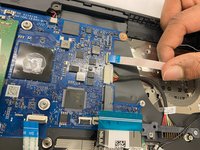
Use the blue opening tool to flip up the small locking flap from the ZIF connector that attaches the touchpad cable to the motherboard.
-
Gently pull the ribbon cable out from the connector.
-
-
-
-
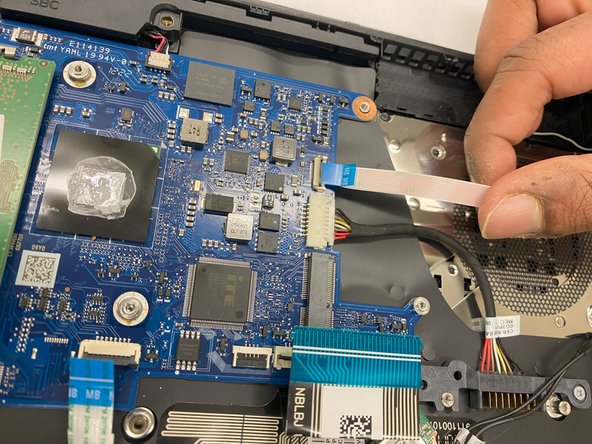
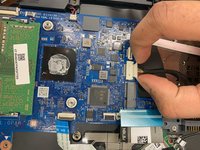
Lift up the small compartment with your finger.
-
Pull the flat cable out of the connector.
-
-
-
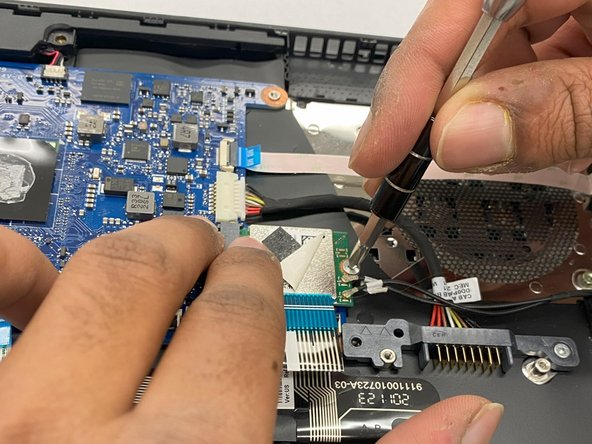
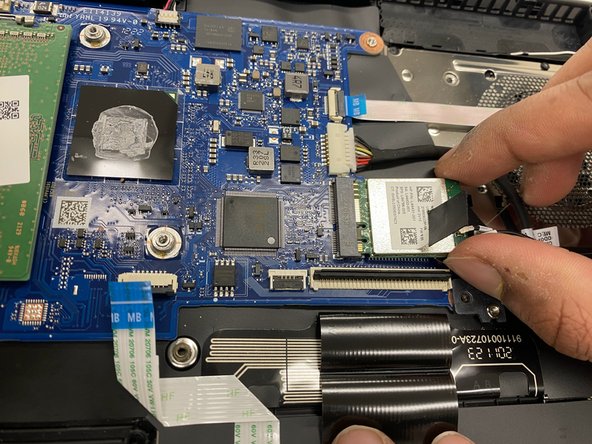
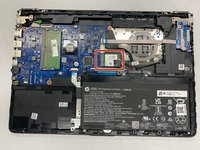
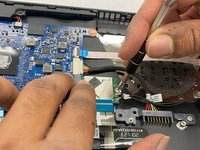
Use a Phillips #0 screwdriver to remove the single 1 mm screw that secure the WiFi card.
-
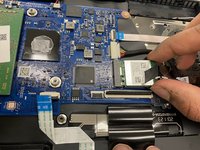
Pull the WiFi card out of its slot
-
-
-
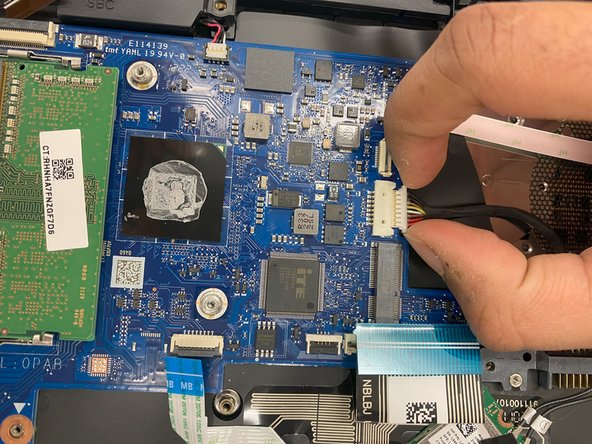
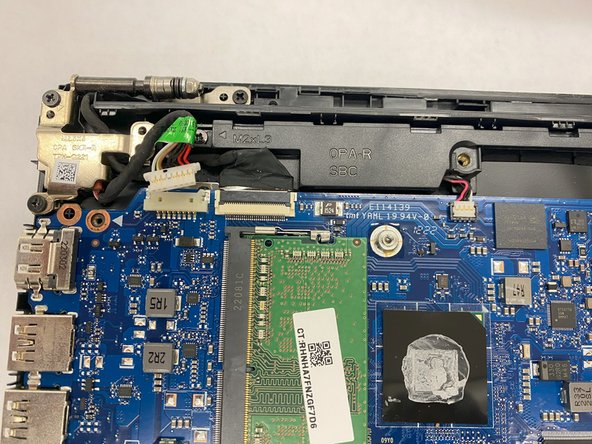
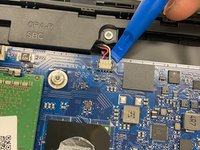
Pull the charging port cable away from the connector in the same direction as the individual wires to unplug the charge port connector.
-
Remove the charging port.
-
-
-
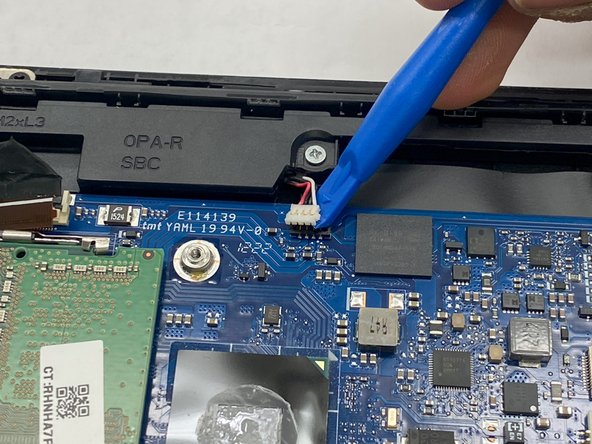
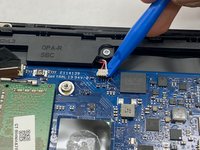
Lift up the port using the blue opening tool.
-
Continue to lift up until it is unplugged from the motherboard.
-
-
-
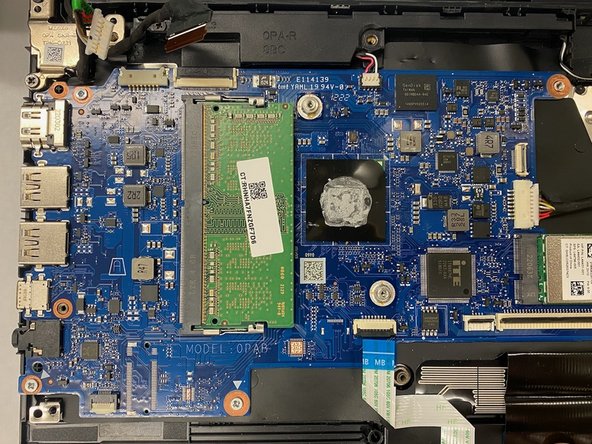
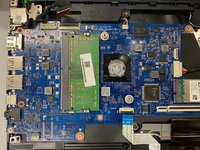
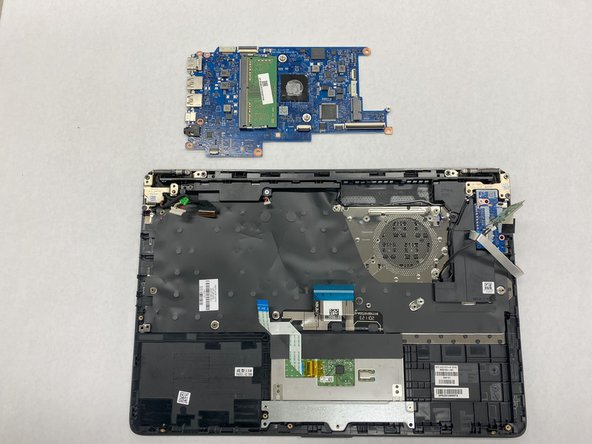
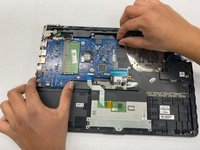
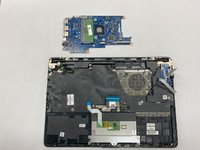
Place both hands on opposite corners of the motherboard and carefully lift it up to remove it from the laptop.
-
Now the motherboard has been successfully removed and is ready to be replaced!
-
-
-
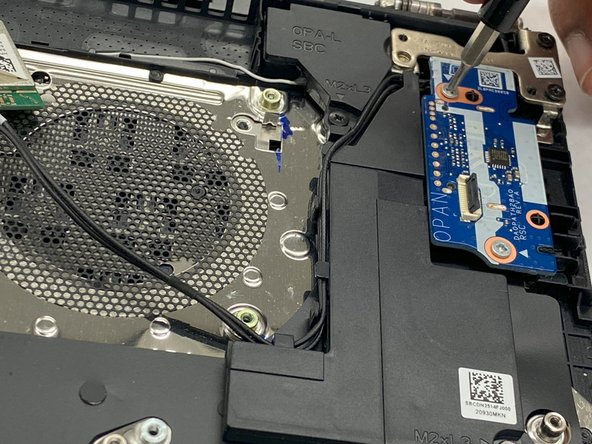
Remove the two 2.5 mm screws that secure the motherboard cover using a Phillips #1 screwdriver.
-
Gently pull the component out of the laptop
-
-
-
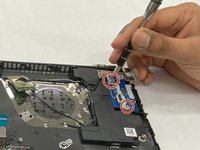
Remove the signle 2 mm screws that secure the side cover using a Phillips #0 screwdriver.
-
Pull the side cover off gently
-
-
-
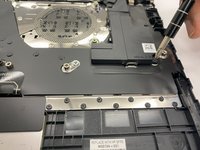
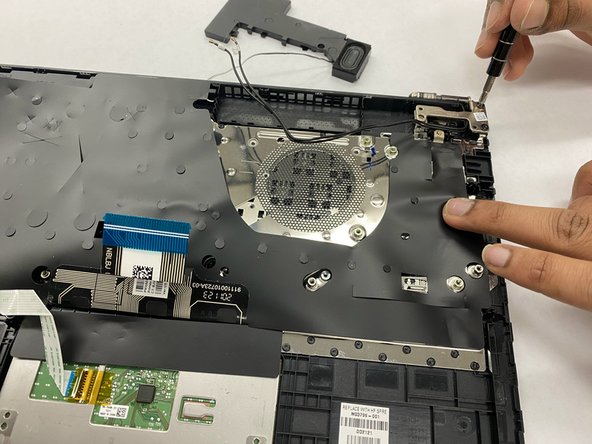
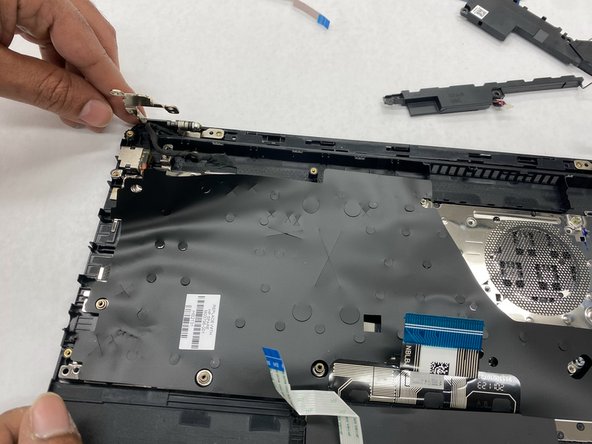
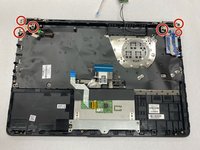
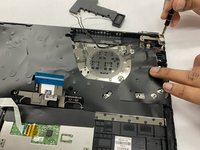
Remove the six 2.5 mm screws that secure the keyboard to its hinges using a Phillips #1 screwdriver.
-
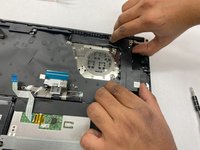
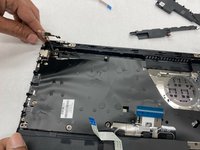
Once unscrewed, pull the hinge tabs upward gently using your hands
-
-
-
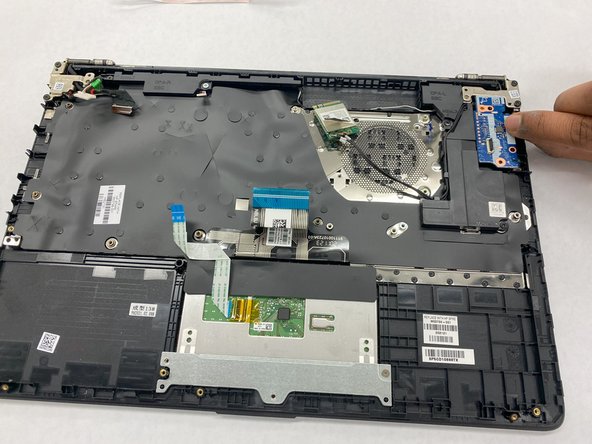
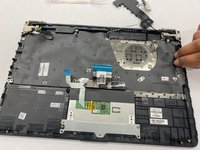
Place both hands on opposite corners of the keyboard and carefully lift it off the laptop
-
-











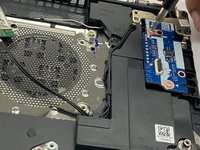
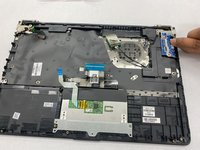

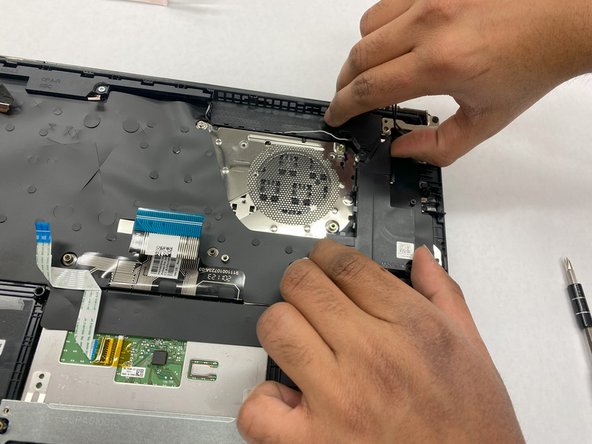
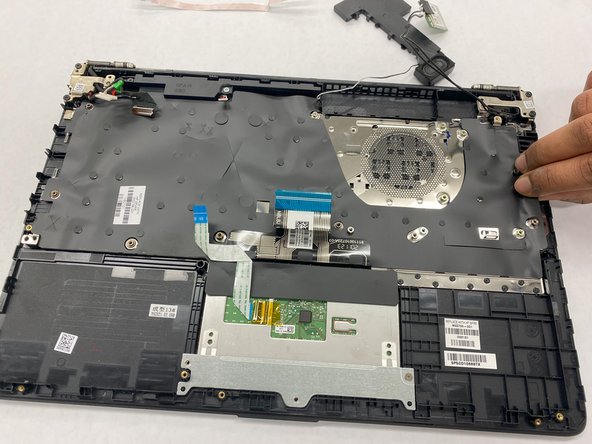


To reassemble your device, follow these instructions in reverse order.
Cancel: I did not complete this guide.
One other person completed this guide.

Team

IUPUI, Team 2-4, Harley Fall 2023 Member of IUPUI, Team 2-4, Harley Fall 2023
IUPUI-HARLEY-F23S2G4
3 Members
36 Guides authored
