Free Shipping on Domestic Orders $75+

HP 10 2101 Camera Replacement

What you need

  1. HP 10 2101 Camera Replacement, Back Panel: step 1, image 1 of 1
    • Identify the SD card port.

    Ask FixBot

    Add Comment

  2. HP 10 2101 Camera Replacement: step 2, image 1 of 1
    • Insert the smallest plastic opening tool into the SD card port. Gently pry until the back panel separates from the screen panel.

    • Do not insert opening tool too far. Avoid making contact with the metal inside the port.

    Ask FixBot

    Add Comment

  3. HP 10 2101 Camera Replacement: step 3, image 1 of 1
    • Slide the opening tool along the seam between the back panel and the screen panel, prying the panels apart as you move around the edges.

    Ask FixBot

    Add Comment

  4. HP 10 2101 Camera Replacement: step 4, image 1 of 1
    • Separate the back panel from the rest of the device.

    Ask FixBot

    Add Comment

  5. HP 10 2101 Camera Replacement, Battery: step 5, image 1 of 1
    • Desolder the battery connectors from the motherboard.

    Ask FixBot

    Add Comment

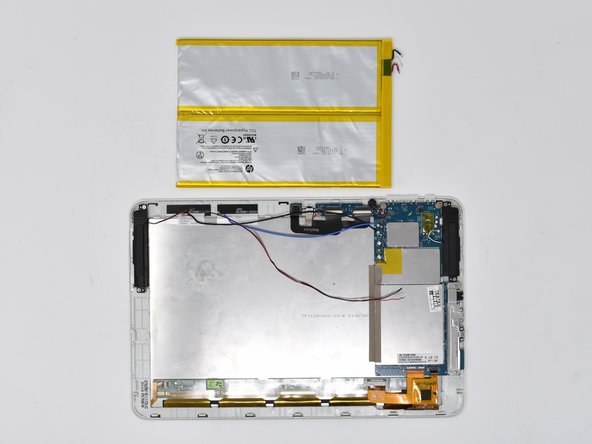
  6. HP 10 2101 Camera Replacement: step 6, image 1 of 1
    • Pull the bright blue-green tabs to remove the battery from the rest of the device.

    • Pulling the tabs may not fully disconnect the battery from the metal display casing.

    Ask FixBot

    Add Comment

  7. HP 10 2101 Camera Replacement: step 7, image 1 of 2 HP 10 2101 Camera Replacement: step 7, image 2 of 2
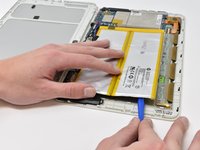
    • If the previous step is unsuccessful, wedge the smallest plastic opening tool between the adhesive and the metal display casing.

    • Wedging may apply unsafe pressure on the battery. Be careful not to puncture the battery.

    Ask FixBot

    Add Comment

  8. HP 10 2101 Camera Replacement, Camera: step 8, image 1 of 1
    • Peel off the metal mesh tape with the plastic opening tool.

    Ask FixBot

    Add Comment

  9. HP 10 2101 Camera Replacement: step 9, image 1 of 1
    • Disconnect the zero insertion force (ZIF) cable. Use the tip of the spudger or your fingernail to flip up the small white locking flap. Then, you can safely pull the cable out.

    • Repeat this process for the second connection port.

    • Be sure to pry up on the hinged flap, not the connector socket.

    Ask FixBot

    Add Comment

  10. HP 10 2101 Camera Replacement: step 10, image 1 of 1
    • Remove the front and back camera.

    Ask FixBot

    Add Comment

Conclusion

To reassemble your device, follow these instructions in reverse order.

Cancel: I did not complete this guide.

0 Guide Comments

Add Comment

View Statistics:

Past 24 Hours: 1

Past 7 Days: 5

Past 30 Days: 35

All Time: 465